Pottery Tips for Makers: Studio Hacks and Design Techniques
I’ve spent years getting messy at the wheel and figuring out what actually works. Here is some of my studio math and sketching tricks to help you get your forms right.
Ready to handle your handles better? A good mug is all about balance, and the handle is key. This post breaks down the simple formula I use to get the proportions just right.
Here's a closer look at the measurements I use for handles. I've found that a handle thickness of 6mm and width of 1.5-2cm works perfectly for a medium-sized pot.
I use an inductive sketching method to bring my ideas to life. This post is a 3-step guide on how to sketch your vision first and let the numbers follow, ensuring your final pot matches your original idea.
About Pottery Tips for Makers
If you are struggling with mug handles that feel awkward or just don't balance right, try my standard formula. For a medium-sized pot, aim for a handle thickness of 6mm and a width between 1.5 and 2cm. I rely on these exact measurements in the studio every day because they work across different hand sizes and mug forms. Once you nail these proportions, you stop worrying about hand cramps and start focusing on the actual pull.
Designing with Intention
Most potters are taught to start with specific target dimensions, but I find that approach often leads to forms that feel forced. I prefer inductive sketching. Instead of starting with numbers, I start with a drawing inside a 6 by 6 cm box. I erase, tweak, and redraw until the silhouette matches my vision exactly.
Only after the drawing feels right do I bring in the math. By calculating a multiplier—taking the target dimension and dividing it by the sketch size—I can scale the entire piece proportionally. This process ensures the final ceramic piece matches the original idea rather than drifting into something else during the throwing process.
The Art of the Handle
Handles are often the first thing to cause trouble for beginners. Beyond just the dimensions, consistency is your best friend.
- The Material: Use high-fired stoneware. It offers the durability needed for items that get daily wear.
- The Attachment: Ensure your join points are scored and slipped well. Even a perfectly proportioned handle will fail if the bond to the mug wall isn't structural.
- The Comfort Test: Before you fire, hold the mug. Does your thumb naturally rest on top? Is the negative space wide enough for your fingers? If not, it’s back to the slab.
Whether you are working with wheel-thrown stoneware or hand-building smaller pieces, these small adjustments in your process can drastically improve your output. If you are in Bengaluru and want to test these out, come by my Indiranagar studio to try these methods on the wheel yourself.
Similar work from other experts
Browse through Curated picks from other experts on mytribe
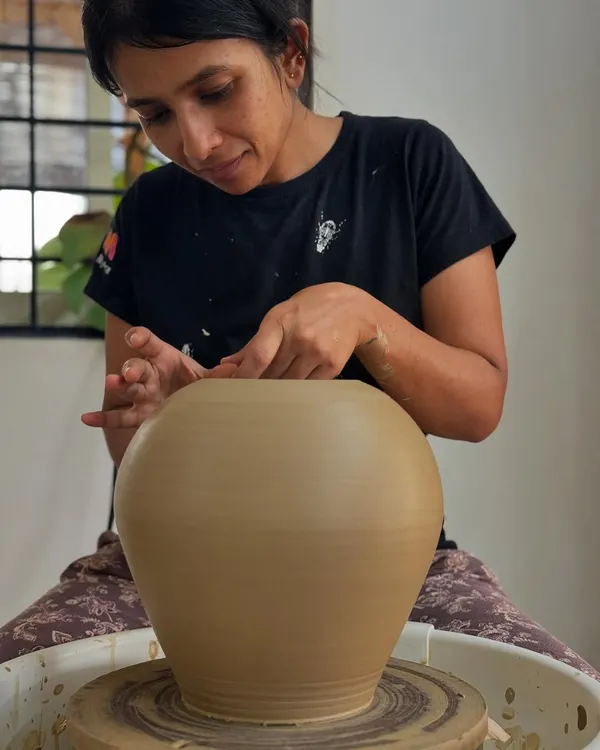 27
27
The Art of Pottery: Process and Technique
The Art of the Wheel: Master Pottery in Bengaluru
Behind the Art: Inside the Clay Explore Studio
Behind the Scenes of My Handmade Pottery
 41
41
Behind the Scenes: My Studio & Process
 8
8
Handcrafted Pottery and Ceramic Art by Kosha
More from Handmade Pottery & Custom Commissions by Gauri Oak
More services by Gauri Oak