Start Your First Compost Batch: A Simple Guide
Composting isn't rocket science. It's just like making a meal; you need the right ingredients in the right proportions. Whether you are a complete beginner or looking to fix a stalled pile, my step-by-step method will help you get started.
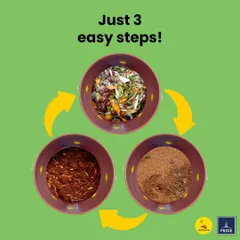
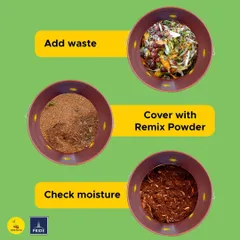
Let me walk you through the basic setup for an Eva composter. It starts with placing the filter fabric, adding a base layer of dry leaves or cocopeat, and then adding your mixed kitchen waste. It's a simple layering process that sets you up for success.
This is my everyday composting routine. I add my kitchen waste, sprinkle a little compost culture to accelerate the process, add my 'browns' like cocopeat, and finish with a top layer of dry leaves. It's a simple daily habit with a huge environmental impact.
A great tip to speed up your composting is to chop your food waste into smaller pieces. This increases the surface area for the microbes to work on, which can shorten the composting cycle by a week or more and give you a finer finished product.
There are two main ways to add waste to your composter: the layering method or the mixing method. In this video, I show both approaches. You can choose whichever method works best for you, as long as you always cover the top with dry materials.
Before adding waste to the composter, I like to mix it all in a separate bowl. This ensures the greens, browns, and a pinch of accelerator culture are evenly distributed, which promotes more consistent and efficient decomposition throughout the pile.
After a long break due to home renovation, I'm excited to restart my composters. The first step is always the same: laying down the filter fabric and adding a base layer of bone-dry cocopeat to manage moisture from the very beginning.
Here is an update on a new batch. The pile is just starting to get warm, and there's a typical kitchen waste smell, which is normal at this early stage. The process is underway, and soon that smell will transform into a pleasant, earthy aroma.
About Step-by-Step: Your First Compost Batch
One critical step many beginners skip is preparing the waste. If you throw large chunks of fruit or vegetable scraps directly into the bin, the microbes struggle to break them down, which often leads to foul odors or a soggy pile. Simply chopping your kitchen waste into smaller pieces increases the surface area for bacteria, significantly speeding up the decomposition process and helping you achieve that earthy smell faster.
Think of Waste Segregation as Your Oggarane Dabba
You wouldn't mix all your spices in your oggarane dabba (spice box) and then try to separate them, right? Composting works exactly the same way. It all starts with kasa vingadane, or proper waste segregation at the source. If you mix plastics or sanitary waste with your organic kitchen scraps, the biological process stops before it begins.
The Golden Rule: 1:3 Ratio
I always recommend a simple 1:3 ratio. For every one part of wet kitchen waste (your nitrogen), you need three parts of dry material (your carbon). This could be dry leaves or cocopeat. This dry layer is essential; it absorbs excess moisture and prevents the pile from becoming anaerobic, which is what causes that unpleasant smell most people associate with composting.
Setting Up Your Bin
- The Base: Start by spreading a filter fabric at the bottom of your composter, followed by a thick base layer of bone-dry cocopeat. This manages leachate and ensures good airflow.
- The Layering: Add your kitchen waste, then sprinkle a bit of compost culture (accelerator) to kickstart the microbial activity. I recommend mixing your greens, browns, and culture in a separate bowl before adding it to the bin for more consistent breakdown.
- The Cover: Never leave your waste exposed. Always cover the top layer with more dry leaves or cocopeat.
Remember, the process takes about four to five weeks. There is no need to churn the pile daily. Once you set the right conditions, nature does the rest of the work. If you encounter maggots or moisture issues, they are simple to fix with the right adjustments to your ratio.
Similar work from other experts
Browse through Curated picks from other experts on mytribe
Start Your Home Composting Journey Today
Turn Your Kitchen Waste Into Black Gold: Home Composting Guide
 14
14
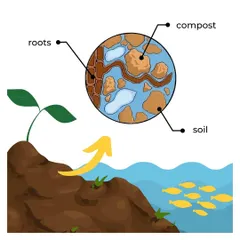

Organic Gardening and Composting Guides
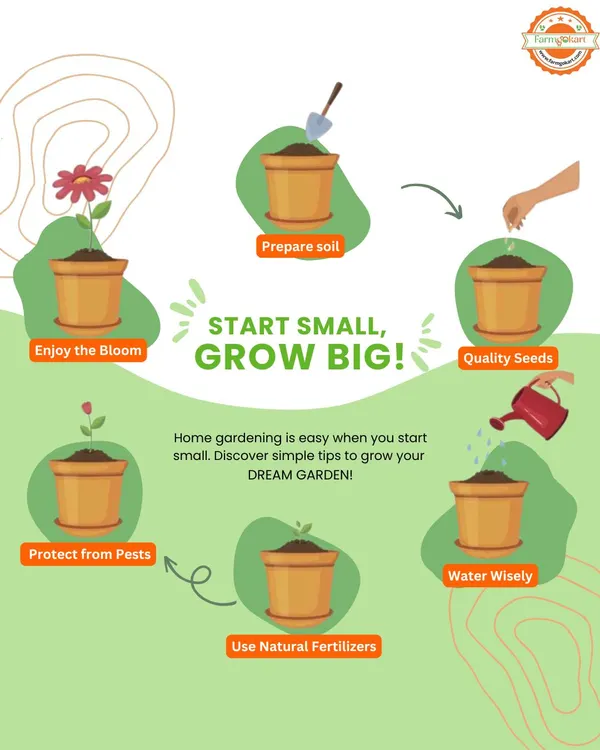 20
20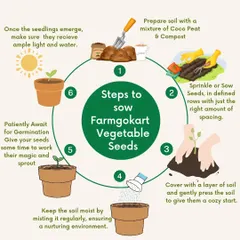
Your First Garden: Simple Step-by-Step Guides
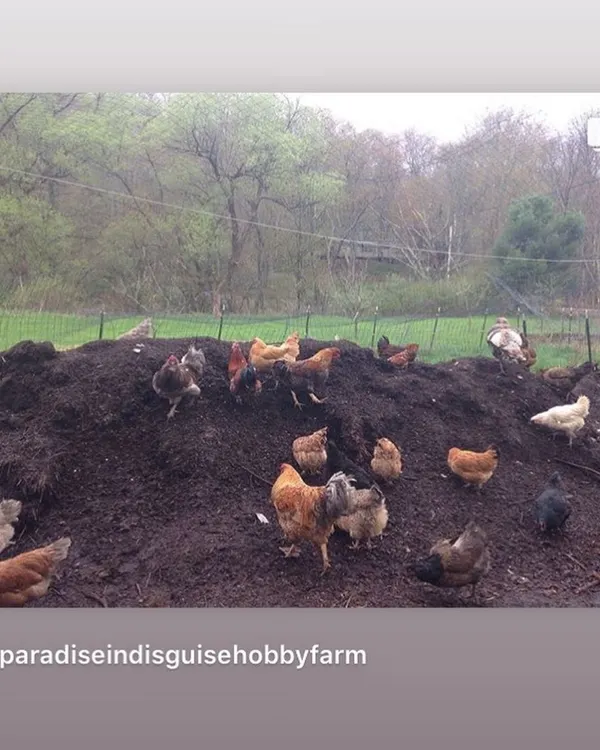 18
18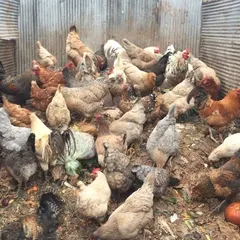
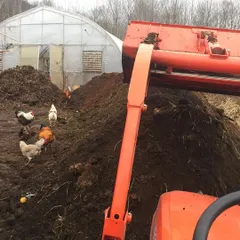
Composting with Chickens: Turn Kitchen Scraps into Garden Gold
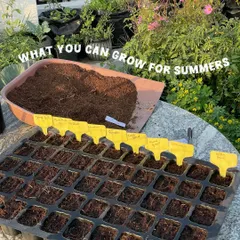
Getting Started: Soil, Seeds & Planting for Beginners
More from Composting Education & Consultation by Savita Hiremath
More services by Savita Hiremath