Behind the scenes: My henna art process
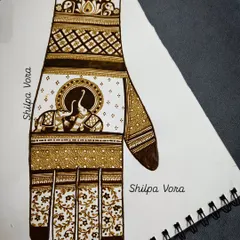
Get a peek into how I create my designs, from mixing natural henna to practicing intricate motifs like cutwork and portraits.
It all starts with the perfect henna paste. I mix my own cones using all-natural ingredients to ensure a safe application and a beautiful, dark stain.
Preparing a fresh batch of henna cones for a busy wedding season. Consistency is key for fine lines and detailed work.
A practice sheet showing a floral bunch design. I am always sketching and refining elements to use in my client work.
Practicing different styles of bird motifs. This helps me offer a variety of options to my clients.
A practice sheet dedicated to peacocks. I work on different sizes, poses, and feather styles to master this classic motif.
A collection of jhumka (earring) designs sketched out on paper. These small elements add a special touch to any mehendi.
A video showcasing various bridal mehendi elements like the dhol, kalash, and birds, which can be mixed and matched.
A video showing the creation of a 'cutwork' parrot design on paper. This technique involves leaving negative space to create a 3D effect.
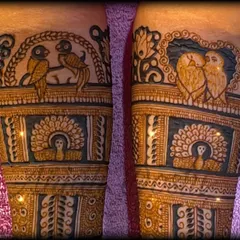
The finished parrot cutwork design with the henna paste still on.
Another variation of the parrot cutwork design, with a different pattern in the background.
About My Art & Process: From Sketch to Skin
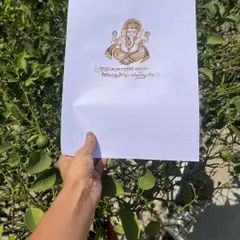
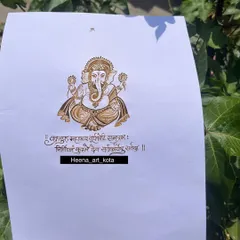
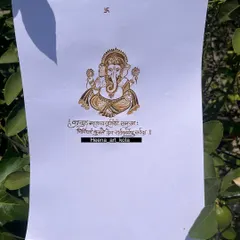
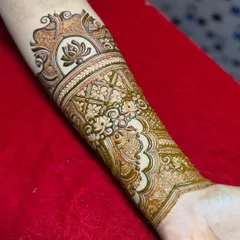
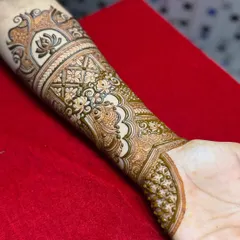
I mix my own natural henna paste for every bride because the quality of the stain depends entirely on the ingredients. Before I start your design, I spend time practicing specific motifs like peacocks or cutwork on paper to make sure your bridal mehendi is exactly how you envisioned it.
Quality begins with the basics. I insist on preparing my own henna paste using 100% natural ingredients, which ensures a deep, rich stain that lasts for days and looks fantastic in your wedding photos. When I work with a bride, I do not follow generic templates. I draft your story—whether it is a portrait, a special date, or a symbol—on paper first to get the proportions perfect.
Technique is where I spend a lot of my time. You will see me using cutwork, a style that creates negative space for a 3D effect, or shading to make peacocks and palaces pop. If you look at my practice sheets, you will see the same dedication I put into a live bridal session.
I am based in Virar West, but I travel anywhere for weddings. I also conduct certified courses, so I am constantly refining my techniques to teach my students the latest styles. Whether you want a full-arm bridal design or simple festival mehendi, every stroke is planned with care.
Similar work from other experts
Browse through Curated picks from other experts on mytribe
Behind the scenes: My mehendi process and practice
Behind the Scenes: My Mehndi Design Process
Mehndi Art and Creative Process
Behind the Scenes: How I Create Intricate Mehendi
Behind the Scenes: My Mehendi Art Process
The Art of Mehendi: Behind the Scenes
More from Wedding Mehendi by Alpa Valia
More services by Alpa Valia