Behind the Scenes: How I Create Intricate Mehendi
Ever wonder how that perfect bridal mehendi comes to life? Here is a peek into my process, from the initial sketch to the final rich stain.
A satisfying video of me creating delicate leaf patterns during the golden hour. The sunlight beautifully highlights the texture of the henna paste as I work.
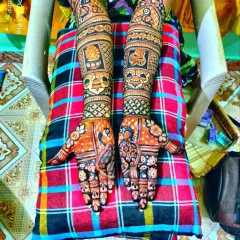
Watch the transformation as I bring a Maharashtrian bride portrait to life. This video shows the process from the initial outline to the detailed shading and final design.
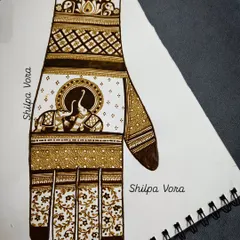
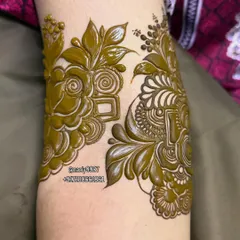
The beginning of a beautiful arm band. This photo shows the step-by-step process, starting with the main lotus motif and building the surrounding patterns.
The design is now complete, showing the full arm band with intricate details. This step-by-step series shows how a complex design is built layer by layer.
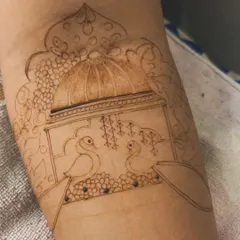
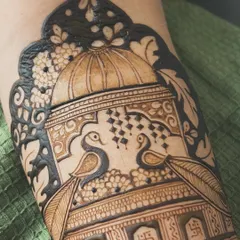
The very first step of an intricate arm piece. I start with the central motif, in this case, a beautiful lotus in an architectural frame, ensuring the foundation of the design is perfect.
The second step in the process, where I add a band of delicate floral grid work below the main lotus motif. Each element is carefully placed to build a cohesive design.
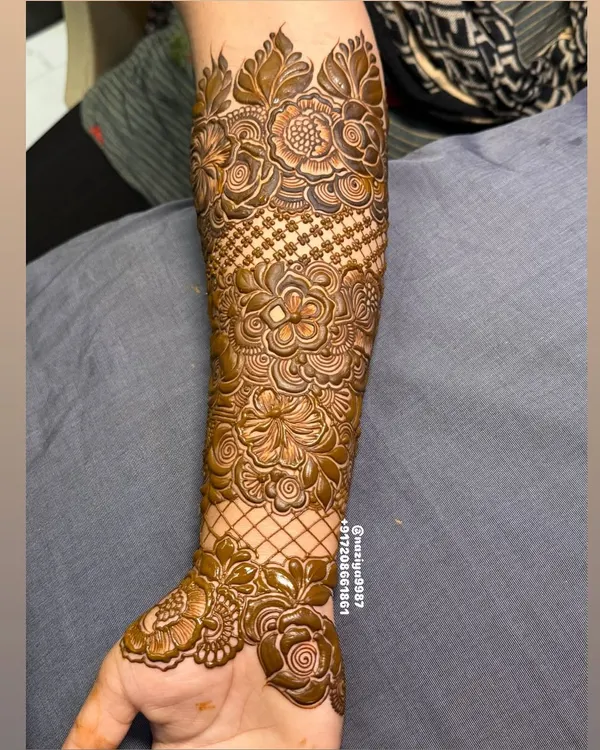
The third step, where I add flowing paisley patterns to the design. This shows how different elements are layered to create a full and intricate arm piece.
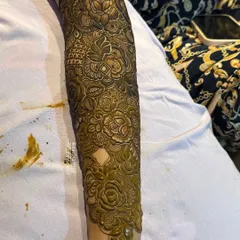
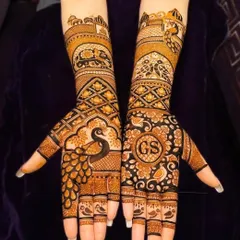
Another step-by-step example, showing the creation of two separate bands. I start with the main outlines and then fill in the details.
A close-up video of my work, showing the application of intricate patterns. You can see the steady hand and precision that goes into every design.
This video shows the process of creating a grid pattern on the wrist. It's a satisfying process to watch as the clean, straight lines come together to form a beautiful design.
About Behind the Scenes: The Art in Progress
Precision takes time. When you see me working, you are watching hours of layering, from delicate lotus motifs to fine grid work. I use my own blend of freshly mixed, natural henna that requires a slow, steady hand. This is why I only book a limited number of brides, ensuring I can focus entirely on the quality and symmetry of your specific design.
My process is rooted in the quality of the materials and the patience of the application. Whether I am crafting a complex Maharashtrian bride portrait or creating a chic, minimalist design, the foundation is always my homemade, 100% organic henna paste, triple-sifted and infused with essential oils like eucalyptus and lavender.
The Art of the Stain
Achieving that deep, dark 'stain goal' is the ultimate test of a mehendi artist. It is not just about the design; it is about how the skin interacts with the paste. I apply a lemon-sugar sealant once the henna is dry, which acts as a barrier to keep the paste moist longer, allowing the dye to penetrate deeply. This step is crucial for that rich color that lasts through your wedding events.
My Process
- Consultation & Sketching: For personalized story designs, I spend time during our consultation mapping out your vision—be it a city skyline, wedding vows, or intricate floral bands.
- Foundation Work: Every piece starts with the main motifs. You will see me laying down the central frame, like a lotus or architectural arch, before filling in the finer details.
- Layering: I build the design in stages, from thick lines to the intricate jaali (grid) work that gives my designs their 3D depth.
If you are planning your bridal mehendi, remember that the application takes anywhere from 3 to 9 hours depending on the density. I work with a focus on flow and symmetry, ensuring the design complements your natural hand and arm structure. It is a slow, meditative process, and I love every minute of it.
Similar work from other experts
Browse through Curated picks from other experts on mytribe
Behind the Scenes: My Mehndi Design Process
 15
15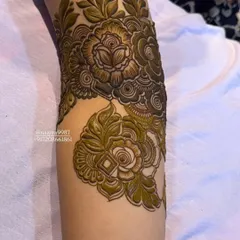
The Art in Progress: Behind My Henna Designs
Behind the Scenes: My Mehendi Process
The Art in Progress: Behind the Scenes of My Mehndi
Behind the Scenes: The Art of Professional Bridal Mehandi
Behind the Scenes: The Art of Professional Mehendi Design
More from Bridal & Wedding Mehendi by Mehendi by Samiksha
More services by Mehendi by Samiksha