The Design Process: From Sketch to Reality
See how I turn your initial ideas into functional, beautiful, and Vastu-compliant spaces through a transparent, hands-on design journey.
This video offers a glimpse into my design process: from client consultations and initial sketches to selecting the perfect material samples. It's a hands-on, collaborative journey to bring your vision to life.
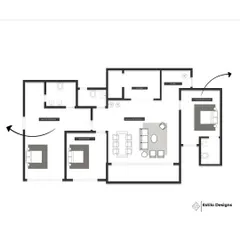
Every great design starts with an idea. This is a hand-drawn concept sketch for a circular room layout, showing the initial zoning of space for a bed, wardrobe, and breakfast counter overlooking a view.
Material selection is a crucial step. Here I am at a showroom in Bangalore, carefully choosing tiles and laminates with the client to ensure the textures and colors are just right for their home.
From design to execution, I am on-site to oversee the work. This video shows the construction progress of a commercial project, from installing the signage to supervising the interior framework.
A look at a residential interior project during the construction phase at a Prestige property in Bangalore. I personally supervise the work to ensure every detail matches the approved design.
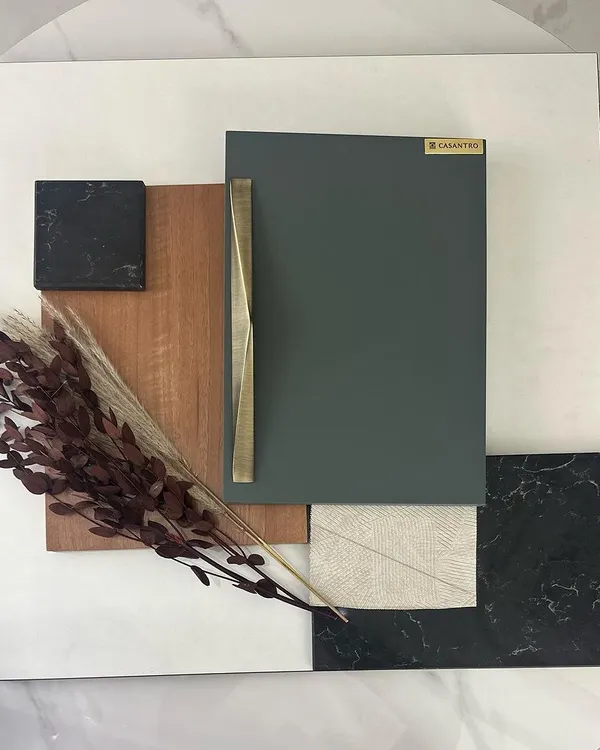
Exploring a wall of colorful material samples. This tactile part of the process helps clients and me make confident decisions about the finishes that will define their space.
About The Design Process: From Sketch to Reality
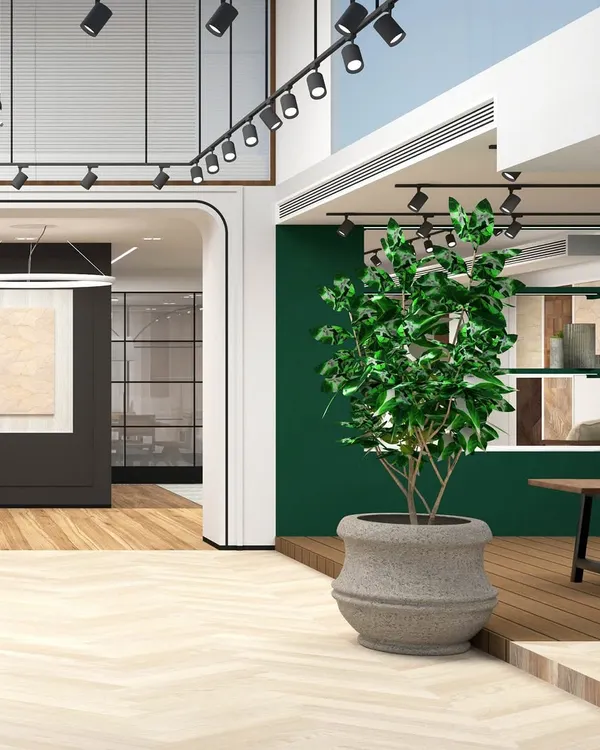
Before we break ground, I use 3D walkthroughs to let you see your space exactly as it will be, so we can refine the layout and materials together. We don’t guess, we plan, measuring everything from sunlight angles to your specific storage needs, ensuring the final build matches the vision we sketched on day one.
My design process is built on the principle of transparency. Architecture and interior design are not just about aesthetics, they are about how a space functions for you every single day.
Step 1: Conceptualization & Vastu Zoning
We begin with your ideas. I analyze the floor plan to ensure the space is Vastu-compliant in a scientific way, focusing on light, airflow, and zoning. This is where we create your initial sketches and 2D layouts.
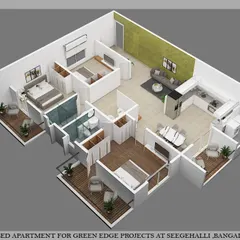
Step 2: 3D Visualization
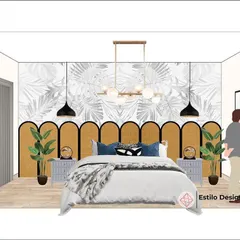
Before a single brick is moved, you see the project in a photorealistic 3D walkthrough. This allows us to adjust colors, lighting, and furniture placement, so you know exactly what the result will look like. It removes the guesswork and helps us align on the vision before execution starts.
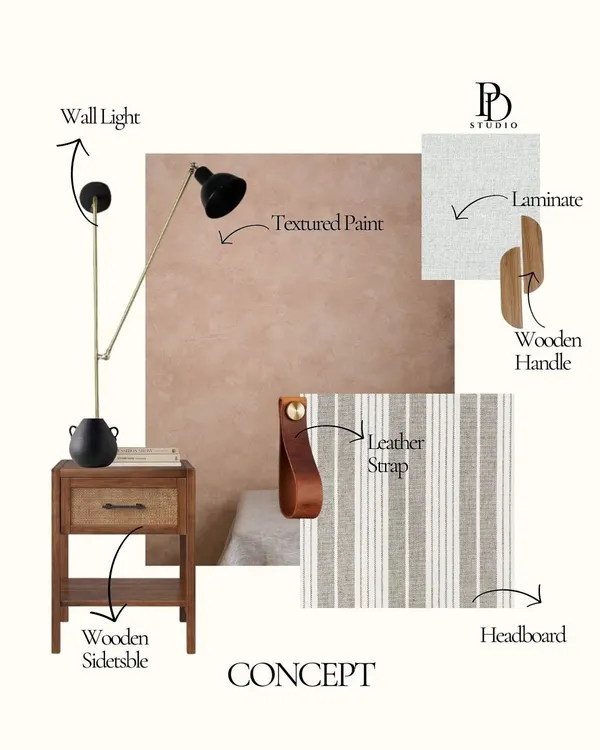
Step 3: Material Selection
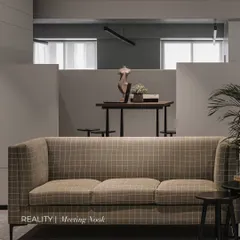
We go through samples together. Whether it is tile textures, laminate finishes, or wood grains, you need to feel the material. This ensures your home isn't just designed well, it is built with materials you personally approve.
Step 4: Site Supervision
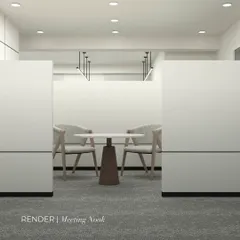
Design is only half the battle. I am on-site to oversee the execution, ensuring the plans are followed accurately. Whether it is a luxury apartment in Bangalore or a home project in Davangere, I monitor the construction phase to make sure the final result matches the 3D design to the millimeter.
Similar work from other experts
Browse through Curated picks from other experts on mytribe
 18
18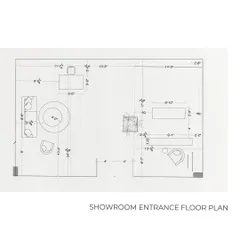
Our Design Process: From Conceptual Renders to Reality
Our Design Process: From Concept to Completion
Our Interior Design Process: From Concept to Reality
 10
10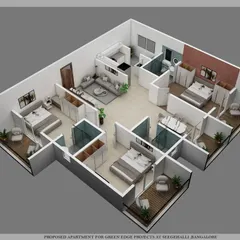

Our Architectural Design Process: From Vision to Reality
Our Transparent Design and Execution Process
 30
30From Mood Boards to Reality: Our Design Journey
Looking for something else?
Explore our other design services and project types.
More from Interior Design by Anusha Kanchapler
More services by Anusha Kanchapler