Bridal Mehendi Technique and Precision Art
Get an inside look at my application process. From the initial layout to the final 3D detailing, I use a steady hand and natural ingredients to create a deep, rich stain that lasts.
A close-up video showing the precision and steady hand required to create fine lines and intricate details.
This video shows the process of applying a traditional design, from outlining the main motifs to filling in the details.
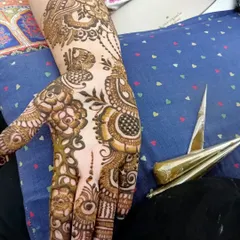
Watch as I apply a detailed bridal design, showcasing the techniques I use to create different textures and patterns.
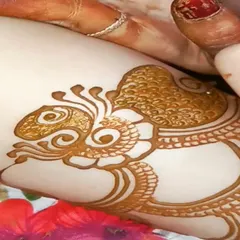
A before-and-after look at an elephant motif, showing the initial outline and the final filled-in design.
This image shows the design just after application, before the henna stain has developed. The red spots are from a patch test to ensure no skin sensitivity.
This video shows the process of filling in a detailed pattern on the wrist, demonstrating my careful application technique.
A satisfying close-up video of 3D henna work, where small dots are applied to create a raised texture.
Watch as I add the final touches to a detailed design featuring peacocks, jhumkas, and lotus flowers.
This video shows the application of 3D hearts, a popular modern element that adds a unique texture to the design.
A close-up video of 3D henna application, showing how I create raised patterns for a stunning effect.
About The Artist's Process
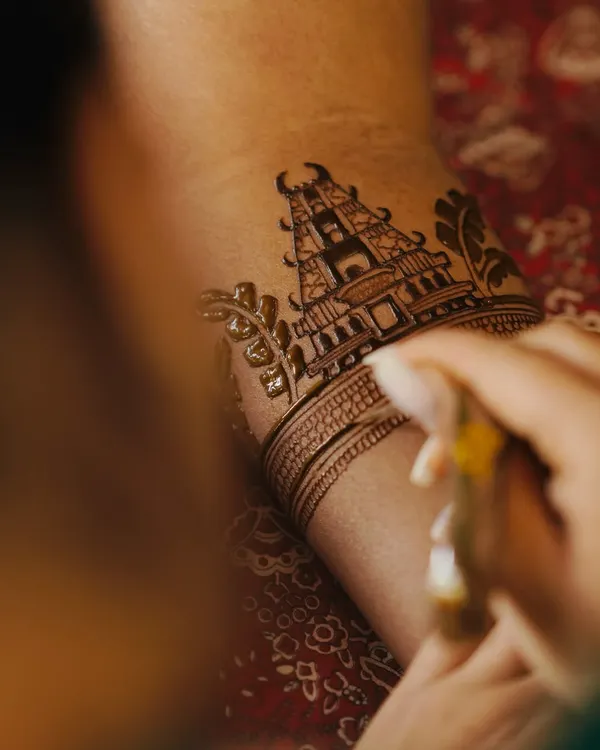
Every design you see here begins with high-quality, triple-sifted Sojat henna powder mixed with essential oils for a deep, dark stain. I start by sketching the main motifs—like elephants, peacocks, or architectural elements—using a light outline to ensure symmetry and placement before applying the final, dense filling techniques that give my work its signature rich look.
When I work on a bridal design, my focus is on precision and durability. I specialize in both traditional Marwadi styles and modern 3D henna application. For 3D designs, I carefully layer the paste to create a raised texture that adds depth to motifs like lotus flowers and hearts, ensuring they stand out in your wedding photos.
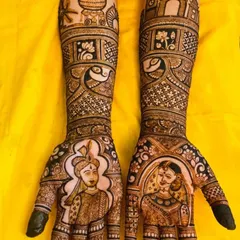
My application process involves several steps to achieve the deep color you want. First, I map out the placement of major elements, such as portraits or couple initials, to make sure they sit comfortably on your palms or arms. Then, I work on the fine-line shading using high-quality natural henna cones. After the application, I use a lemon-sugar sealant, which helps the henna stay on the skin longer to develop a darker, long-lasting stain.
Whether you are choosing a heavy bridal design that goes up to your biceps or a more delicate, intricate style, I ensure the density of the pattern is balanced. If you are curious about how these designs will look on your skin or want to test the color intensity, I offer a free trial at your home in Bangalore. This session allows us to test for skin sensitivity and gives you a chance to see my steady hand and application speed before your wedding day.
Similar work from other experts
Browse through Curated picks from other experts on mytribe
 11
11
Inside My Mehendi Process in Bangalore
Mehendi Application Process and Techniques
The Art of Precision Mehendi
 4
4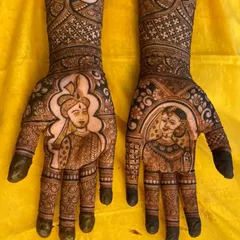
My Artistic Process & Natural Henna Secrets
100% Organic Bridal Mehndi & Application Process
My Organic Henna Process & Bridal Designs
More from Bridal Mehndi by Vijay Singh
More services by Vijay Singh