Behind the Scenes: My Cinematic Editing Process
See how I transform raw footage into high-energy brand films. This is a transparent look at the tools, the timeline, and the editing decisions that define my work.
A screen recording of the Premiere Pro timeline for the MG ZS EV film. This breakdown shows the intricate layering of video clips, sound effects, and music that goes into creating a polished final product. It offers a transparent look at my editing workflow.
A before-and-after clip demonstrating the color grading process for the MG film. This visual shows how raw, flat footage is transformed into a vibrant, cinematic shot, highlighting a crucial step in my post-production process.
This clip shows the speed ramp curve in After Effects used for the MG film. It's a technical detail that demonstrates how I manipulate time to create dynamic and smooth transitions, adding a professional touch to my automotive videos.
A look at the equipment used for the MG shoot, including the Sony ZV-E1 camera and DJI RS 3 gimbal. Showcasing my gear builds confidence in my technical capabilities and my investment in professional-grade tools.
This clip reveals the visual effects process for the MG film, showing how the car was animated to deconstruct and reassemble. This demonstrates my skills in VFX and post-production, which are essential for creating modern and eye-catching commercials.
About The Creative Process
People often ask how I achieve that specific 'premium' look for automotive and tech brands. It is rarely about one single camera setting. Whether I am shooting a sleek EV or a new gadget, the real magic happens in post-production. I start with flat log footage and spend hours on color grading and speed ramping in Premiere Pro to build a mood that actually keeps viewers watching. Here is how I break down the chaos into a final film.
From Raw Footage to Final Film
Editing isn't just cutting clips. It is about rhythm, flow, and intent. When I edit a project, my focus is on syncing the visuals with the audio beats to create a fast-paced experience.
The Gear That Matters I rely on a mix of technical power and agility. For my automotive work, I use the Sony ZV-E1 paired with a Sigma 35mm f/1.4 lens to capture sharp, cinematic depth. To get those smooth, rolling car-to-car shots, I use the DJI RS 3 gimbal. Crucially, I always use CPL filters to kill reflections on car glass and paint. Without those, the footage just looks amateur.
My Workflow
- Pre-Production: I don't just show up and shoot. I plan the shot list, check sun positions for the best lighting, and finalize the mood board.
- The Shoot: I record in 4K S-Log to get the maximum dynamic range. This gives me the data I need to grade the footage later.
- Post-Production: This is the deep work.
- Color Grading: I push the colors to get that high-contrast, moody look, or a specific teal and orange aesthetic depending on the brand.
- Speed Ramping: I manipulate time within After Effects to make transitions feel fluid and fast.
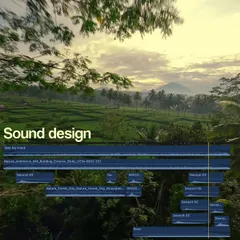
- Sound Design: I layer engine noises, ambient sounds, and foley effects to make the video feel immersive.
If you have a brand story that needs to be told, I am not just looking for a client—I am looking for a partner who wants to build something real.
Similar work from other experts
Browse through Curated picks from other experts on mytribe
 7
7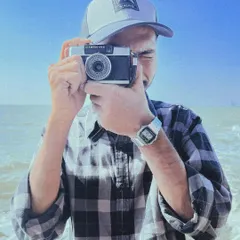
Behind the Scenes: My Process of Filmmaking
Cinematic Video Editing and Post-Production
Behind the Scenes & Photography Tutorials
 11
11The Filmmaker's Craft: My Camera Settings & Cinematic Editing Tips
Behind the Scenes of My Creative Process
 10
10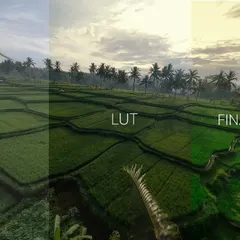
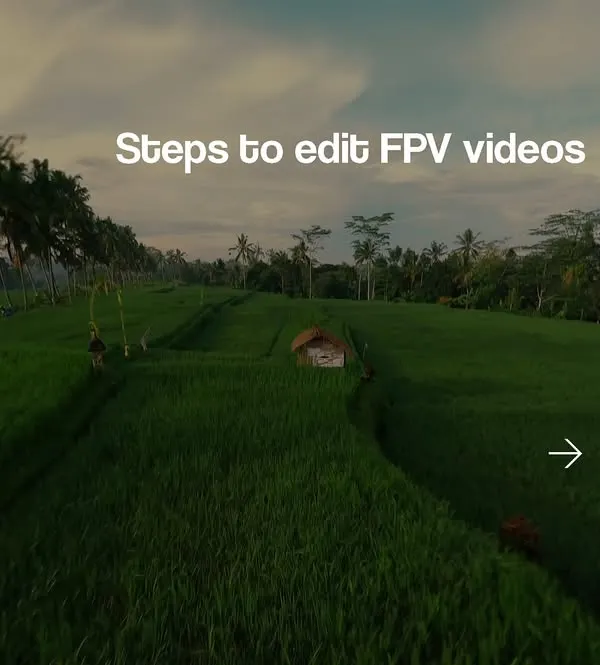
Mastering FPV Post-Production & Video Editing
More from Commercial & Brand Videography by Priyansh M Jain
More services by Priyansh M Jain