The Artistic Process Behind Custom 3D Relief Art
Ever wonder what goes into a 3D relief painting? From the first sketch on canvas to the final varnish, here is a look at the patience and craft that turns raw materials into a custom piece for your wall.
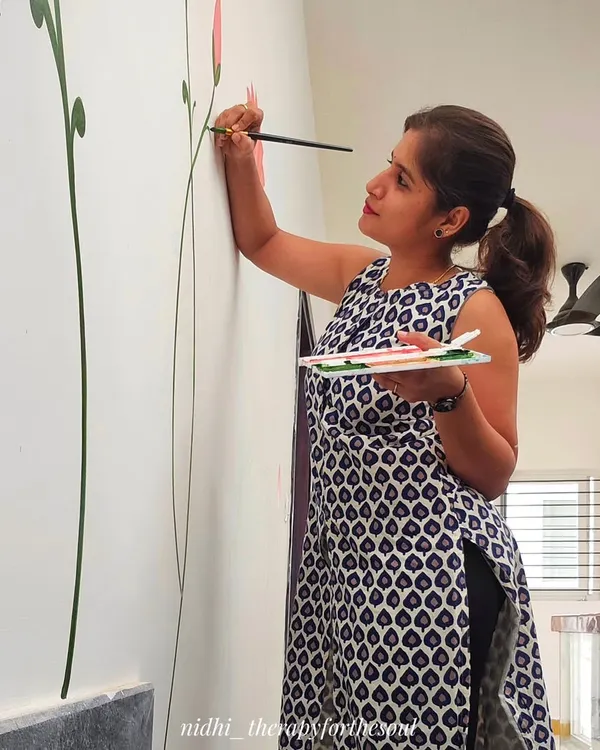
Day 1 of a custom 3D relief painting. Here, I am starting with the first layer of texturing on a large canvas to create a Paris-themed artwork, sketching out the Eiffel Tower.
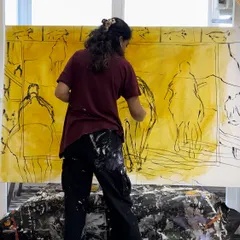
Day 2 of the Paris painting. I am adding more details to the 3D relief texture, building up the trees, park benches, and lampposts to create a sense of depth and environment.
Day 3 of the work in progress. The magic lies in the details. Here, I am sketching a couple and their puppy and refining the textures on the trees before the painting begins.
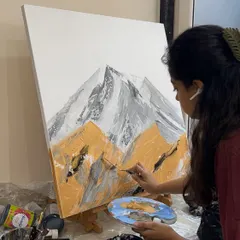
Day 4, focusing on the fine detailing of the Eiffel Tower's grill work. This stage requires a steady hand and patience, but it is essential for creating a realistic and intricate final piece.
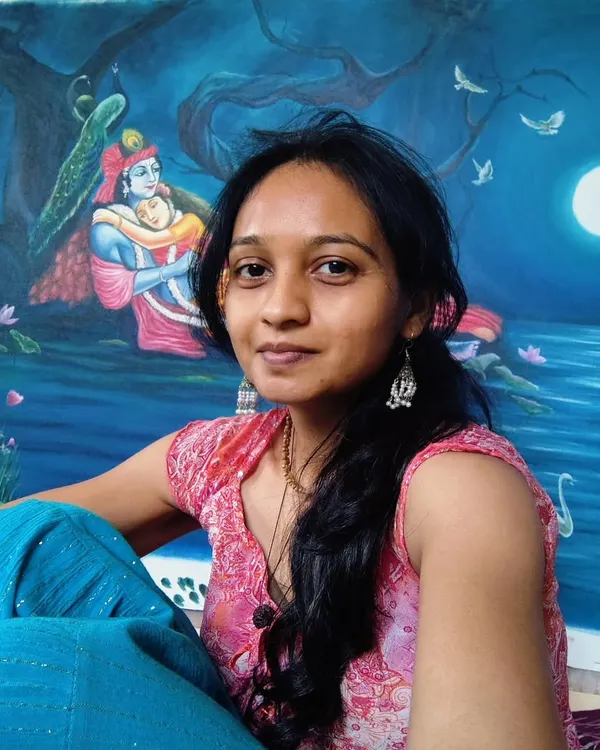
A personal photo of the three generations behind Ridhimaa Creations: my grandmother, my mother, and me. We share a love for art and work together, and they are my biggest inspiration.
About The Artistic Process
It starts with the right medium. When I build a 3D relief piece, I use a specific mix of modelling paste and epoxy clay to create the depth you see in my murals. It is a slow, methodical process, layer by layer, where the texture has to dry completely before I even pick up a brush to paint. If you rush the drying, you lose the definition, so I work in stages to ensure the structure holds up for years.
A painting is not just an image on a wall; it is the result of hours of layering. In my studio, a 3D relief project is a multi-day journey. Whether it is an architectural motif like a Jharokha or a detailed cityscape, the foundation is everything.
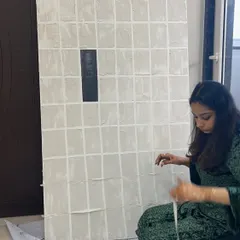
I begin by sketching the design directly onto the canvas. Then comes the structural work. Using modelling paste and high-quality epoxy clay, I hand-mould the raised elements. This is not something you can speed up. Each layer of texture needs time to set properly. This is where patience is key—rushing this stage can lead to cracking, which defeats the whole purpose of a durable art piece.
Once the structure is rock solid, I move to the detailing. This is where I refine the edges, ensuring the 'pop' of the relief is sharp and clean. Only after this base is fully cured and sealed do I apply the artist-grade acrylics. This dual-layer approach is why my nameplates and murals have that distinct, tactile feel. It is not just something you look at; it is something with character you can touch.
When you commission a custom piece, you are not just buying a painting. You are involved in the process where we decide on the theme, the color palette, and the level of relief you want. It is art, crafted with care, right here in Kadubeesanahalli, ready to become a centerpiece in your home.
Similar work from other experts
Browse through Curated picks from other experts on mytribe
Behind the Scenes of My 3D Texture Art Process
 9
9

From Sketch to Wall: The Creative Process Behind My Murals
 7
7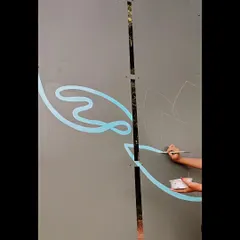
Behind the Scenes: My Creative Process
Behind the Scenes: My Artistic Process
 13
13
Behind the Scenes: Custom Canvas Art & Mural Process
 135
135
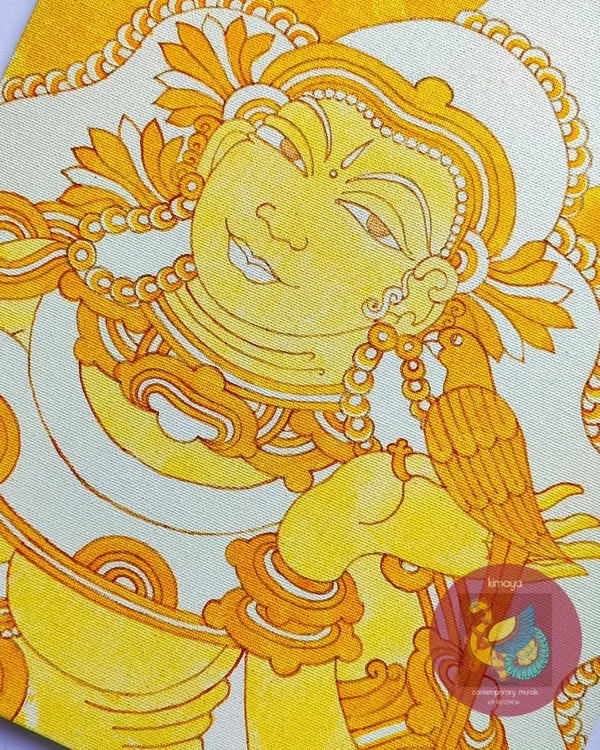
See How I Create My Kerala Mural Paintings
Find the art style that fits your space.
Enter a keyword to explore specific art categories or services.
More from Commissioned Art & Handcrafted Products by Ridhimaa Creations
More services by Ridhimaa Creations