Behind the Scenes of My 3D Texture Art Process
I build every detail by hand using clay and texture paste, a patient, layered process that brings a unique tactile energy to your walls.
This video shows the transformation of a plain board into a lush, textured artwork. You can see the process from the initial chalk sketch to the application of clay, bringing the botanical design to life layer by layer.
I love sharing the journey of creating a piece. This time-lapse shows me at work on a large, rust-colored wall in Bangalore, carefully sculpting each floral and vine element by hand.
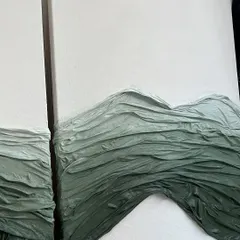
Here, I am working on a delicate white-on-white texture mural. The process involves careful sanding and shaping to achieve a smooth, elegant finish that enhances the space without overwhelming it.
A behind-the-scenes look at the creation of a detailed texture wall in a luxurious Delhi residence. The video shows the patient layering and painting process required to achieve such an intricate and delicate final result.
Work in progress on a Sunday in Bengaluru. This video shows various stages of creating a large, airy botanical mural in a bedroom, from working on a ladder to adding fine details up close.
See the fine details come to life in this close-up process video. I am smoothing and shaping the clay to form delicate petals and leaves, a crucial step in creating the final three-dimensional effect.
A candid shot of me working on a large, three-panel mural in a Mumbai apartment. Creating large-scale art requires focus, patience, and a steady hand, especially when working on a ladder.
This video captures the quiet, focused moments of creating a 3D mural. I am meticulously applying texture paste to build up the design, slowly bringing the vision for this Hyderabad home to life.
About The Art of Texture: A Look Behind the Scenes
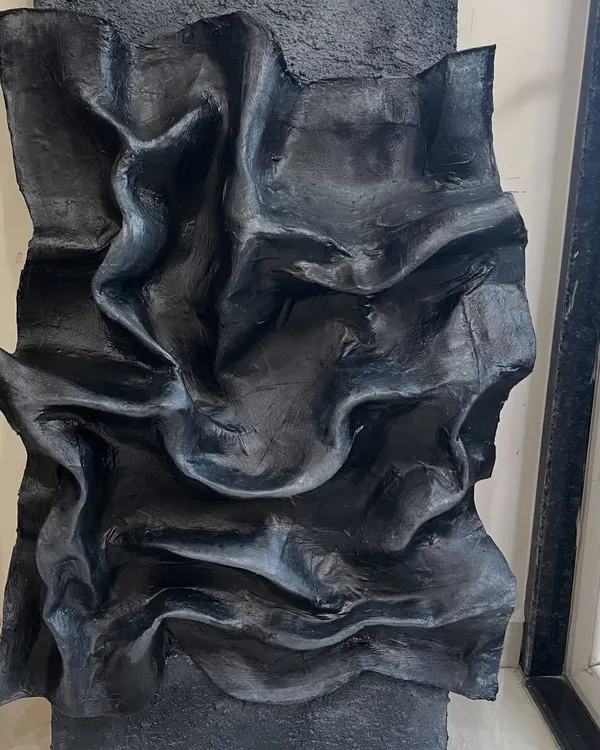
Creating 3D texture art isn't as simple as picking up a brush. It takes 5-8 days on-site, building, drying, and sanding layers of clay to get that perfect, touchable relief. It’s a messy, labor-intensive process, but seeing the botanical lines harden on the wall makes the fine dust and the hours spent on the ladder entirely worth it.
How I Build a Texture Mural
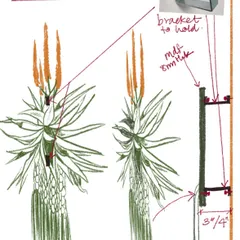
Every project starts with a conversation. Before I even touch a wall, I need to see the space. The surface matters—I need a smooth, putty-finished base to ensure the clay bonds properly. Once I’m on-site, I sketch the design directly onto your wall. This isn't a pre-planned print; it’s a living drawing that evolves as I work.
The Layered Process
I build the art using a mix of high-relief modeling clay and texture paste. I work in stages, adding volume and letting it dry. Because this involves physical sculpting, it’s not an overnight job. I need intervals for drying between layers to ensure the structural integrity of the 3D relief.
What to Expect During the Work
If we’re doing an on-site mural, please keep in mind that this is a hands-on construction project, not just painting. Sanding down the relief creates fine dust, so I ask that you cover your furniture and floors before we start.
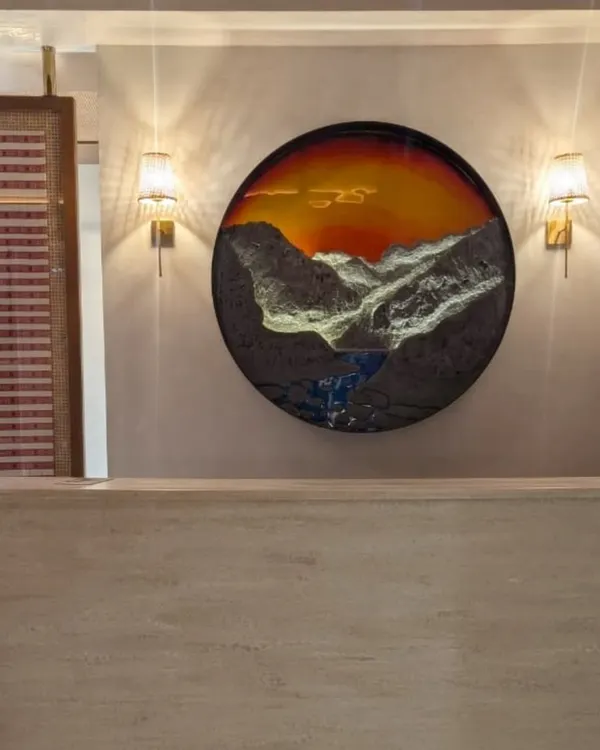
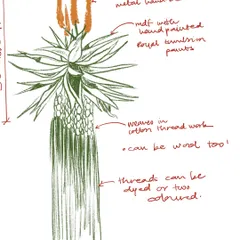
Once the relief is sculpted and dry, I finish it with a premium emulsion top coat or hand-painted details. Whether you want a subtle, monochromatic white-on-white finish or something with bold color accents, the final result is a custom piece of art that you can actually feel.
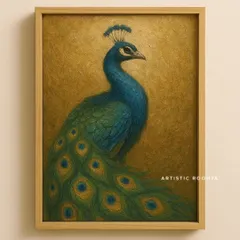
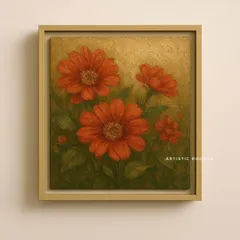
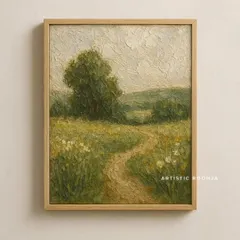
Similar work from other experts
Browse through Curated picks from other experts on mytribe
Behind the Scenes: Our Handmade Mural Process
3D Sculpted & Relief Wall Murals
 78
78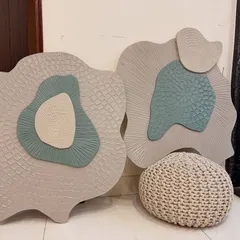

Sculptural & 3D Textured Art
 5
5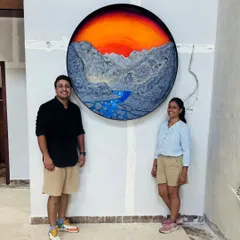
Textured & Mixed-Media Wall Murals
Textured and Nature-Inspired Art
The Artistic Process: From Sketch to Mural
Looking for something else?
Explore other artistic services or styles by The Art Pitcher.
More from 3D Textured Artwork by Aanchal Gupta
More services by Aanchal Gupta