From Plan to Planted: The Installation Process
A look behind the curtain at how we transform bare walls into vibrant, living installations, from the initial structural framework to the final plant placement.
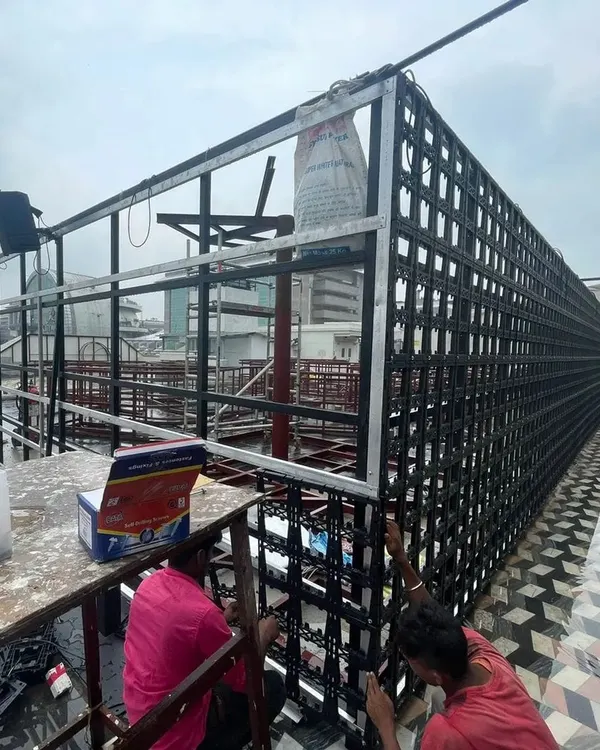
The beginning of a project at a Godrej office in Vikhroli. I start by installing a sturdy metal grid that will support the planters and irrigation system.
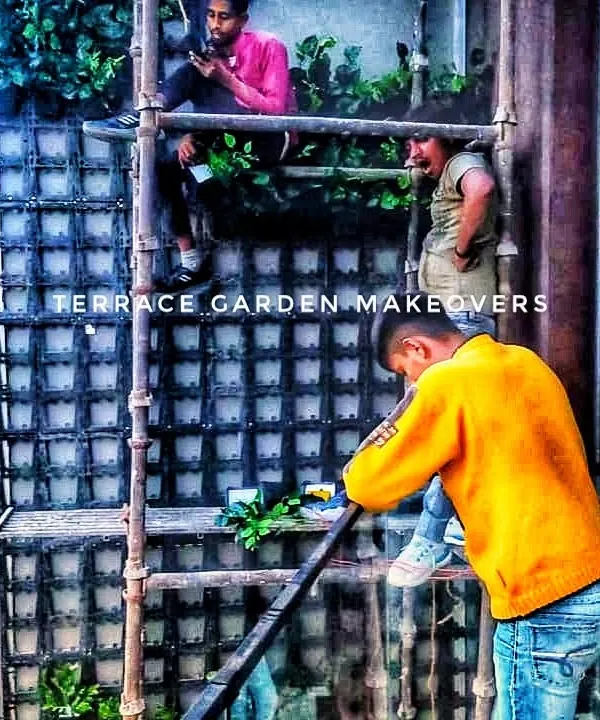
The Godrej office project partway through. You can see how the planters are attached to the grid and how the plants are arranged to create a flowing, organic design.
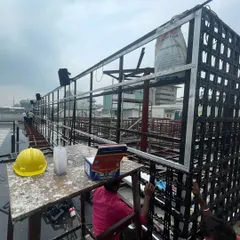
Another "coming soon" view of the Godrej office installation. The empty grid is ready, and the healthy plants are waiting to be placed, showing the preparation that goes into each project.
My team member carefully installs plants into the grid system for the SBI Securities living wall. Each plant is placed by hand to achieve the desired design.
The installation of a living wall at a reception desk. This behind-the-scenes shot shows the framework and the initial layers of plants being added.
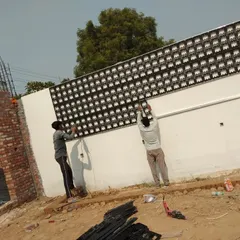
My team installing a wooden trellis for a vertical planter display. This shows the craftsmanship involved in creating custom solutions for my clients.
A work-in-progress shot of a custom artificial wall piece. My team is assembling the frame and foliage that will surround a decorative Buddha statue.
This video shows my dedicated team working on a garden makeover and maintenance. I offer monthly plant care packages to keep your living walls and gardens looking their best.
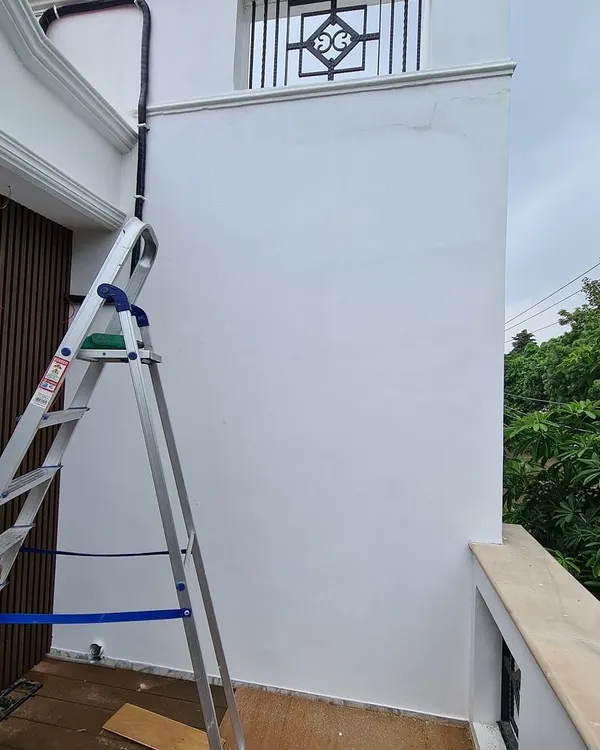
A powerful before-and-after. A simple balcony with a table and chair is transformed into a serene retreat with a custom living wall and an integrated Buddha fountain.
About From Plan to Planted: The Installation Process
Every successful wall starts with a solid foundation, usually a custom metal grid or moisture-resistant plywood frame. We bolt this directly to your wall or grill, ensuring it is completely level and secure, before we even consider adding a single plant. This structure prevents wall dampness and provides the essential support for the weight of the pots and irrigation lines.
The process of bringing greenery indoors involves several technical stages to ensure the installation looks good and stays healthy.
The Structural Framework
Whether we are working on a massive reception wall at a corporate office like Godrej or a private balcony, the first step is the frame. We use powder-coated metal grids or marine-grade plywood, depending on the wall surface. This spacing is critical, as it creates an air gap between your wall and the plants, preventing dampness and structural damage over time.
Irrigation and Life Support
For our living walls, the most important work happens behind the scenes. We install a hidden network of 16mm pipes with individual emitters for each plant. This drip irrigation system ensures that your vertical garden gets consistent water without you needing to manually water anything. For artificial walls, we focus on depth, manually inserting ferns and grasses into the base mats so they do not look like flat, static plastic.
Planting and Finishing
Once the structure and irrigation are tested, we begin the placement. We group air-purifying species like Philodendron and Ferns based on your space's specific light conditions. We place every plant by hand, ensuring that the roots are secure in sterile, lightweight media that minimizes the load on your walls. After the final wipe-down and check, your space is ready to breathe.
Similar work from other experts
Browse through Curated picks from other experts on mytribe
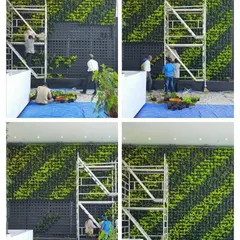
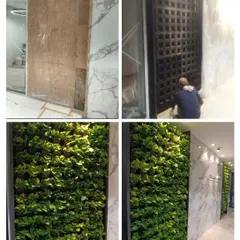
Our Vertical Garden Installation Process
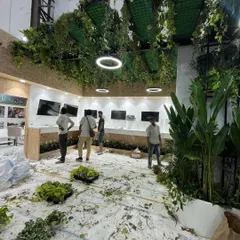
Green Wall Installation: From Blank Wall to Living Garden
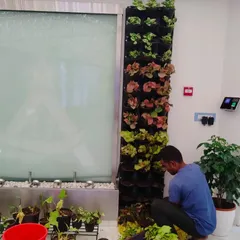
Green-Wall Installation and Maintenance in Action
 6
6Behind the Scenes: Our Vertical Garden Installation Process
 4
4
Our Vertical Garden Installation Process
 6
6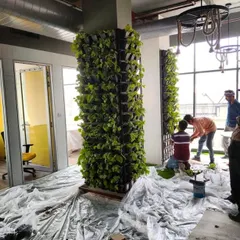
Behind the scenes: How we build vertical gardens
More from Vertical Garden Installation by Passionate Plant Parents
More services by Passionate Plant Parents