Our Vertical Garden Installation Process
A beautiful wall of plants needs more than just greenery. Behind every lush vertical garden we install, there is a sturdy framework and a professional planning process designed to keep your walls safe.
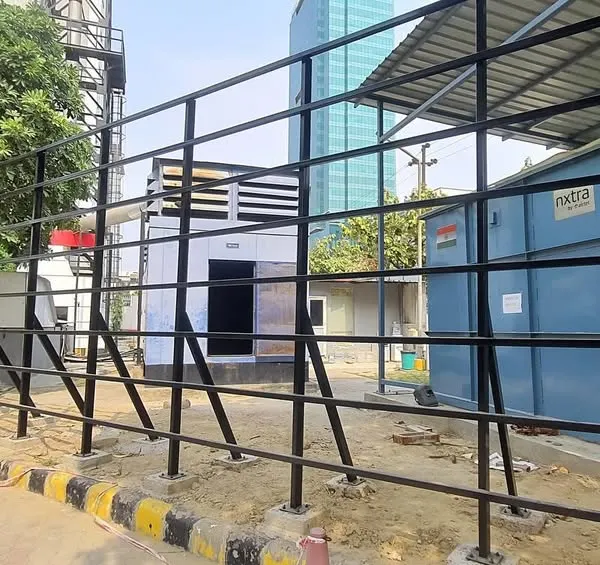
This is the starting point for many of my projects: a plain, empty balcony wall. This is the "before" picture that I love to transform.
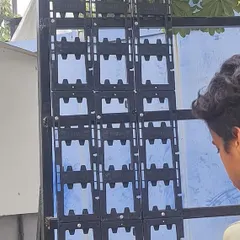
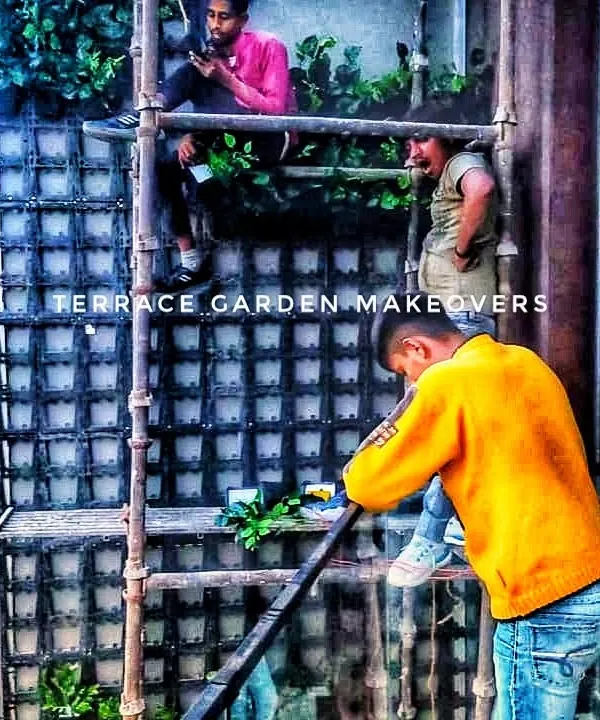
Here, you can see my team beginning the installation. We are carefully mounting the interlocking grid panels that will form the base structure of the vertical garden, ensuring it is secure and perfectly aligned.
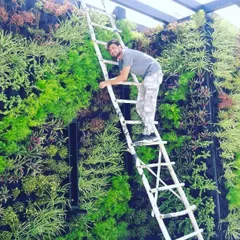
A closer view of the installation in progress. One of my team members is on a ladder, fixing the final sections of the grid to the wall. This durable framework is essential for supporting the weight of the plants and the irrigation system.
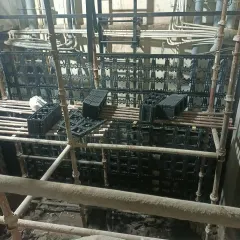
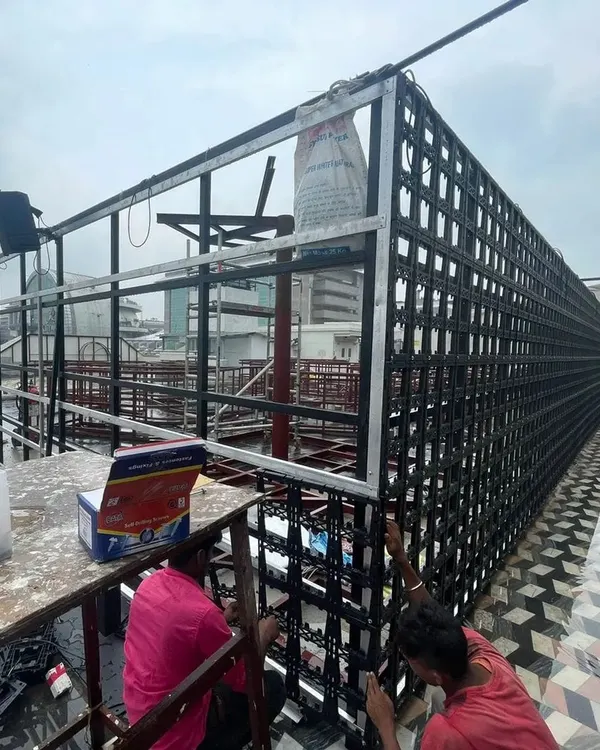
This image shows the installation of a much larger vertical garden frame on an exterior wall. You can see my team securing the extensive grid, preparing the foundation for what will become a large living wall.
About The Installation Process: From Start to Finish
A vertical garden is only as good as its foundation. We do not just mount plants to your wall; we first install a rigid, mild steel grid framework with an air gap between the structure and your wall. This gap prevents water seepage and dampness, which is the most common issue people face after installation. Whether it is a small balcony or a large commercial facade, this base ensures your green wall remains strong and healthy for years without damaging your paint.
How We Build Your Green Wall
When we take on a project, we focus on the technical details so you do not have to worry about the upkeep.
1. Site Assessment & Design We start by looking at your wall's sunlight levels. A wall in direct sunlight needs different hardy varieties like Bougainvillea or specific tropical plants compared to a shaded office reception. We plan the zoning or wave patterns of different leaf textures and colors before any work begins.
2. The Framework We drill an MS (mild steel) grid into your wall. This acts as the backbone for the entire system. It holds the modular pot system securely, allowing us to create even coverage. Because it is bolted on with an air gap, your actual wall remains protected from the moisture of the living plants.
3. Irrigation & Planting For our living biowalls, we install a 16mm lateral pipe system with individual drippers for every pot. We fill these with a lightweight soil-less mix (Cocopeat, Perlite, and Vermicompost) to keep the weight down while providing nutrients. We use around 10 to 12 plants per square foot to ensure that 80 to 90 percent of the wall is covered immediately after installation.
4. Maintenance Support We do not disappear after the setup. For living walls, we can arrange maintenance visits to handle pruning, nutrient replenishment, and checking the irrigation valves. If you choose our artificial options, the installation is simpler and requires zero water, but we still ensure the panels are joined seamlessly so you get a lush, wild look without any visible gaps.
Similar work from other experts
Browse through Curated picks from other experts on mytribe
 11
11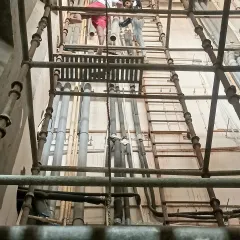
Building Your Vertical Garden From Scratch
 6
6Behind the Scenes: Our Vertical Garden Installation Process
From Plan to Planted: The Installation Process
 6
6
Behind the scenes: How we build vertical gardens


Vertical Garden Installation Process and Plant Expertise
Our Green Wall Installation Process
More from Vertical Garden & Green Wall Installation by Urban Green Nursery
More services by Urban Green Nursery