Professional Nail Art Techniques and Creative Designs
A collection of my favourite experiments and techniques. From gold foil accents to mastering 3D gel waves, this is where I showcase the details that make a manicure stand out.
A quick look at applying gold foil to a nail. This is a simple way to add a touch of luxury to any design.
Another glimpse into my work, showing the application of gold foil onto a rich brown polish.
A mini tutorial showing a beautiful design that combines ombre, cat eye, foil, and 3D gel waves. This demonstrates how you can layer multiple techniques for a unique result.
This video shows how to use solid gel polish. I demonstrate how to pick up the product with a brush and apply it in two thin coats for a smooth, pigmented finish.
A quick tutorial on how to achieve a perfect gel polish application. I show how to use a thin brush to create a clean guideline around the cuticle for a flawless look.
About Additional Work
Everyone loves the look of a perfect manicure, but the secret really lies in the technique. Whether it is applying delicate gold foil or mastering 3D gel waves, I always emphasize controlling your product flow and curing times. If your gel is lifting or your waves look blurry, it is almost always about the application process, not the product quality. Understanding these small details is what transforms a basic design into a professional finish.
Mastering the Details
Nail art is much more than just painting on colors. In this collection, you will see a mix of techniques that I regularly teach in my sessions at the TNB Studio in Ghaziabad.
1. The 'One Hair Line' Rule If you see my gel polish work, you will notice clean cuticle lines. This is not magic; it is the 'one hair line gap' technique. Keeping the product slightly away from the cuticle and sidewalls is the single most important step to prevent lifting and ensure your client's nails last for weeks.
2. Texture and Layering Designs like 3D gel waves or the cat-eye foil mix require patience with the nail lamp. For 3D waves, I use builder gel and cure in short bursts of 10 seconds. If you skip this, the gel levels out, and you lose that crisp, raised look. It is about working with the product's viscosity.
3. Practical Application When applying solid gel polish, it is tempting to use a thick brush, but a thin liner brush gives you control. I demonstrate how to pick up the product and apply it in thin, even coats. Two thin layers will always cure better and look smoother than one thick, gloopy layer.
Learn These Techniques
I believe anyone can learn these skills with the right guidance. Whether you are struggling with messy cuticles, uneven application, or want to master trending designs like 3D art, my courses cover the 'why' and 'how'. I don't just show you the final result; I show you the process, including the mistakes to avoid. If you are ready to stop guessing and start creating clean, professional sets, I am here to help.
Similar work from other experts
Browse through Curated picks from other experts on mytribe
Master Advanced Nail Art Techniques
Glitter, Chrome & Special Effects Nail Art
 27
27
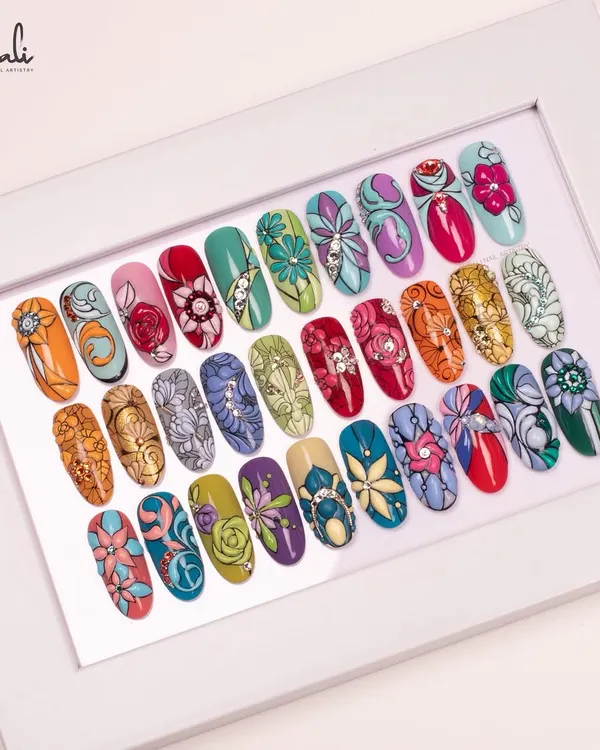
Original Nail Art Design Portfolio
Creative Nail Art Designs & Custom Styles
 4
4
Custom Nail Extensions & Creative Art Designs
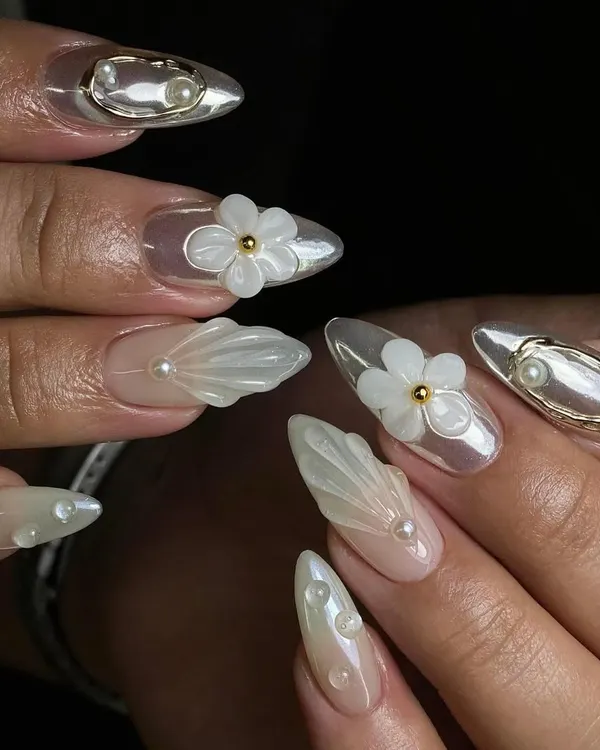 45
45
Advanced 3D Nail Art and Sculpted Designs
More from Professional Nail Art Training by Srishti Tiwari
More services by Srishti Tiwari