Portrait & Figure Sketching Courses
Move beyond the basics to capture the human spirit on paper. From understanding skull structure to mastering lifelike expressions, our portrait and figure drawing modules focus on steady, guided practice to help you see the world as an artist.
How do you start a portrait? We begin with the fundamentals of head study, learning proportions and angles before moving on to capture the unique spirit of a person.
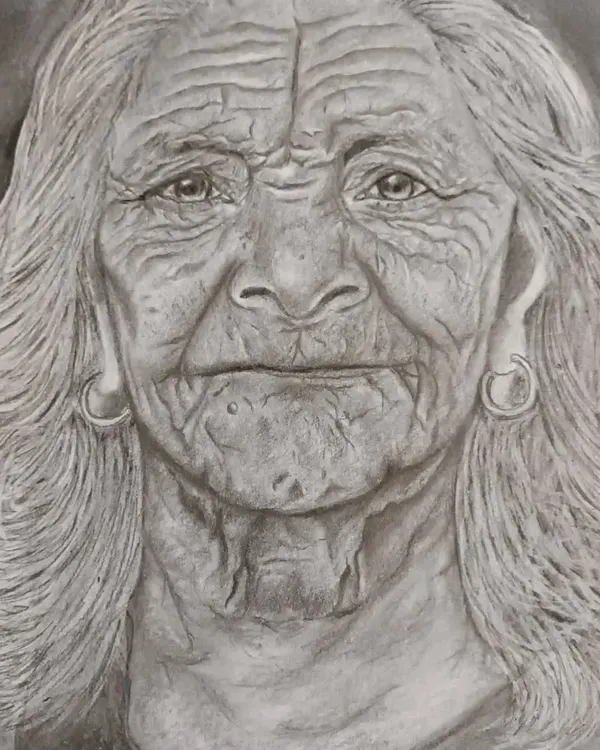
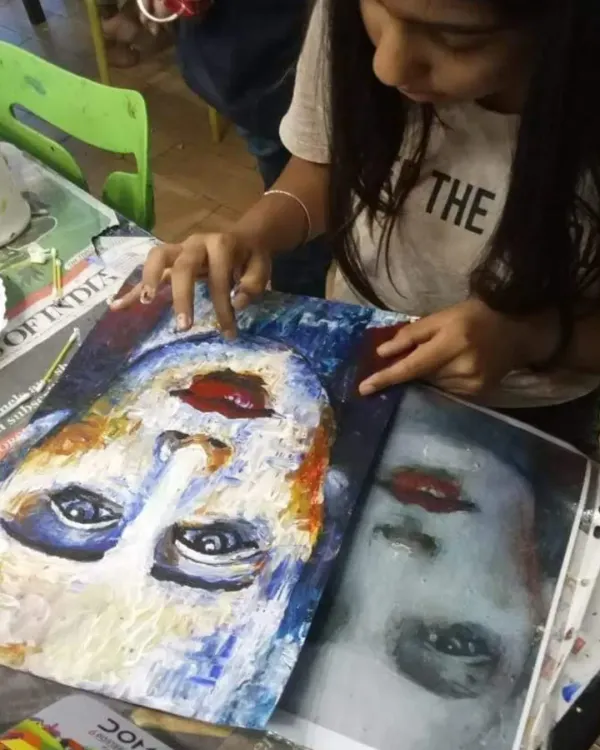
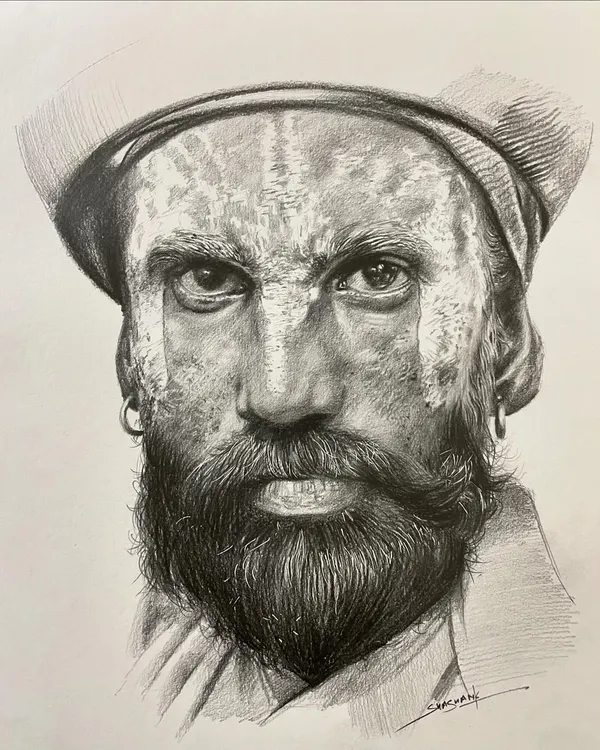
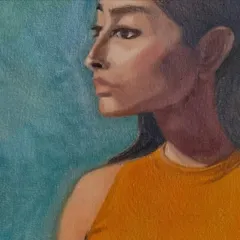
A portrait is more than just a likeness; it's a story told through light, texture, and expression. This video shows the process of bringing a face to life with pencil.
A study sheet showing the breakdown of facial features. We teach students to observe and draw each part of the face, from eyes and noses to the structure of lips.
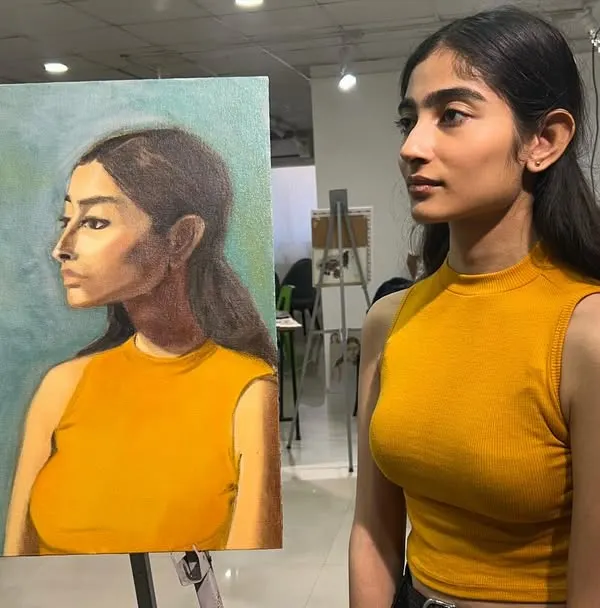
An example of using the Loomis method for head construction. This grid helps students understand the proportions of the head from a side profile.
The key is "Head Study". This front-view construction shows how we map out the face to ensure all features are placed correctly.
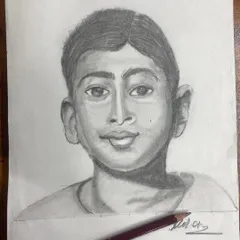
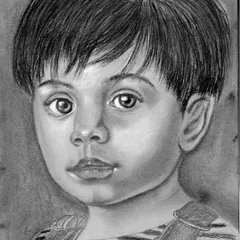
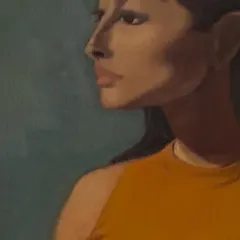
Practicing drawing the head from different angles is crucial for creating believable portraits. This sketch demonstrates a three-quarter view.
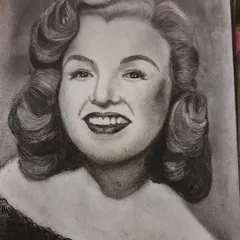
This video breaks down the different types of strokes used to create realistic hair, from hairline strokes to side vanishing strokes that give form and flow.
A close-up of an instructor demonstrating how to sketch a portrait. We believe in learning by doing, with live demos to guide you.
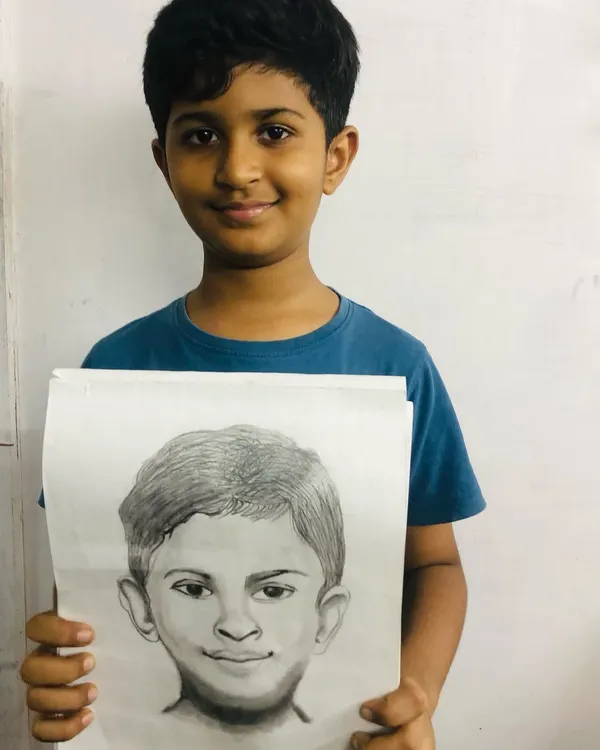
From a blank page to a finished portrait sketch. This video shows the progression of a student's work in our classroom.
A page from a student's sketchbook filled with character studies. We explore different face shapes, hairstyles, and expressions to develop unique characters.
About Capturing Life: Portrait & Figure Sketching
Many beginners struggle with portraits because they try to draw the 'idea' of a face rather than what is actually there. In our studio, we strip that away by teaching you to map the skull first—using the Loomis method and structural grids—so you stop guessing and start seeing the underlying anatomy that gives every portrait its weight and realism.
Building a Portrait, Step-by-Step
We believe there are no shortcuts to capturing a likeness. Whether you are working with charcoal or graphite, our approach in the Jayanagar studio is built on the fundamentals of observation. We move from abstract shapes to specific features, ensuring your hand understands the form before you worry about the detail.
What we cover in our modules:
- Skull Structure: Before drawing eyes or lips, we map the head. Understanding the underlying bone structure is the difference between a flat drawing and a lifelike portrait.
- Feature Placement: Using grids and the Loomis method, we teach you how to place features so your subjects don't look distorted.
- Light & Shadow (Chiaroscuro): You will learn to use charcoal and graphite to build volume, understanding how light falls across the planes of a face.
- Expression & Character: Once the foundations are set, we move into figure drawing and character design, exploring how to exaggerate features to convey emotion without losing the essence of the person.
The Gurukul Environment
Our classes are not about volume; they are about focus. We limit our batches to 8–12 students. This isn't just a lecture; it is a space for constant feedback. If you are stuck on a specific shading technique or struggling with facial proportions, we sit with you to troubleshoot the stroke, not just correct the result.
We provide the space—a quiet, wooden-desk environment—but the growth comes from your consistent effort. If you are ready to move from simple sketching to capturing the nuance of human emotion, we are here to help you get there.
Similar work from other experts
Browse through Curated picks from other experts on mytribe
Charcoal and Pencil Portrait Classes in Bangalore
 10
10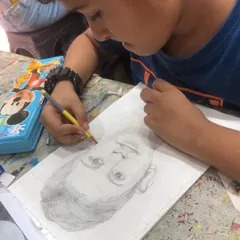
Portrait Sketching and Pencil Shading Classes
 15
15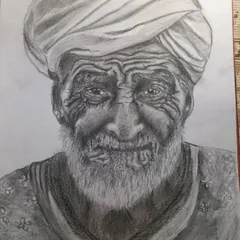
Pencil and Charcoal Portrait Workshops
 14
14Portrait & Sketching Courses
 73
73Figure Drawing & Pencil Portrait Sketching
 8
8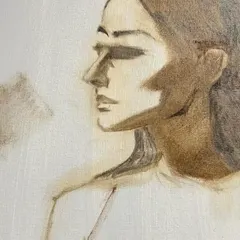
Portrait Painting & Figure Studies
More from Sketching & Drawing Courses by Pencil and Chai
More services by Pencil and Chai