Behind the Art: My Process & Demos
I believe mehnat (hard work) is the key to every great design. This is a look at how I build my art, step by step, for both my brides and my students.
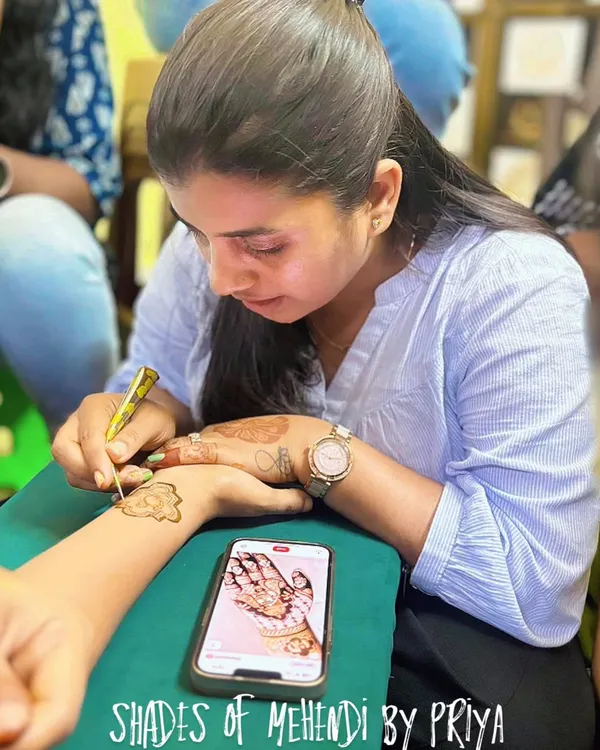
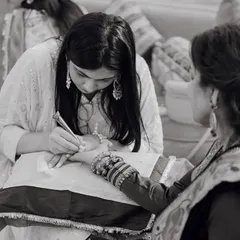
"Mahenat karo, success to jakhh mar ke pichhe aayegi." A video of me demonstrating a traditional figure design for my students, sharing my belief in hard work.
A video showing a demonstration for my students on creating intricate bridal bands with peacock and sacred fire motifs.
A step-by-step video on how to create and fill an elephant motif. This is a great example of the techniques I teach in my classes.
A bridal design with various elements like an elephant, kalash, and peacock, created as a demonstration piece for my students.
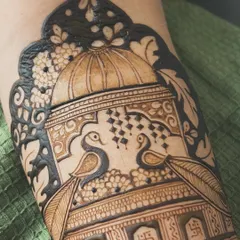
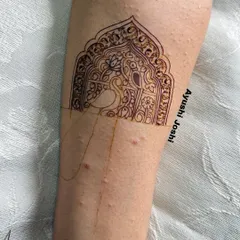
A close-up of the peacock and lotus motif from the student demo piece. The shading gives the peacock's feathers a beautiful, realistic texture.
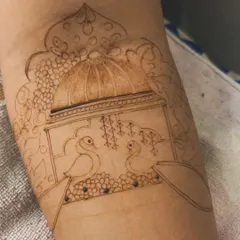
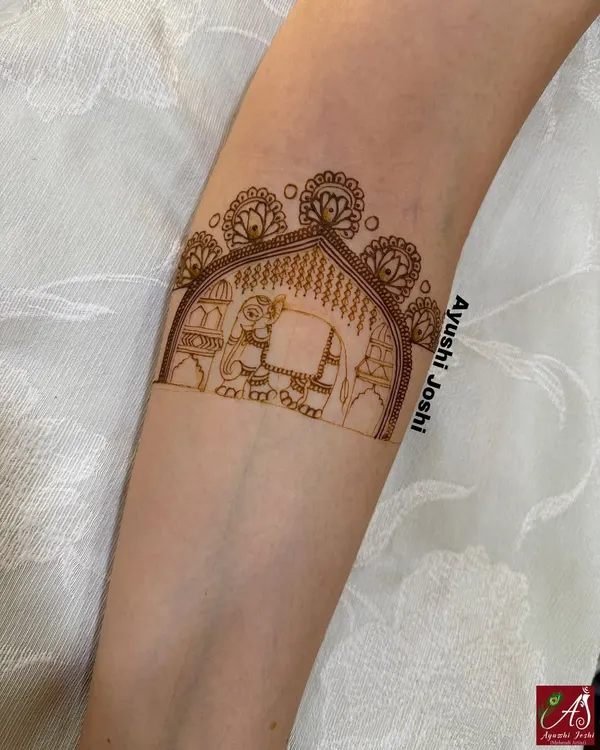
The initial outline of the elephant and kalash motifs for the student demo. A clean sketch is the most important first step.
The outline version of the peacock and lotus design, showing the clean lines before shading is applied.
The final filled version of the peacock and kalash arm band, showing the bold contrast and intricate details.
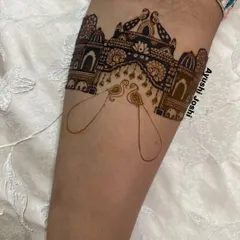
A designer peacock arm band, created as a demo piece. The henna cone is placed next to it to show the tool of my trade.
The palm design that accompanies the Ganpati and peacock arm bands, featuring a hand holding a kalash.
About Behind the Art: My Process & Demos
Before a single drop of henna touches skin, I focus on the skeleton of the design. Whether it’s an intricate peacock or a bride-and-groom portrait, I start with clean, structured outlines. This isn't just for practice; it’s the exact method I use for my bridal work to ensure symmetry and flow, which I teach in my 40-day government-certified course in Mumbai.
A good design begins with a clean sketch. My process involves precise, deliberate lines that form the foundation for every piece I create. In my studio, I don't believe in shortcuts. Whether I am demonstrating a technique for a student or working on a bridal hand, the sequence remains the same: planning the composition, establishing the symmetry, and then building the depth through shading and filling.
I share these demonstrations because I want my students to understand that complex figurative work, like Radha-Krishna portraits or intricate Baarat scenes, comes from mastering the basic lines first. My 7 years of experience as a Mumbai mehandi artist have taught me that the difference between a generic pattern and a professional piece is the quality of the henna application and the patience during the outlining phase.
I use my own organic, home-made cones for all these demos. Using high-quality ingredients ensures that the lines are crisp and the staining process is optimal. For those interested in learning, my courses cover everything from handling the cone to advanced bridal motifs. I prioritize hands-on practice, as seeing the evolution of a sketch into a full bridal band is often the best way to learn the craft. If you are looking to learn professional mehandi or want to book a bridal service that values technical precision, let's connect.
Similar work from other experts
Browse through Curated picks from other experts on mytribe
Behind the Scenes: My Henna Art Process & Training
 13
13
My Mehendi Art and Creative Process
The Art Behind Every Mehndi Design
The Art in Progress: Behind the Scenes of My Mehndi
Behind the Scenes of My Mehendi Art
 19
19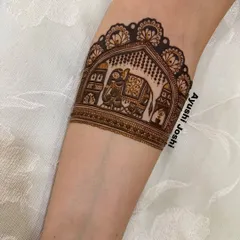
From Sketch to Stain: My Creative Mehendi Process
More from Bridal & Figurative Mehandi by Nida Henna Arts
More services by Nida Henna Arts