Our Green Wall Installation Process
We believe in hands-on work. See how we transform blank walls into living green spaces, from the initial surface assessment to the final plant placement.
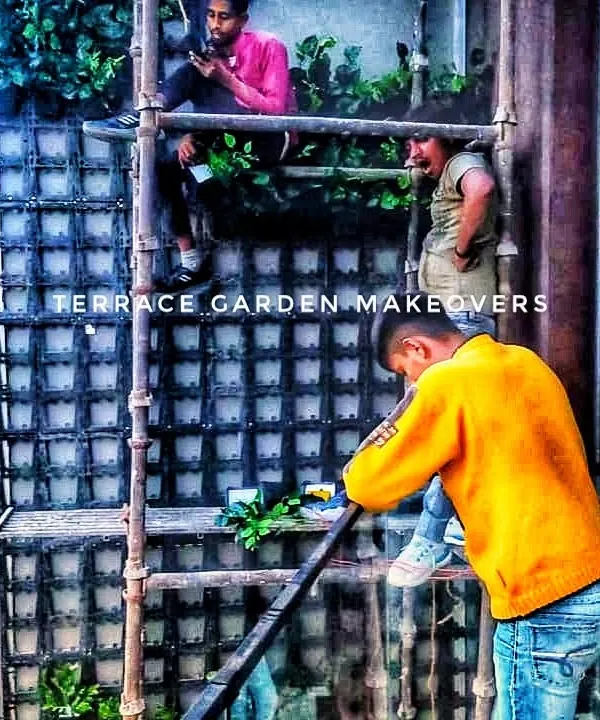
This shows the detailed work involved in a large commercial installation. Here, my team is on scaffolding, installing the living wall system and carefully placing the lettering for the brand logo.
Watch as my team assembles an artificial green wall inside an office. We work efficiently to cover the surface, ensuring a dense and uniform look before cleaning up the site.
The final touches are crucial. Here, I am inspecting and adjusting a newly installed artificial green wall to ensure every leaf and branch is perfectly in place for a natural look.
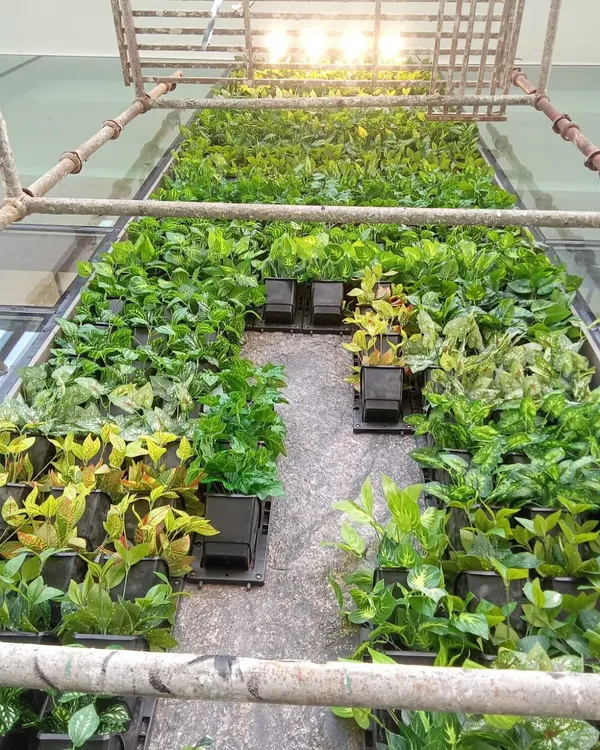
Getting up close and personal with a large-scale living wall. I personally oversee the installation to ensure every plant is correctly positioned and thriving.
A team member conducts a final quality check on a dense artificial green wall. We inspect the entire surface to guarantee a flawless finish before handing the project over to the client.
About The Installation Process
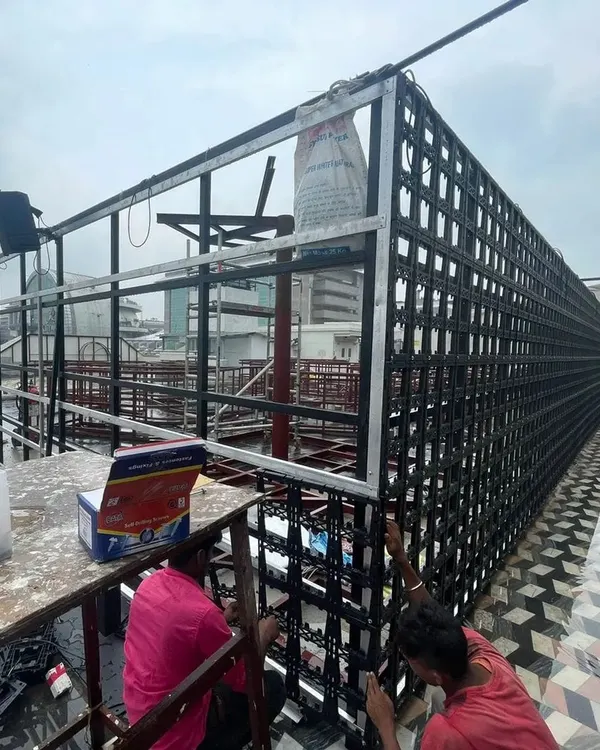
A successful green wall setup relies on what happens before the plants go up. Whether we are installing a living wall with automated irrigation or a lightweight artificial system, we spend the first phase checking your wall for moisture, load capacity, and surface integrity. We paint backgrounds dark to create depth and install secure frames, ensuring that your installation is structurally sound and ready to thrive from day one.
Our Step-by-Step Approach
We do not just hang plants and leave. Our installation process is designed to prevent long-term damage to your wall and ensure the greenery lasts.
1. Site Assessment & Surface Prep Before we begin, we examine your wall type. If it is a living wall, we must account for the weight of wet soil and the need for waterproofing. We use PVC layers and MS frames to protect the wall structure. For artificial walls, we focus on surface leveling and cleaning, ensuring the backdrop is dark to hide gaps and maximize the lush, dense look.
2. The Structural Build For natural walls, we install the irrigation network first. This involves setting up the inline drip pipes and connecting them to a timer and submersible pump. We ensure every row of plants gets consistent water. For artificial installations, we mount high-density wire mesh or plywood bases that are strong enough to support the foliage for years.
3. Planting & Styling This is where the wall comes to life. We arrange the plants based on the design plan. In natural walls, we use a soilless coco-peat mix to keep the system lightweight. In artificial walls, we mix textures like ferns and grasses to ensure the finish looks non-repetitive and natural, avoiding that plastic, uniform look.
4. Final Quality Check We do not consider the job done until the site is clean and the wall is uniform. We trim, fluff, and inspect every square foot. If it is a living wall, we run a full test of the irrigation system to check for leaks or drainage issues. We are on-site until the wall looks perfect, not just finished.
Similar work from other experts
Browse through Curated picks from other experts on mytribe
 10
10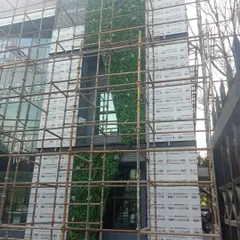
Professional Artificial Green Wall Installation Process
From Plan to Planted: The Installation Process
 6
6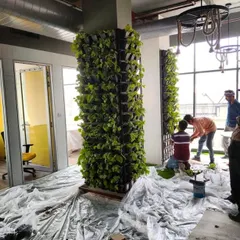
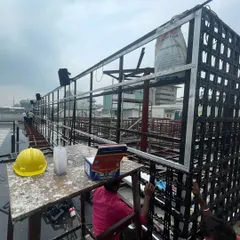
Behind the scenes: How we build vertical gardens
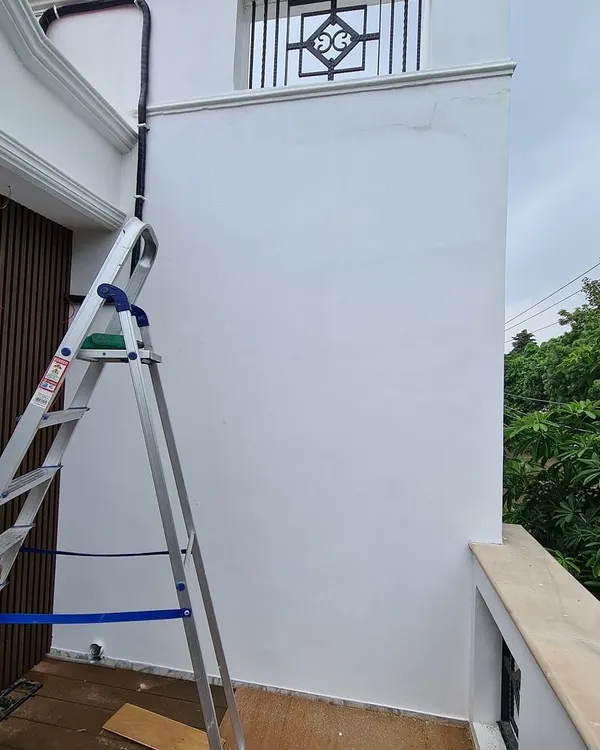 4
4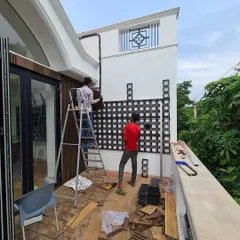
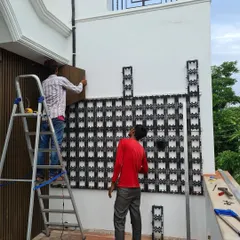
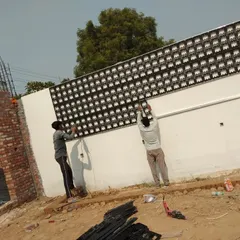
Our Vertical Garden Installation Process
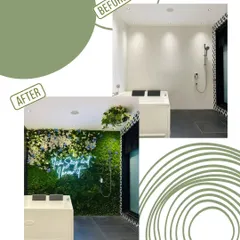
Our Process: From Vision to Reality
 6
6Behind the Scenes: Our Vertical Garden Installation Process
More from Green Wall & Vertical Garden Installation by LifeGrow
More services by LifeGrow