Our Artificial Vertical Garden Installation Process
Transparency is at the core of what I do. From the first site visit to the final panel fix, here is how we transform plain walls into lush, maintenance-free green spaces.
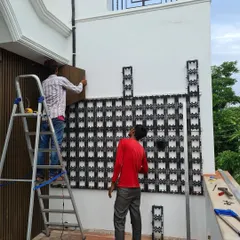
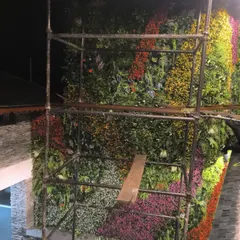
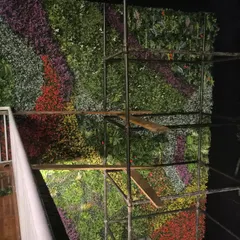
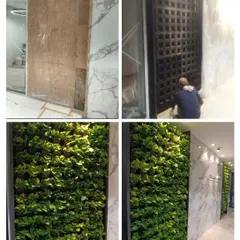
See the transformation happen. This video shows our team in action, starting with a plain base and meticulously installing each panel to create a rich, textured artificial plant wall on a client's balcony.
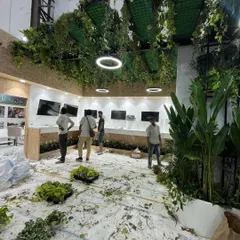
The final result. After our work is done, this once-plain wall is now a vibrant, textured green wall that completely changes the feel of the room.
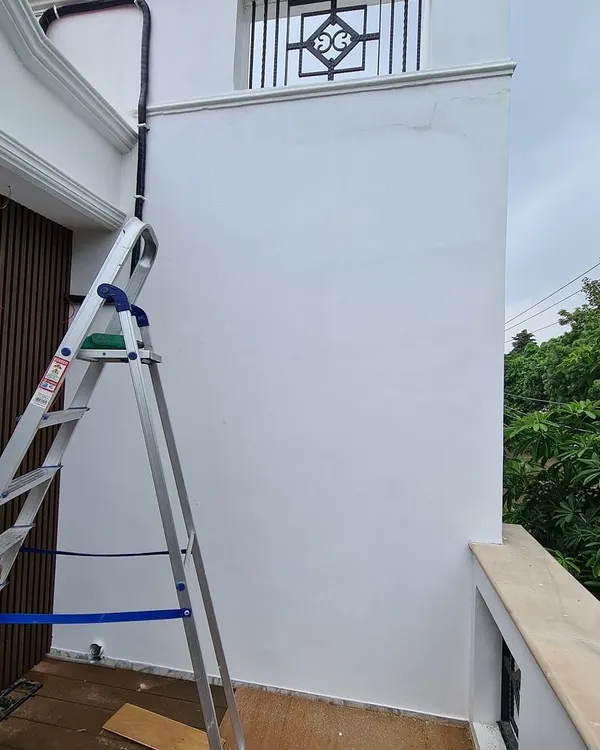
This is where we started. The image shows the wall with a green screen, which we replaced with our beautiful, maintenance-free artificial vertical garden to achieve the final look.
About Our Installation Process
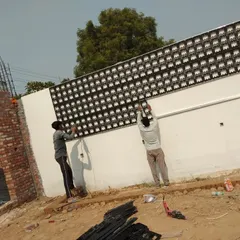
When we install your vertical garden, we don't just stick panels to the wall. We first mount a sturdy plastic mesh grid, which serves two important functions: it allows air circulation to prevent dampness on your wall, and it provides a secure, interlocking base for the greenery. This method ensures your installation stays firmly in place, looks uniform without visible gaps, and allows us to precision-cut around switchboards and lights for a clean finish.
How We Turn Your Wall Green
I believe you should know exactly what you are paying for. Here is how we manage an installation from start to finish.
1. The Site Assessment Every wall is different. During our free site visit, we look at the wall surface, humidity levels, and light conditions. Whether you have a brick wall, concrete surface, or a balcony railing, we determine the best mounting hardware needed to keep your installation secure for years.
2. Material Selection We pull materials directly from our 12,000 sq. ft. godown. For indoor walls, we might suggest standard density panels for a clean, hedge-like look. For outdoor areas or feature walls, we often recommend our premium high-density 3600FFF series, which adds 3-5 inches of 3D texture for a realistic, wild-forest feel.
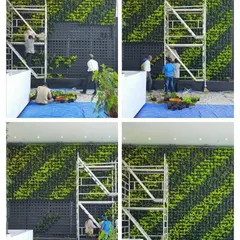
3. The Installation Setup Once we arrive, we set up the grid system. This is the foundation of a long-lasting green wall. It keeps the weight distributed evenly so panels don't sag over time. We then begin the layering process, carefully interlocking the panels to hide joints and seams.
4. Customization and Detailing This is where the real work happens. We don't just lay grass; we craft the wall. If you want a mix of ferns, flowers, or autumn shades, we layer them on-site to match the vibe you want. We also precision-cut the foliage around existing structures like switchboards, air conditioners, and signage, ensuring the wall looks seamless and natural.
5. Clean-up We carry all the necessary tools—drills, screws, and scaffolding for high walls. Once we are finished, we clear the debris. You are left with nothing but a fresh, green space that requires zero water and zero sunlight.
Similar work from other experts
Browse through Curated picks from other experts on mytribe
 4
4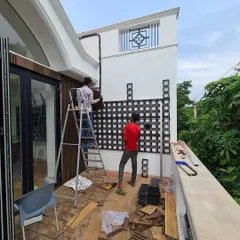
Our Vertical Garden Installation Process
Our Materials and Installation Process
Green Wall Installation: From Blank Wall to Living Garden
Our Vertical Garden Installation Process
Artificial Vertical Gardens and Green Walls
Vertical Gardens & Living Wall Installations
More from Artificial Vertical Garden Installation by Greenspace Designs
More services by Greenspace Designs