Home Theater Design and Installation Process
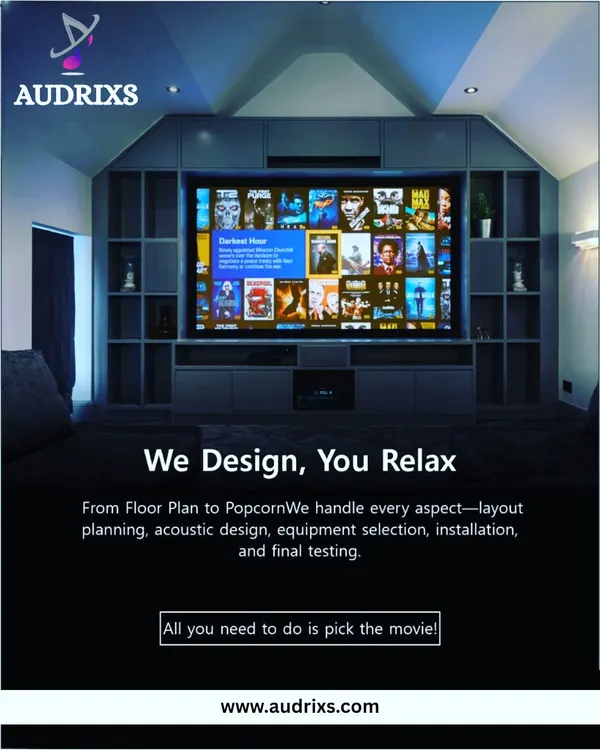
We turn empty rooms into cinemas using CEDIA-standard planning, precision acoustic treatment, and professional installation.
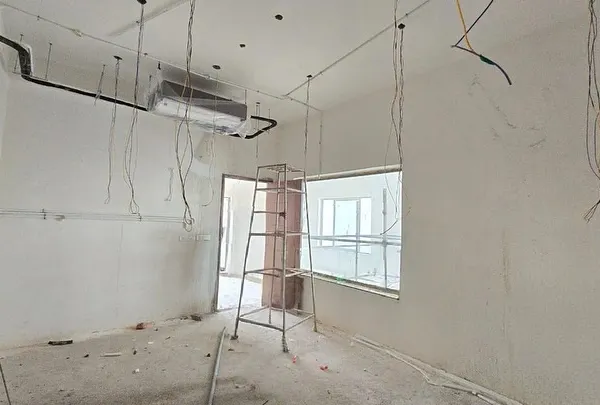
This is where it all begins. A behind-the-scenes look at a home theater during the construction phase, where we are installing the framework for the acoustic wall panels and running wiring for the audio-visual equipment.
Our design process is driven by data and industry standards. We use CEDIA standard room design software to create detailed schematics for speaker placement, seating plans, and sight lines, eliminating guesswork and ensuring optimal performance.
Our design process is driven by data and industry standards. We use CEDIA standard room design software to create detailed schematics for speaker placement, seating plans, and sight lines, eliminating guesswork and ensuring optimal performance.
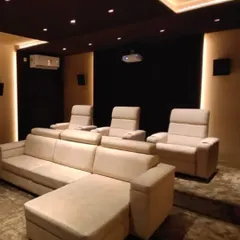
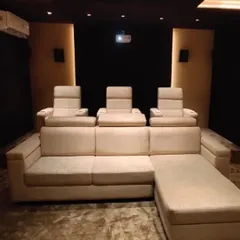
The project is nearing completion. Our technician inspects the finished room, which features beautiful wood-paneled acoustic walls and patterned flooring, ensuring every element of the home theater design is executed to perfection before final calibration.
About From Blueprint to Reality
Before we mount a single speaker, we run your room dimensions through CEDIA-standard design software. This creates a virtual map of your acoustics, sightlines, and seating positions, ensuring that the sound and picture performance you get in every chair is calculated, not guessed.
Engineering a high-performance cinema room is not just about the equipment you choose. It is about how that equipment interacts with your specific room geometry.
Our Project Workflow
1. Schematic Design Everything starts with a plan. We generate detailed schematics that dictate exactly where speakers, projectors, and acoustic panels must be placed. This allows us to predict potential issues with bass frequency nulls or viewing angles before we start any physical work.
2. Acoustic Shell Construction We do not just hang speakers; we construct an acoustic shell. This involves installing fabric track systems, absorption panels, and diffusion layers designed to contain sound within the room and prevent unwanted echoes. For projects requiring a 7.2.4 Dolby Atmos array, this stage is crucial for ensuring the immersive sound does not leak into the rest of your home.
3. Equipment Integration We handle the wiring and mounting of native 4K laser projectors, in-wall speakers, and subwoofers. Whether you are opting for a full private theater or a living room setup, we ensure all components are calibrated to the room's unique dimensions.
4. Calibration and Handover We do not consider the project complete until the system is tuned. We perform a final calibration on the audio and video hardware to match the acoustic signature of the room.
We typically deliver these custom setups in as little as 15 days, covering everything from flooring and fiber-optic ceilings to the final automation app configuration.
Similar work from other experts
Browse through Curated picks from other experts on mytribe
 18
18
Home Cinema Design and Construction Process
 7
7
Custom Home Cinema Installations
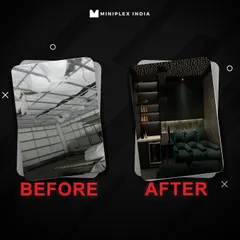
From Raw Room to Private Cinema: The Build Process
From Blueprint to Reality: Our Installation Process
Custom Home Cinema Installations
Custom Home Theater Installation & Design
More from Custom Home Theater Design & Installation by Audio & Beyond
More services by Audio & Beyond