From Raw Room to Private Cinema: The Build Process
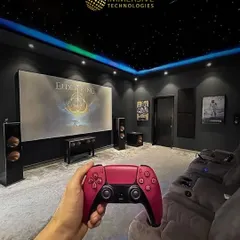
We don't just install screens. See how we transform an empty space into an acoustically perfect home theater.
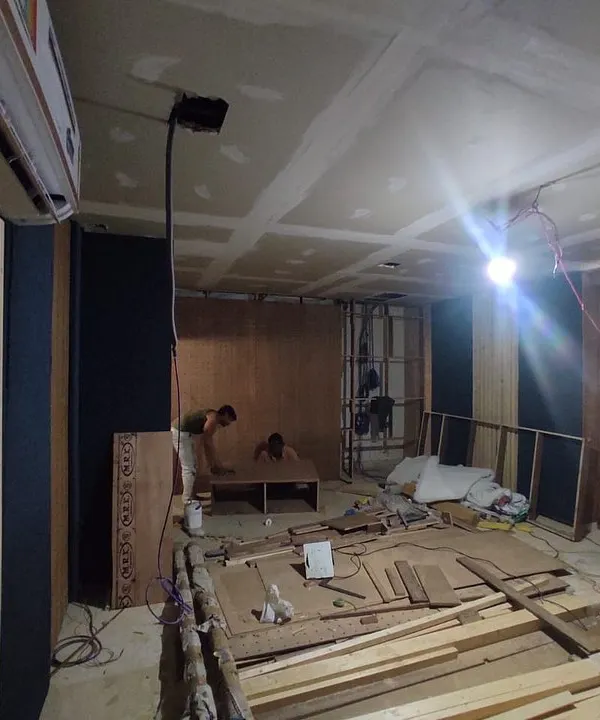
A glimpse into an ongoing project in Lucknow. This video shows the room during the construction phase, with wall panels being installed, wiring being run, and the screen being mounted.
Day 3 of building my experience center. Here, I explain the role of MDF (engineered wood) panels. We've cut holes for speakers and are preparing them for the next layers of acoustic treatment.
Day 1 of the build. I explain my choice of Canadian pine for the framing. Wood is versatile, easy to shape, and provides a better finish compared to metal, which is crucial for the foundation of the acoustic panels.
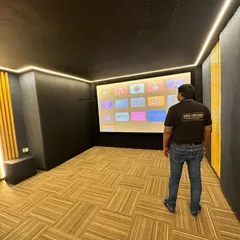
A powerful before-and-after shot. On the left, a raw, unfinished space. On the right, a luxurious and fully functional home theater. This is the transformation I deliver.
A work-in-progress shot showing the complex acoustic treatment behind the final fabric walls. You can see the diffusers and absorbers that are critical for perfect sound.
The walls are up. This photo shows the room after the main drywall and paneling are in place, but before the final finishing touches like fabric, paint, and seating are added.
Installing a fiber-optic star ceiling is a meticulous process. Here you can see the individual fibers being threaded through the ceiling panel before they are cut to size.
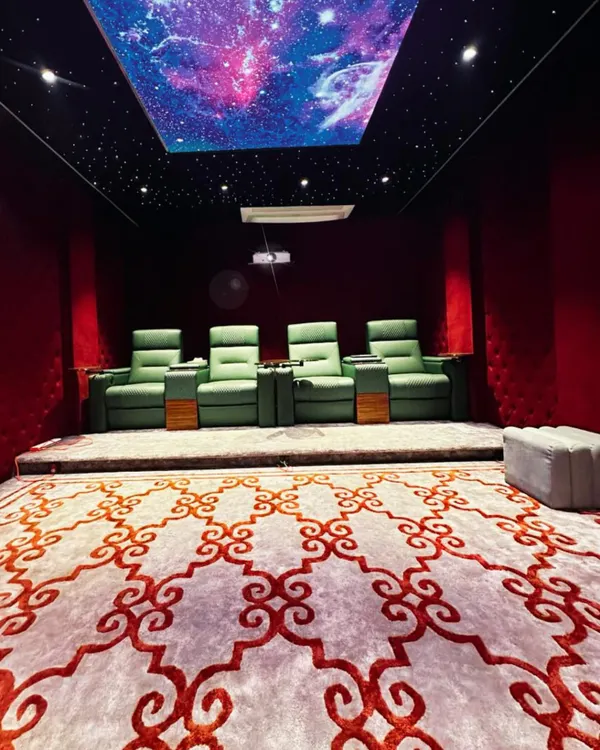
An early stage of construction. The basic shape of the room is defined, and the platform for the tiered seating is being built. The star ceiling panel is already in place.
Another view of the room during construction, with scaffolding in place for work on the ceiling and high walls.
This image shows the "sound cage" or the internal acoustic shell being built. You can see the wooden framework and the installation of sound-absorbing materials.
About From Room to Reality: The Build Process
Before any screen goes up, we spend the most time on the skeleton of the room. We prefer using Canadian pine frames over metal because it’s easier to shape and provides a cleaner finish. But the real work is the box-in-box acoustic isolation. We layer this inside the walls to create a true sound cage. This is what stops the bass from leaking into the rest of the house, ensuring your late-night action movie marathons stay strictly within your theater.
Anatomy of a Build
A great cinema isn't about buying expensive gear; it's about how you treat the room. Here is how we turn a standard 150-300 sq. ft. room into an experience.
1. The Foundation (Framing & Isolation) We start with the structure. We use seasoned wood—like Canadian pine—for the framing. It’s better than metal because it gives us precision and a solid backing for the acoustic panels. We then wrap the room in vapor barriers and insulation to create that 'box-in-box' shell. This is non-negotiable for true soundproofing.
2. The Acoustic Treatment This is where we hide the magic. We install high-density Micron polyfiber wadding behind fabric walls. We also use MDF panels with custom perforations to handle sound diffusion. Whether it’s a small 5.1 setup or a massive 9.2 Dolby Atmos beast, the audio needs to be tight, not echoey.
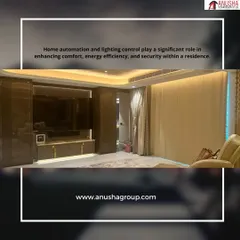
3. Tech & Finishing Touches Once the shell is perfect, the tech comes in. We integrate 4K laser projection, concealed wiring for the speakers, and smart lighting. We often install fiber-optic star ceilings—a meticulous process, but it’s what gives you that 'theater under the stars' feeling.
Our Approach Whether you’re in Gurugram or anywhere across India, we follow the same process. We handle the design, the messy construction, and the final tech calibration. You don't have to deal with multiple contractors or DIY hassles.
Drop by our consultation studio in Sector 70A, Gurugram, to see the materials and the build quality for yourself. We geek out on sound, and we’d love to walk you through how we’ll build your private escape.
Similar work from other experts
Browse through Curated picks from other experts on mytribe
From Blueprint to Reality: Our Installation Process
 4
4
Home Theater Design and Installation Process
 7
7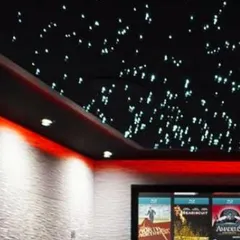
Custom Home Cinema Installations
 15
15
Dedicated Home Cinema Installation and Design
Home Theater Installation & Setup Process
 5
5

Immersive Home Cinemas
Not sure what you need?
Search our gallery by budget, room size, or theater style.
More from Home Theater Design & Installation by Miniplex
More services by Miniplex