See How We Build Your Royal Ceiling
Arre bhai, designs are great, but the work behind them matters more. See how we turn bare metal into a ceiling that shines.
This video shows a living room ceiling after the gypsum boards have been installed and the joints have been plastered. The next step is sanding for a perfectly smooth surface before painting.
A close-up look at the construction of a multi-level false ceiling. You can see the metal framework that supports the gypsum boards and creates the desired shapes.
Here you can see my team member working on a high wall, ensuring the plaster finish is perfectly smooth. We use proper scaffolding to work safely and efficiently.
An unpainted POP ceiling showing a classic design with a central floral medallion. The wiring for the central light fixture is already in place.
This interlocking rings design is crafted from gypsum board before the final finishing. This stage is crucial for getting the shapes and curves just right.
A complex, radial design in its raw, unpainted state. This shows the level of precision and craftsmanship that goes into creating these intricate patterns.
This image shows a geometric design with floating squares after the base construction. The holes are for installing spotlights.
The same design as the previous image, but now with a layer of grey paint or primer. This shows how color can be used to highlight different levels.
A beautiful, flowing S-curve design in its raw gypsum form. The smoothness of the curves is a result of expert handiwork.
This is a coffered ceiling design for a long passage, shown before the final paint and lighting installation. Each recessed panel is crafted with precision.
About Behind the Scenes: Our Process
Arre bhai, the finish is just the top layer! A ceiling that lasts starts with the metal framework and proper joint taping. We use fiber mesh tape on every joint so you do not deal with hairline cracks later. It is the difference between a ceiling that looks 'wow' for a month and one that stays solid for years.
Building Your Dream Ceiling
People often ask me, "Arsh, why does a ceiling look perfect on day one but get cracks by month three?" The answer is simple: the base.
Here is how I make sure your home gets the 'royal' treatment without the headaches:
1. The Framework (The Backbone)
We start with high-quality metal framing. If the skeleton is weak, the whole design will sag. We align, level, and anchor it perfectly to your slab. Whether it is a simple tray or a complex geometric pattern, this is where we guarantee the shape.
2. Gypsum Board Installation
We fix the gypsum boards, ensuring every screw is countersunk properly. Why? Because poorly fixed screws will show up as bumps after we paint. My team ensures a flat, even surface from the start.
3. Joint Reinforcement
This is the secret sauce. We apply fiber mesh tape over every single joint where two boards meet. Without this, temperature changes in Mumbai flats will cause those ugly hairline cracks. We do not skip this step.
4. Leveling & Sanding
We apply 2-3 coats of premium acrylic wall putty (Birla White or equivalent) to level everything out. Then comes the sanding—hand or machine—to make it smooth as glass. You should not see any joints or screw marks once we are done.
5. Final Paint Finish
Finally, we prime and apply two coats of premium emulsion. Whether you want a standard matte white or a metallic high-sheen finish, we make sure it looks like a million bucks.
This is not just work, it is art. If you want a ceiling that stays jandaar and shaandaar for years, you know who to call.
Similar work from other experts
Browse through Curated picks from other experts on mytribe
Behind the Scenes: Our Craftsmanship in Action
Behind the Scenes of Our Interior Construction
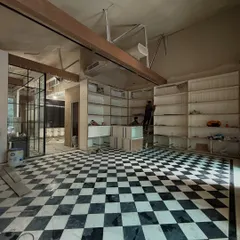

Our Design and Execution Process
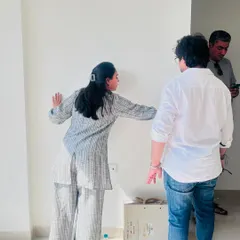
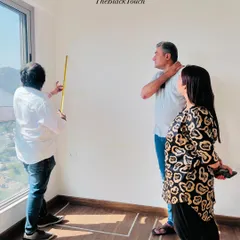
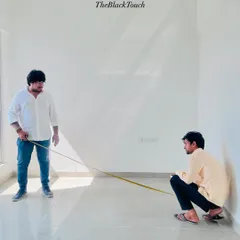
See How We Turn Your Vision into Reality
The Making of a Home: Behind the Scenes
Behind the Scenes: How We Build Your Mumbai Home
More from Interior Painting by Arsh Interior Decorators
More services by Arsh Interior Decorators