How We Build Your False Ceilings: From Frame to Finish
Ever wonder what happens behind that perfect false ceiling? We do not just slap boards up. Here is the raw truth of how we build structures that last and look sharp.
Every great false ceiling starts with a strong and perfectly level metal frame. This video shows the grid-like GI (galvanized iron) framework I construct, which forms the skeleton for the gypsum boards.
Here you can see my team carefully applying POP (Plaster of Paris) to the gypsum boards. This stage is crucial for covering joints and screws to achieve a perfectly smooth, seamless surface.
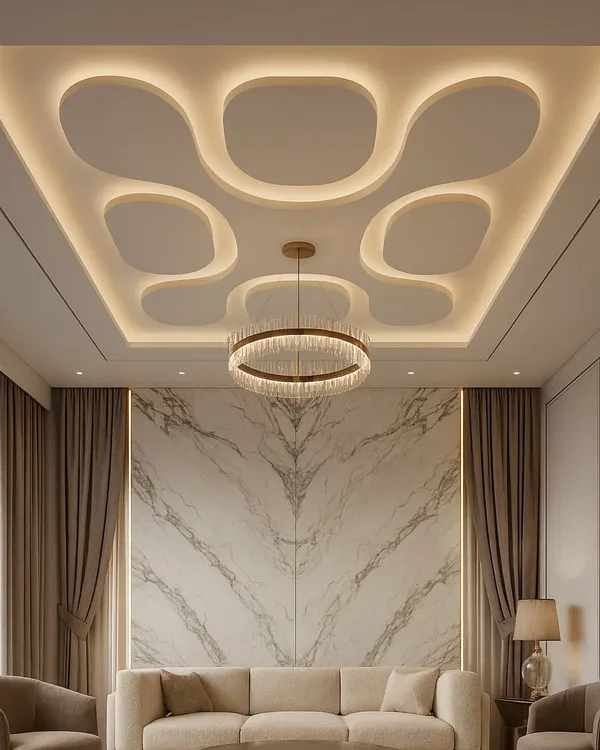
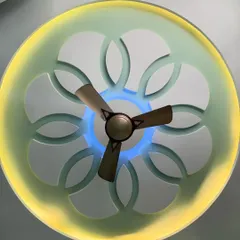
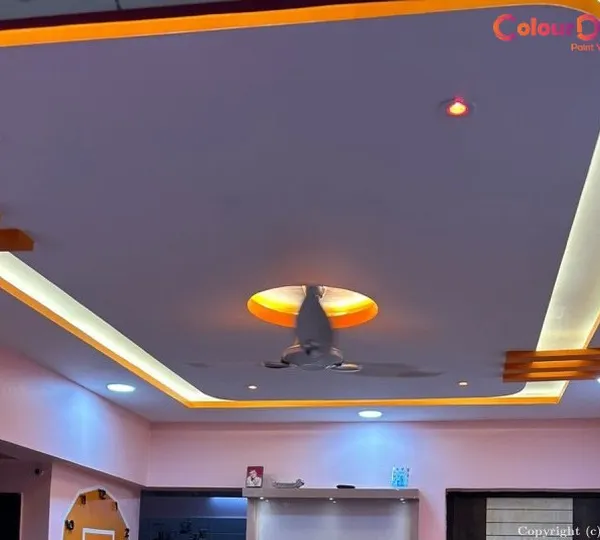
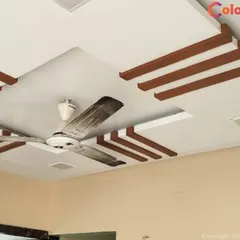
This image shows how I integrate modern lighting solutions directly into the structure. The channels for these LED profile lights are cut into the gypsum board before the final finishing for a clean, built-in look.
This video shows the detailed process of finishing a coffered ceiling design. It involves applying POP, sanding, and ensuring every edge and corner is perfectly sharp and smooth before painting.
About Our Process: From Frame to Finish
Most people only see the final paint, but the secret to a ceiling that stays crack-free for years is the skeleton. I use a 50mm GI metal framework with studs spaced at exactly 600mm, ensuring that even if you live in a high-humidity area like Mumbai, the structure stays rigid and the joints do not sag.
The Strength Behind the Style
A beautiful ceiling is only as good as the work you cannot see. When I take on a project, I start with the skeleton. My team constructs a robust 50mm Galvanized Iron (GI) framework. Why GI? Because in Mumbai's climate, you need a metal that resists rust and holds its shape permanently. By spacing studs at 600mm, we create a grid that supports the heavy gypsum boards without vibration or sagging.
The Finishing Process
Once the frame is secure, we install 12.5mm gypsum boards. This is where the craft comes in. We do not just screw them in and leave. Every single joint gets fiber mesh tape treatment. This is the difference between a ceiling that cracks after one monsoon and one that stays smooth for years. After taping, we apply multiple coats of jointing compound and sand it down to a mirror finish.
Lighting and Integration
Finally, we cut the channels for profile LED strips or cove lights before the final paint. By planning the wiring and cutouts during the framing stage, we ensure the lights sit flush with the surface for that clean, built-in look. Whether it is a simple office cabin or a complex home design, this process ensures your ceiling is not just decorative, but structurally sound.
Similar work from other experts
Browse through Curated picks from other experts on mytribe
Behind the Scenes of Our Interior Construction
Behind the Build: Real Look at Our Interior Execution
 6
6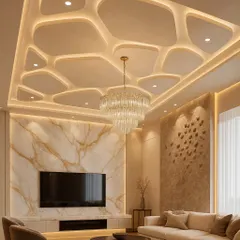

Modern Gypsum False Ceiling Designs
Behind the Scenes: Our Craftsmanship in Action
 5
5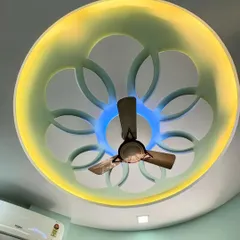
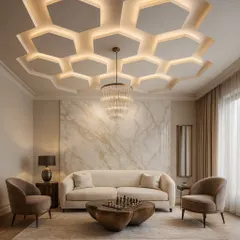
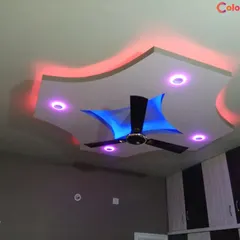
Custom Decorative Ceilings & LED Lighting Designs
 7
7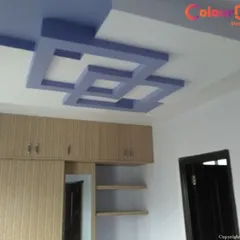
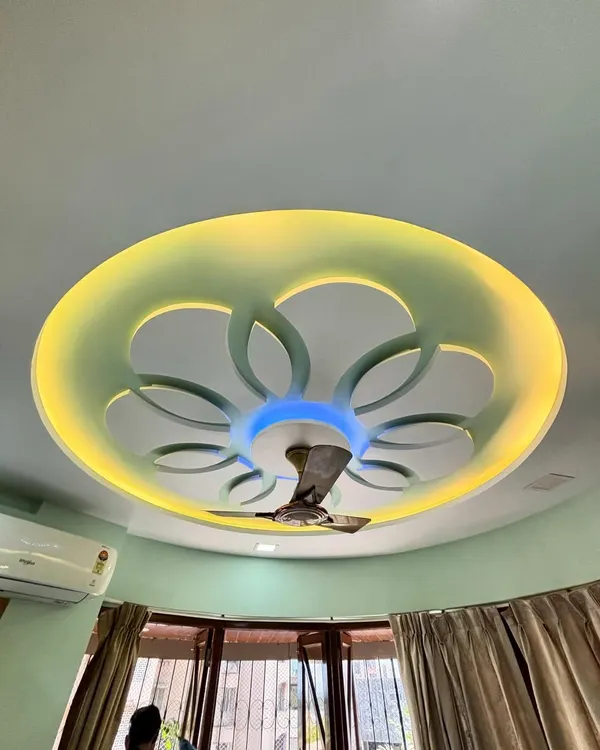
Custom False Ceiling Designs for Modern Interiors
More from Drywall & Partition Work by Arsh Interior Decorators
More services by Arsh Interior Decorators