Behind the Scenes: The Art of Professional Bridal Mehandi
See my technique up close. From the first outline to the final shade, this is how I craft clean, long-lasting designs for your wedding.
A video showing the process of creating a portrait, from the initial outline to the fully detailed figure.
This video shows the final result of a highly detailed portrait mehandi, starting with a shot of my henna cones.
A video showing the application of intricate bands of patterns on the forearm, a hallmark of traditional bridal mehandi.
The process of creating a detailed architectural and peacock design on the forearm.
The initial sketch of a couple's portrait on the palm, showing the first step in creating a personalized mehandi.
The artistry in progress, showing how I add shading and detail to bring a wedding scene to life on the forearm.
Watch as I meticulously craft a portrait of Lord Shiva and Parvati, demonstrating the precision required for such detailed work.
A video showing the process of creating a foot mehandi, from outlining the design to filling in the details.
A video showing a full-arm design with beautiful floral bands and traditional patterns being applied.
The initial outline of a Lord Krishna portrait, showcasing the clean linework that forms the foundation of the design.
About The Art in Progress
When you watch these videos, you will see why I emphasize a clear, light outline before the heavy filling starts. This foundation prevents the henna from looking cluttered or uneven later. Whether I am drawing a portrait or a traditional floral band, I focus on spacing and clean lines, which is the secret to a crisp stain that lasts for days.
Precision in Every Line
I treat every hand as a fresh canvas. The initial outline is critical, as it sets the flow and symmetry of the entire design. Once the architecture is laid out, I move into the filling phase. My team and I prioritize neatness above all else. Every line, whether it is a simple vine or a complex portrait of Radha-Krishna, is done with a consistent hand to ensure nothing looks rushed.
Why Technique Matters
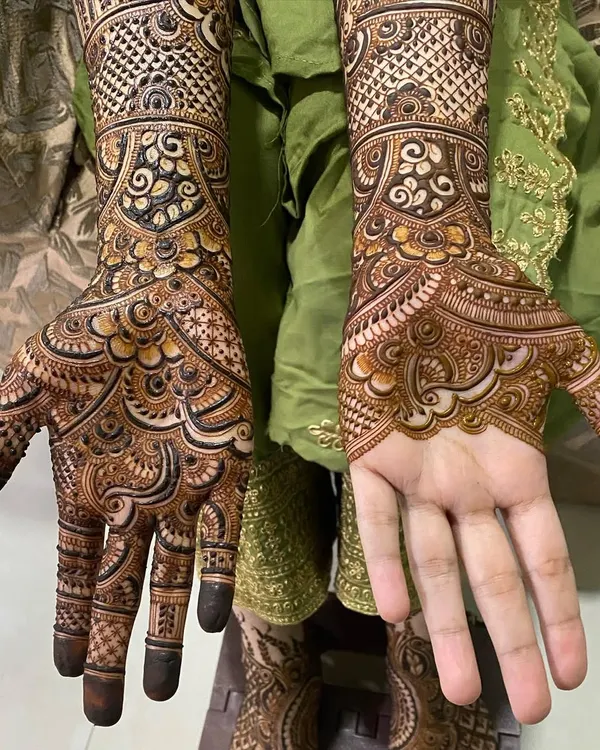
The shading technique you see in these images adds depth to the design. By controlling the pressure on the henna cone, I create varying line weights that make the motifs pop against the skin. This level of detail is what differentiates a standard application from a professional bridal design.
The Importance of Natural Henna
We exclusively use natural, homemade henna paste. Because we control the ingredients, we ensure a deep, reddish-brown stain that develops fully over 48 hours. This is why you see such high contrast in my finished work. We avoid chemicals that provide instant black color, as they often fade quickly and do not offer the rich, long-lasting results that natural henna provides.
Frequently Asked Questions
- Do I need to be still for hours? For heavy bridal designs, yes. It is a meditative process. We do take breaks, but the best results come when you are comfortable and relaxed.
- Why focus on the process? Because the finish matters. A messy outline leads to a blurred stain. My method ensures sharp edges and a clear, dark result after the henna is washed off.
- How long should I keep the henna on? For the deepest stain, keep the dried henna paste on for at least 6 to 8 hours, and keep your hands warm.
Similar work from other experts
Browse through Curated picks from other experts on mytribe
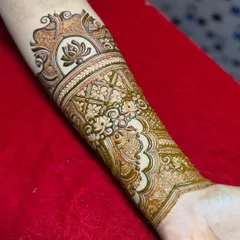
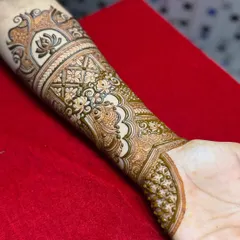
Behind the Scenes: How I Create Intricate Mehendi
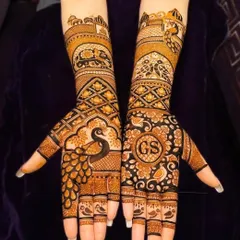
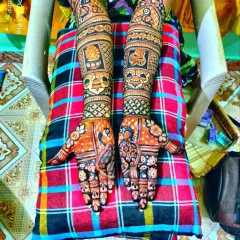
Behind the Scenes: The Art of Professional Mehendi Design
 9
9Behind the Scenes: My Process and Technique
Behind the Scenes: My Mehndi Design Process
The Art of Detail: My Mehndi Process
Intricate Mehendi Art in Progress
More from Wedding Mehandi Packages by Shyam Mehandi Artists
More services by Shyam Mehandi Artists