Our Step-by-Step Garden Transformation Process
I turn bare plots and messy spaces into peaceful gardens. Here is how my team prepares your land, enriches the soil, and installs your dream lawn 🪴.
This step-by-step video shows our complete process for a 3500 sq. ft. project. We start by clearing weeds, preparing the land with red soil, installing stone borders, and finally laying beautiful Bermuda grass.
This is the "before" shot of our project at the Karaikal Kindergarten. Just an empty plot of land waiting for a transformation.
Here is my team at work, carefully laying down sod piece by piece. We work efficiently to bring the garden design to life.
The work continues into the evening to ensure the project is completed on time. My crew is dedicated to getting the job done right.
Laying the final sections of the lawn. You can see the new green space taking shape against the colorful wall of the kindergarten.
The "after" shot at night. A fresh, green lawn is ready for the kids to enjoy, completely transforming the school's entrance.
This video shows the transformation of a narrow side yard. We started by clearing out all the weeds and old soil to create a clean slate.
From a bare patch of land to a lush green lawn. This video shows my team adding nutrient-rich red soil and installing fresh Bermuda grass for a residential client.
Watch as we turn this construction site into a green landscape. We laid a foundation of red soil before installing Mexican grass and a natural stone pathway.
The first step in any project is proper preparation. Here, my team is clearing the ground and removing old debris to prepare for a new garden bed.
About From Dirt to Dream Garden: Our Process
Before you see the grass, my team does the heavy lifting. We start every project by clearing existing weeds and debris, then we import fresh Red Soil mixed with organic manure. This 2-3 inch fertile layer is what keeps your lawn healthy and lush long after we finish.
A Proven Process for Lasting Gardens
I believe a garden should thrive, not just look good for a few weeks. My team follows a structured approach to ensure your space stays green and manageable.
1. Clearing and Base Preparation
Everything starts with a clean slate. We remove weeds and debris manually. For deep-rooted issues, we use approved non-selective herbicides to prevent regrowth. We do not build on top of mess.
2. Soil Enrichment
Great plants need great soil. We add 2 to 3 inches of nutrient-rich Red Soil to your site. We mix in cow manure or organic compost to boost the fertility, providing the iron and nutrients your grass needs to root properly.
3. Hardscaping and Edging
Before we plant, we lay down any stone pathways, pebble beds, or brick borders. This defines your space and keeps the garden organized. Whether it is natural Kadapa stone or a decorative pebble path, we ensure everything is level and stable.
4. Installation and Handover
Finally, we lay the grass sods tightly with staggered joints to ensure a uniform surface. We tamp and roll the area to secure it to the soil. Once the job is done, I personally guide you on the watering schedule for the first three weeks so your new garden settles in perfectly.
Similar work from other experts
Browse through Curated picks from other experts on mytribe
Before and After: Professional Garden Revitalization
Home Vegetable Gardens and Planting Examples
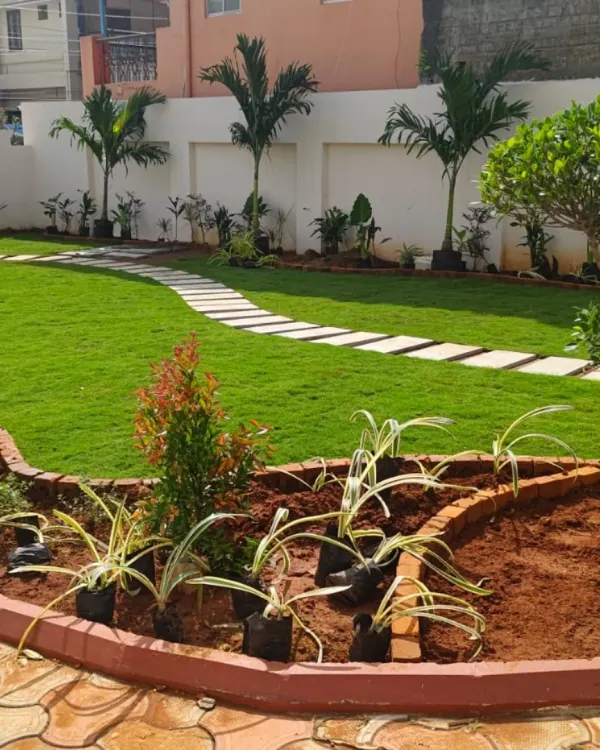 12
12

Residential Garden Transformations in Chennai
Growing Your Own Organic Vegetable Garden at Home
How We Build and Maintain Your Green Space
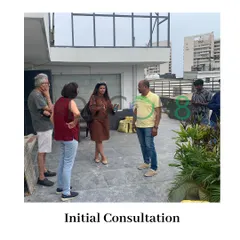

From Vision to Reality: Our Custom Garden Design Process
More from Landscape Installation & Design by Mano Landscape & Gardening
More services by Mano Landscape & Gardening