Behind the Scenes: My Custom Art Process
Ever wonder how a blank sheet turns into a realistic portrait? Here is a look at my messy, detailed process—from the first grid lines to the final blend.
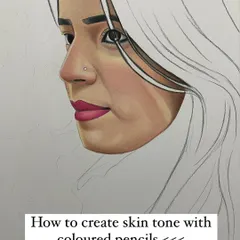
A time-lapse video showing the initial stages of coloring a semi-realistic portrait, from laying down the base skin tones to adding details to the eyes and lips.
A work-in-progress of a complex succulent arrangement. This shows the vibrant colors of the finished sections next to the pencil outline of the parts yet to be drawn.
A wider view of the succulent WIP, showing about half the piece colored in. I use a grid method for complex compositions like this.
A close-up of the succulent drawing, focusing on the green and yellow plants and the tiny, detailed lithops.
A detail shot of the other side of the succulent piece, showing the bright orange and blue plants.
The very first WIP shot of the succulents, showing the initial colored section next to my tin of Derwent pencils.
The full A4 view of the first stage of the succulent drawing.
The first WIP of the silver outfit illustration. Here, I've just started on the skin tones of the neck and chest.
A wider view of the initial "silver outfit" WIP, showing the grid lines I use for accurate proportions.
The second stage of the silver outfit drawing, with the sparkling corset and detailed belt now complete.
About Behind the Scenes: My Artistic Process
I use a precise grid method to ensure proportions are accurate before any color touches the paper. My work relies on layering quality materials like Prismacolor and Derwent pencils on 200gsm acid-free paper, which is why a single A4 portrait can take 16 hours or more to complete. I share these work-in-progress photos during the project because I want you to see the technical detail behind the art, not just the final result.
Art is a journey, and I like to bring you along for the ride. When you commission a piece, you aren't just getting the final sketch; you are seeing the effort, the patience, and the layering that goes into it.
How I Build a Portrait
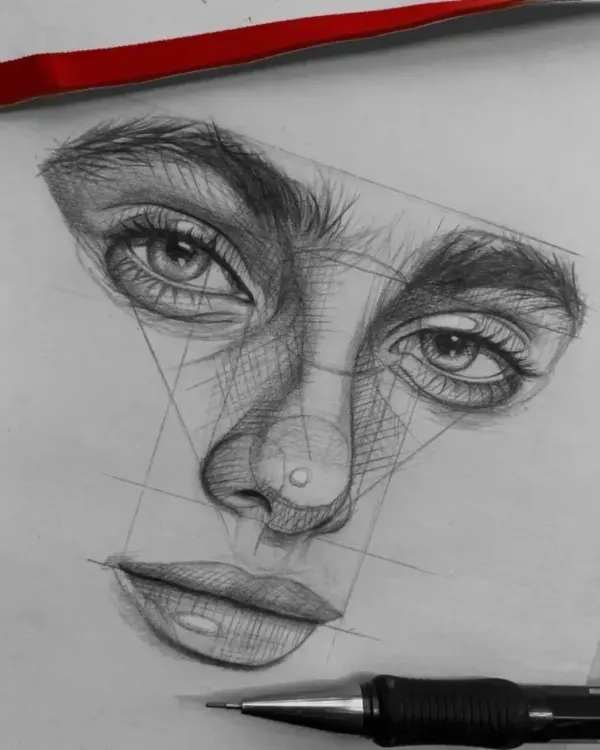
- The Skeleton: It starts with a light pencil grid. This keeps your features, eyes, and proportions exactly where they should be.
- The Foundation: I layer colors slowly. If you look at my WIP shots, you will see areas that look unfinished—that is usually because I am still building the base skin tones or textures.
- The Details: This is where the magic happens—using white gel pens for eye reflections, jewelry shine, and those tiny highlights that make a face pop.
Materials Matter
I don't cut corners on quality. I use professional-grade supplies like Faber-Castell, Prismacolor, and Derwent pencils. Why? Because cheap paper fades and colors don't blend. I use 200gsm or 250gsm heavyweight paper, which allows me to blend colors repeatedly without tearing the surface. Everything is finished with a fixative spray to prevent smudging and packed in a reinforced mailer so your artwork reaches you anywhere in India without a single crease.
Similar work from other experts
Browse through Curated picks from other experts on mytribe
Behind the Scenes: How Your Custom Portrait is Made
Behind the Scenes: The Creative Process
 27
27The Artistic Process: How I Create Realistic Portraits
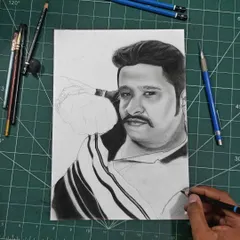
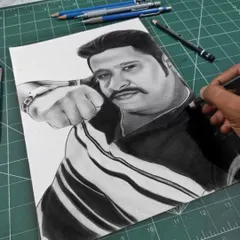
Behind the Scenes: My Portrait Drawing Process
 9
9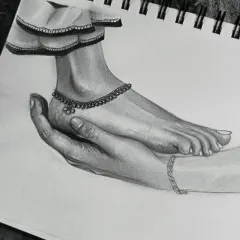
Behind the Scenes: My Pencil Sketching Process
How I Create Hyper-Realistic Pencil Sketches
More from Custom Realistic Drawings & Illustrations by Ritika