Intricate Mehendi Fillers and Henna Detailing Techniques
It is the small details that bring a design to life. From crisp grids to perfect negative space, I love teaching the techniques that turn a simple henna pattern into something truly special.
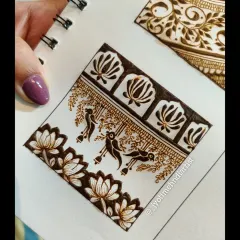
This close-up video shows how I create a grid or 'jaali' pattern on the wrist. I first draw the lines and then carefully fill in the details, connecting it to the main floral design on the hand.
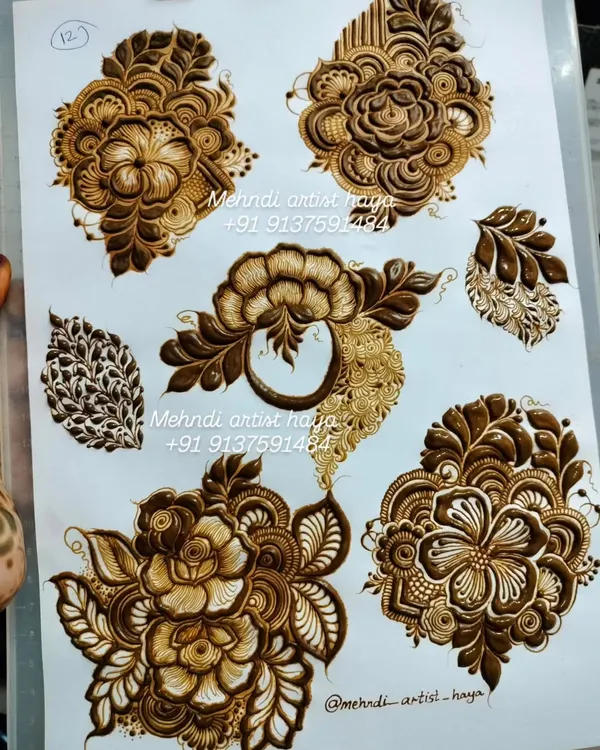
A satisfying tutorial on creating a beautiful grid filler pattern. After drawing the basic net, I add leaf-like drops and swirls to make the pattern more intricate and unique.
This video demonstrates the technique of negative space filling. By filling the area around the main pattern of leaves and swirls, the central design becomes the focus and really stands out.
A quick tutorial on a basic henna element used for borders and bands. This simple pattern of lines and loops is a fundamental building block for creating more complex mehendi designs.
About Intricate Fillers and Details
When you are sketching out a design, it is easy to focus only on the big floral motifs, but the real magic hides in the details. I always tell my students that fillers are what give your mehendi that clean, professional finish. Whether you are struggling with wobbly lines in your grid work or need help mastering negative space to make your roses stand out, I will show you exactly how to control your cone for that smooth, seamless flow.
Why Details Matter
Think of fillers as the heartbeat of a mehendi design. Without them, even the most beautiful floral motifs can feel a bit empty. In my online masterclasses, we don't just draw lines; we learn how to create balance.
The Techniques We Cover
- Grids & Jali Work: Mastering the math behind a perfect net. We practice keeping your diamonds symmetrical and your intersections clean so they look consistent across the entire palm.
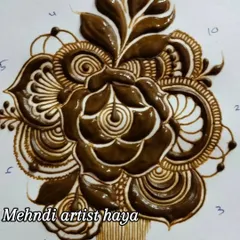
- Negative Space: This is my favourite trick. Instead of drawing a leaf, we fill the space around it. It makes your primary elements pop and gives your design room to breathe.
- Flow & Pressure Control: The secret to those satisfying, dark stains starts with how you hold the cone. We practice pressure drills so you can switch between thin, delicate vines and bold, filled-in areas without hesitation.
Learning at Your Own Pace
Whether you are a beginner looking to understand the basics or an artist wanting to refine your bridal work, these techniques are essential. I break everything down into simple steps during our live sessions, with plenty of individual feedback on your daily practice. By the end, you’ll not only be able to draw these fillers comfortably, but you’ll also understand why they work in a composition. Mashaallah, it is such a rewarding feeling to look at your own handiwork and see how far you have come.
Similar work from other experts
Browse through Curated picks from other experts on mytribe
Master Mehndi Fillers, Grids, and Borders
Master Foundational Mehndi Techniques in Mumbai
The Art of Henna: My Techniques & Design Details
 14
14
Mastering Mehndi Motifs and Floral Elements
Mastering Mehndi Patterns, Grids & Borders
Advanced Bridal Henna Masterclass
Looking for something else?
Explore my other henna styles and learning modules.
More from Mehendi & Henna Art Classes by RM Henna Artist
More services by RM Henna Artist