The Artist's Process: How I Create Resin Wall Clocks
I’m taking you behind the scenes at my Mulund studio to show you exactly how a resin wall clock comes to life. From base prep to the final polish, here is my step-by-step process.
Part 1 of my wall clock tutorial series. I show the importance of proper base preparation, including applying primer and a base coat of paint. This first step is crucial for saving pigment and achieving a professional result.
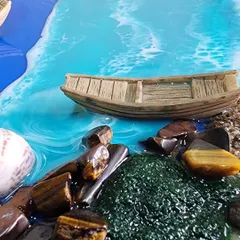
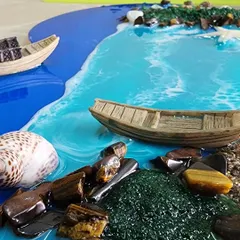
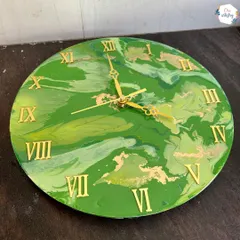
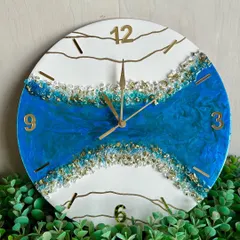
Welcome to Part 2 of the wall clock series. Here, I demonstrate how to pour the second layer of resin, using a mix of transparent and pigmented resin to create an abstract, layered effect with natural-looking cells.
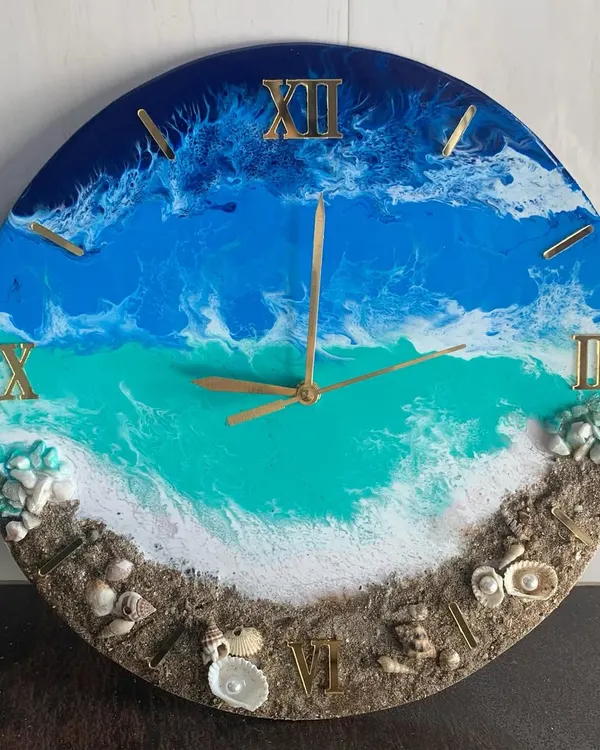
In Part 3, I focus on the details. I show how I use a custom stencil for perfect number placement and how I apply the final clear top coat, making sure to protect it from dust for a bubble-free, glossy finish.
The final step, Part 4, is all about finishing. I show how I clean up the back of the clock for a professional look and install the clock mechanism. Finishing is the key to making your artwork stand out.
Sometimes it's the little things that matter most. This video is about my dedication to spending extra time on the minor details that no one might notice but are essential for a perfect piece.
About The Artist's Process
Most people focus only on the pour, but the real secret to professional resin art is in the prep work. Whether it is sanding your MDF base or using custom stencils for precise number placement, these technical steps ensure your final piece does not just look good today but stays dust-free and glossy for years to come.
Creating high-quality resin art is not just about mixing two liquids and hoping for the best. It is about the 'jugaad' (hacks) and the discipline you bring to the table. In my studio, I follow a strict 4-part process for every wall clock.
My 4-Step Methodology
- Base Preparation: This is where beginners lose the game. We mask the edges, apply primer, and use a base coat. It saves pigment and prevents uneven absorption.
- The Pour: This is the creative stage. We mix transparent and pigmented resin to build layers. The goal is depth, not just surface color.
- Precision Placement: I use custom stencils for number placement. It sounds simple, but it saves hours of work and eliminates the 'eyeballing it' error margin.
- The Final Cure: Dust is the enemy. I cover every single piece with boxes during the drying phase to keep the finish mirror-smooth.
Why Details Matter
'Finishing is the key.' If you look closely at my work, you will notice I spend hours on minor 1mm details that most people might miss. Cleaning the backside of the clock, sanding the edges, and using high-viscosity resin for that perfect top coat—these are the things that elevate a hobby project to an exhibition-quality piece.
If you are based in Mumbai and want to stop guessing your way through these steps, come join me at KaizenArt Studio. Whether you want to learn the science of epoxy resin safety or just want to make your own functional wall art, I teach everything with zero secrets.
Similar work from other experts
Browse through Curated picks from other experts on mytribe

Behind the Scenes: How I Create My Resin Art
Create Your Own Custom Resin Clock and Wall Art

Behind the Scenes of My Resin Art Studio
Behind the Art: How We Create Resin Keepsakes
Behind the Scenes: The Art of Creation
 86
86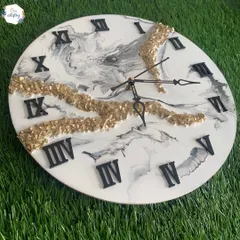
Create Your Own Resin Art Wall Clock
Looking for something else?
You can search for workshops, custom home decor, or specific resin art themes.
More from Resin Art Workshops by Shlok Dagly
More services by Shlok Dagly