Smart Home Installation and Setup Guides
Setting up your smart home is simpler than you might think. Whether you are upgrading your existing switchboards or connecting your voice assistants, our step-by-step guides make the process hassle-free.
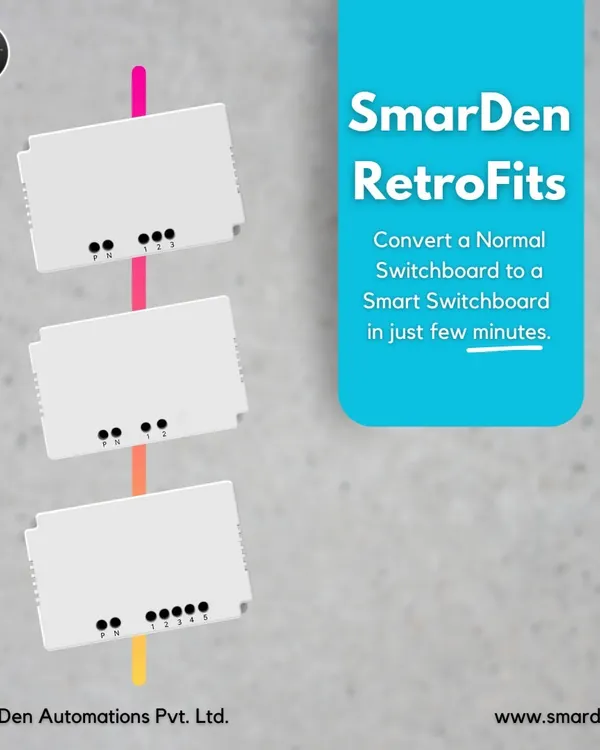
Don't worry if you have an old house or existing wiring. Our retrofit modules fit behind your current switchboards without any changes, making any home ready for smart automation.
It's time to say goodbye to traditional switches. This video shows our smart touch switchboard being installed in a new home, a simple upgrade for modern living.
A quick look at a smart touch switchboard installation in progress at a site in Rajnagar Extension, Ghaziabad.
Our smart touch switchboard being installed in a home. The process is quick and our panels fit into standard modular boxes.
Congratulations to our team on the successful installation of our very first smart touch switchboard model. This is where our journey began.
This is how simple our mobile app configuration is. Just add a device, select your Wi-Fi network, enter the password, and you're done in a few seconds.
Our mobile app features an easy 3-step configuration process. You can set up your entire smart home system quickly and easily.
In this video, I explain the Alexa linking process. Just search for the 'Things Alive' skill in the Alexa app and log in with the same account you used for our app.
A quick tutorial on configuring Alexa voice skills. Simply search for the 'Things Alive' skill in the Alexa app and enable it to start using voice commands.
This guide shows you how to connect our products with Google Home. Go to 'Works with Google' in the settings, search for 'Things Alive', and link your account.
About Installation & Setup Guides
Getting started does not mean breaking walls or complex rewiring. Our retrofit smart modules are designed to fit right behind your existing switchboards, taking only 15 to 20 minutes to install per room. If you can use a screwdriver and have a home Wi-Fi connection, you can complete the hardware setup yourself without changing your room aesthetics.
How Our Setup Works
We believe home automation should be accessible, not an engineering degree. Our 'Made in India' retrofit modules are designed to sit inside your existing wall boxes, meaning you keep your current switch plates, wiring, and paint jobs intact.
Simple Configuration
Once the hardware is fitted, our app configuration takes three quick steps.
- Open the iSpaze app and tap 'Add Device'.
- Select your 2.4 GHz Wi-Fi network and enter the password.
- Wait a few seconds for the provisioning to complete.
Linking Voice Assistants
To get started with voice control, we use our 'Things Alive' skill. For Amazon Alexa users, simply search for 'Things Alive' in the Skills & Games section of your Alexa app and link your account. For Google Home, go to 'Works with Google', search for 'Things Alive', and complete the authorization. Ensure you use the same login credentials you used during our app setup, and your devices will appear automatically.
Troubleshooting and Resets
If your device does not show up during setup, it might not be in pairing mode. You can easily bring the switchboard into setup mode by pressing the settings button on our remote 10 to 12 times until the lights turn on, then pressing the 'All Off' button. This reset ensures the board is ready to accept a new Wi-Fi connection. Whether you are automating your AC, geyser, or lights, these steps remain consistent across our entire product range.
Similar work from other experts
Browse through Curated picks from other experts on mytribe
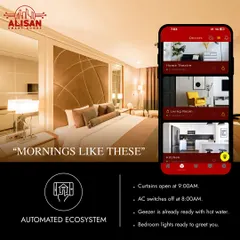
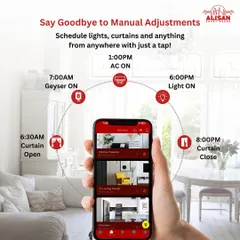
Take Total Control of Your Smart Home
Hands-Free Home Control for Smart Living
Smart Switches and Home Automation in Delhi-NCR
App & Voice Control for Your Existing Home Appliances
 11
11

Retrofit Smart Home Devices for Instant Upgrades
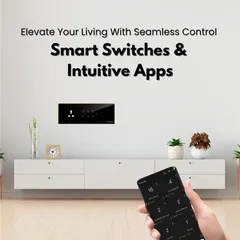
Your Home, Your Command Center: Smart Automation for Every Room
More from Smart Home Installation & Automation by iSpaze
More services by iSpaze