My Homemade Henna Process
Beautiful henna is more than just a design—it starts with the paste. I mix my own, using only natural ingredients for the deepest, safest stain.
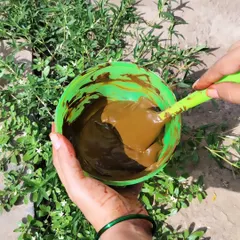
The first step in my process is mixing the henna powder with essential oils and other natural ingredients. Achieving the right consistency is crucial for smooth application.
Continuing the mixing process. I stir the paste until it's completely smooth and free of lumps, which ensures the henna will flow perfectly from the cone.
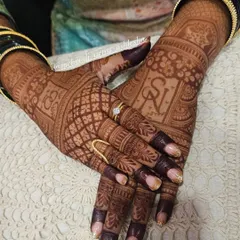
The result of using high-quality, homemade paste. This intricate design on my sketchbook shows the clean lines and rich color that a good paste can achieve.
About The Process: My Homemade Henna
You might be wondering why I insist on making my own henna paste instead of using store-bought cones. The answer is simple: those chemical cones are full of toxins that can harm your skin. When I mix my batch using pure Sojat powder and essential oils, I am not just making paste, I am ensuring your skin stays safe and the color turns out a deep, rich maroon. This process requires patience, but it is the only way I work.
Store-bought henna often relies on chemical dyes and preservatives to create a dark color quickly. My approach is different. I believe the skin is sacred, and as I always say, ek dil hai, ek jaan hai, dono meri mehndi pe qurbaan (my heart and soul are dedicated to mehndi).
By using natural Sojat powder—sourced for its high dye content—and mixing in the right essential oils, I achieve that deep stain naturally. It takes time. It takes patience to get the consistency perfect so that the paste flows smoothly from the cone without clogging, allowing for the precise, intricate lines you see in my gallery.
When you book me for your bridal or party mehndi, you aren't just getting an artist; you're getting a guarantee that no harmful chemicals will touch your skin. Whether it is for a wedding or a festival, I bring this freshly prepared, chemical-free experience to your doorstep anywhere in Mumbai. I do not rush the mixing, just like I do not rush the application. Quality takes time, and your special day deserves the best.
Similar work from other experts
Browse through Curated picks from other experts on mytribe
Fresh, Natural Mehndi Cones for Deep, Long-Lasting Stains
The Art of Natural Henna: Process & Stain
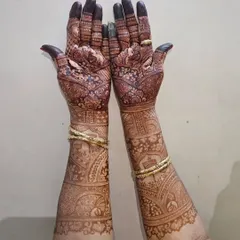
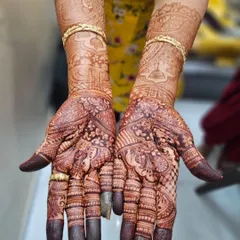
The Art of Organic Henna: My Process
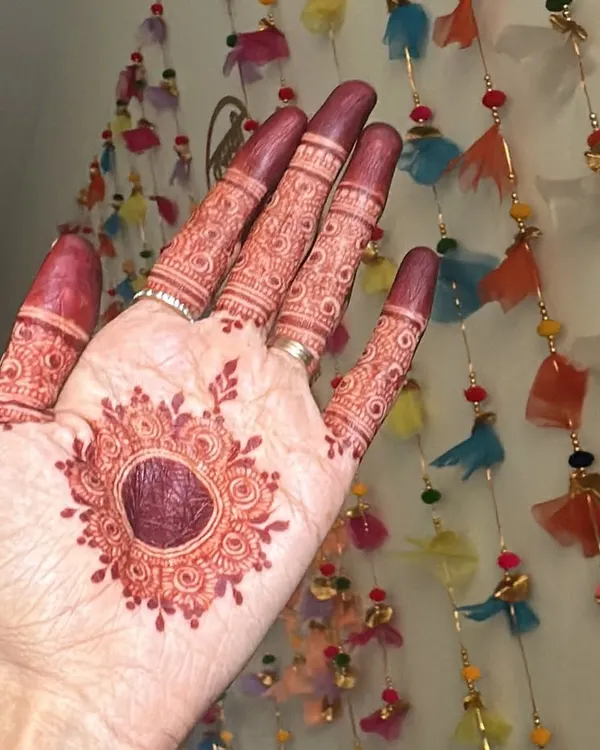 8
8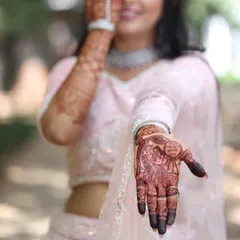
The Secret to Deep & Dark Henna Stains
 11
11
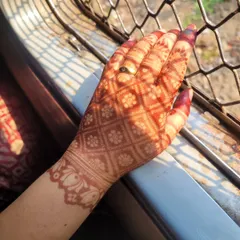
My Organic Henna Process and Stain Tips
Behind the Scenes: My Mehandi Process
More from Henna Art Classes by Saniya Javed Khan
More services by Saniya Javed Khan