Before & After: Transforming Raw Shots into Cinematic Visuals
Ever wonder how raw files become ready-to-post stories? Here’s a look behind the curtain at how my Lightroom presets and video LUTs bring out that warmth and moody depth in everyday photos.
A side-by-side comparison of an elderly couple in Kowloon. The 'After' shot, edited with my presets, adds warmth and a storybook feel, highlighting the emotional connection that was already there.
The chaotic, beautiful streets of Chandni Chowk, Delhi. The 'Before' is a flat, standard shot. The 'After' uses my Amber preset to add cinematic depth, texture, and a warm, inviting tone.
A portrait taken in Janpath Market. See how the preset lifts the shadows, balances the colors of the traditional outfit, and creates a beautiful, soft background blur for a professional portrait look.
A simple corner store at night. The edit transforms a dark, underexposed image into a vibrant scene, making the colors from the Pepsi fridge and snack displays pop with a moody, cinematic quality.
Watch how a flat, hazy mountain scene comes to life. My video LUT adds warmth, contrast, and a beautiful teal-and-orange look, perfect for travel and adventure films.
Even a simple shot of a sheep grazing can become cinematic. This before-and-after shows how my LUT enhances the texture of the wool and the green of the grass, giving it a rich, filmic quality.
This graphic shows the power of my video LUTs. They are compatible with popular editing software like DaVinci Resolve, Final Cut Pro, Premiere Pro, and VN, making professional color grading accessible.
A shot of a creator in the woods. The LUT brings out the golden sunlight filtering through the trees, creating a warm, adventurous mood that was lost in the original raw footage.
About Before & After: See the Magic
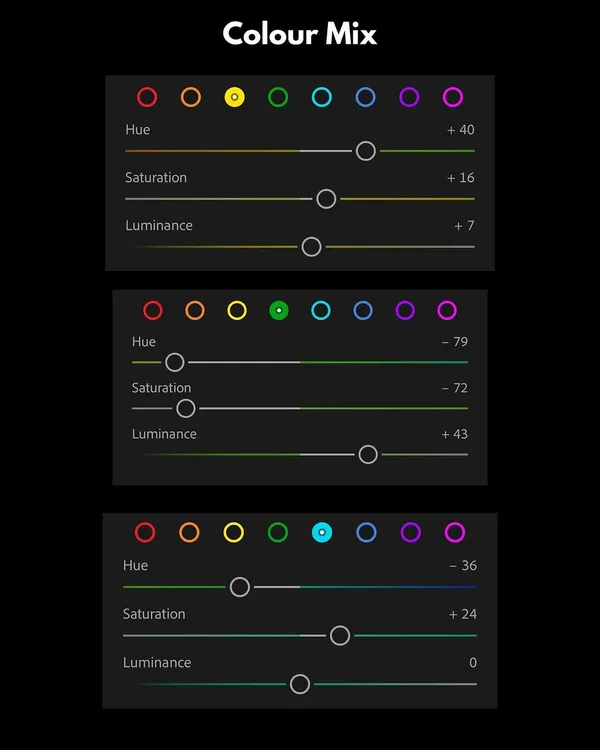
When I edit, I don't just slap a filter on and hope for the best. Notice how the 'Before' shots on this page are often a bit flat—that’s intentional. My Amber and Aqua presets are designed to specifically target HSL sliders, pulling out deep, sunlit tones while protecting skin integrity. Whether you’re shooting on a phone or a pro camera, the goal is to give you a clean, cinematic starting point so you spend less time tweaking exposure and more time finding your own visual voice.
Editing shouldn't feel like a chore; it’s the final piece of the storytelling process. I built these presets because I was tired of spending hours manually color-correcting every frame.
Why My Presets Work
Most editing packs are generic, but these are built from my real-world workflow. The Amber Pack is my go-to for golden hour shots, bringing warmth to shadows without making skin look orange. If you shoot landscapes, the Aqua Pack shifts hues toward teal and cyan, perfect for that moody travel aesthetic.
For the Video Creators
My Cinematic Video LUTs work across Premiere Pro, DaVinci Resolve, and mobile apps like VN or CapCut. They are Rec.709 compliant, meaning you get that 'big screen' look even on standard footage. I’ve included skin-tone protection algorithms, so you don't lose natural details when boosting contrast.
What’s in the Kit
- Photo Presets: .XMP for desktop Lightroom and .DNG for mobile.
- Video LUTs: Industry-standard .CUBE files for color grading.
- Support: I’ve included a cheat sheet for white balance and exposure to help you learn as you edit.
If you want to speed up your workflow while keeping a consistent, professional feed, pick up one of my bundles. It’s all about spending less time at the computer and more time out in the world, chasing new stories.
Similar work from other experts
Browse through Curated picks from other experts on mytribe
 10
10Behind the Lens: My Process and Technique
Behind the Scenes: My Cinematic Editing Process
 4
4
Master My Lightroom Editing Workflow
Behind the Scenes & Photography Tutorials
 10
10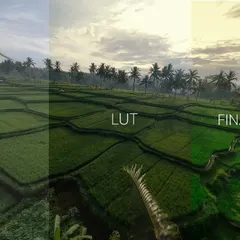
Mastering FPV Post-Production & Video Editing
Behind the Scenes: My Studio Process & Styling
More from Photo & Video Editing Presets by Garima Bhaskar
More services by Garima Bhaskar