The Creative Process: Mandala Art
Art is a journey, not a quick fix. See how my mandalas come to life, from the first pencil grid to the final, detailed ink patterns.
This video shows the very first strokes of the 'Inner Peace' mandala. It all starts with a single line, and from there, we build the design outwards, one pattern at a time.
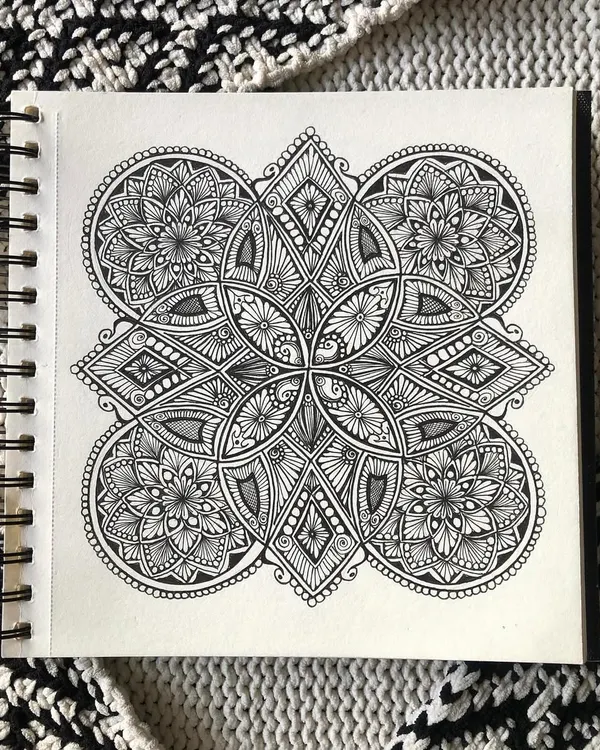
A work-in-progress shot of a violet mandala. You can see the faint pencil grid lines underneath, which are essential for keeping the design symmetrical. This is the foundation we learn to build in my workshops.
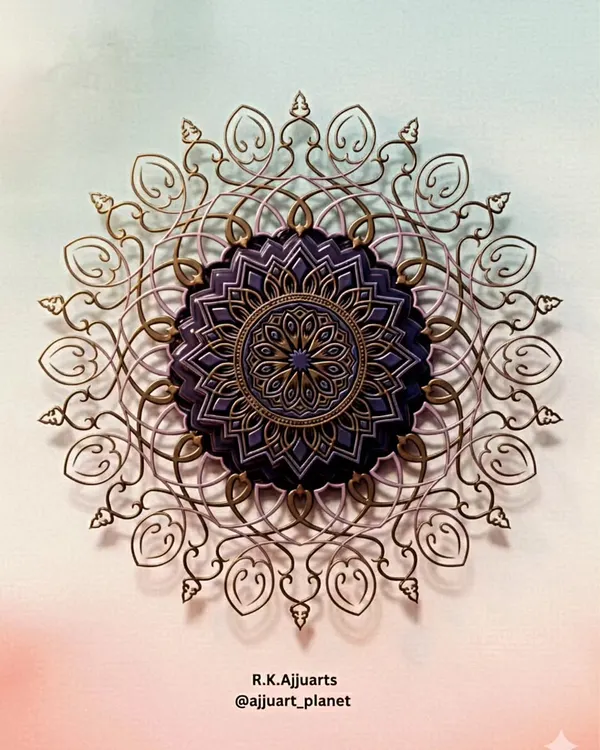
A detailed close-up of the violet and gold mandala as it's being created. I used a Micron pen for the violet details and a Uniball pen for the metallic gold, showing how different tools can be combined.
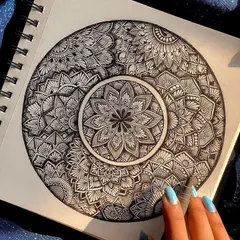
My hand at work, filling in the patterns of a semi-mandala. You can see the underlying grid I use to guide the drawing. This step-by-step process is what makes creating complex designs manageable for beginners.
Another in-progress shot, showing the outer layers of a mandala being drawn. It's a slow and steady process of filling in each section, which is what makes it so meditative.
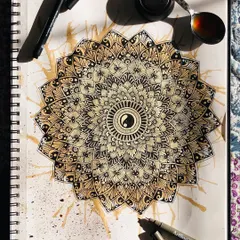
The beginning stages of a floral mandala. I start with the central elements and work my way out, letting the pattern grow organically. There's no need to rush; the magic is in the making.
About The Creative Process: From Blank Page to Finished Art
You will notice faint pencil lines under the ink in many of these photos. That is the grid, and it is the most important part of the entire process. I use this skeleton for every piece because it keeps the geometry balanced, but it is also the first thing I teach you to let go of once you are comfortable. Seeing those raw lines is the difference between guessing and actually learning the craft.
When I started, I used to search for inspirations online, feeling like I had to copy others to make something beautiful. Now, my art flows differently. Creating a mandala is meditative because it forces you to focus on the immediate, repetitive motion of the pen. It is a brain reset.
The Anatomy of a Mandala
Every piece I share here begins the same way. We start with a compass and protractor to build a skeleton on 300 GSM watercolor paper. Without this structure, the patterns lose their symmetry, and the 'peace' of the process gets replaced by frustration. Once the grid is set, I switch to fineliner pens—typically Sakura Pigma Microns for the black work and occasionally a metallic gel pen for highlights.
Why the 'Messy' Approach Works
My workshops are designed to break the fear of the blank page. We don't aim for perfection. If you look closely at my work-in-progress shots, you will see corrections and wobbly lines. I leave them there because art is not meant to be a machine-generated output. In our sessions, we cover:
- Grid Construction: Building the foundation so your design doesn't tilt.
- Pattern Variation: Mixing floral elements with geometric blocks.
- Pen Control: Managing pressure to create different line weights and textures.
Whether you are joining an online session or a weekend workshop in a Delhi cafe, the goal remains the same: to slow down and create something that is uniquely yours, flaws and all.
Similar work from other experts
Browse through Curated picks from other experts on mytribe
Mandala Art Process: Watch How I Create Mindful Designs
 12
12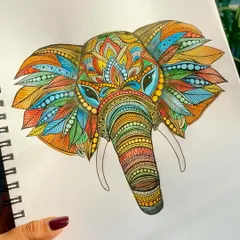
My Mandala Sketchbook: Where My Art Begins
Process Videos: Behind My Mandala Art
A Look Inside My Process: Art in the Making
 7
7
Handmade Meditative Mandalas and Intricate Pattern Art
The Artistic Process: How I Create My Handmade Psychedelic Art
More from Mandala Art Workshops by The Messy Hand
More services by The Messy Hand