The Artistic Process Behind Custom Murals
Every mural starts with a blank wall and a story. Here is the step-by-step journey of how we turn a simple idea into a permanent, hand-painted artwork for your space.
Real painters understand with a brush in their hand. This video shows the entire process, from the initial paper sketch to setting up scaffolding and finally painting the black outlines on a ceiling mural.
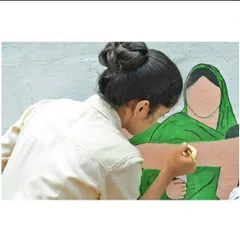
Channeling my creativity onto the walls. This clip shows the very beginning of a mural, where I'm carefully drawing the black outlines for various characters and icons before any color is added.
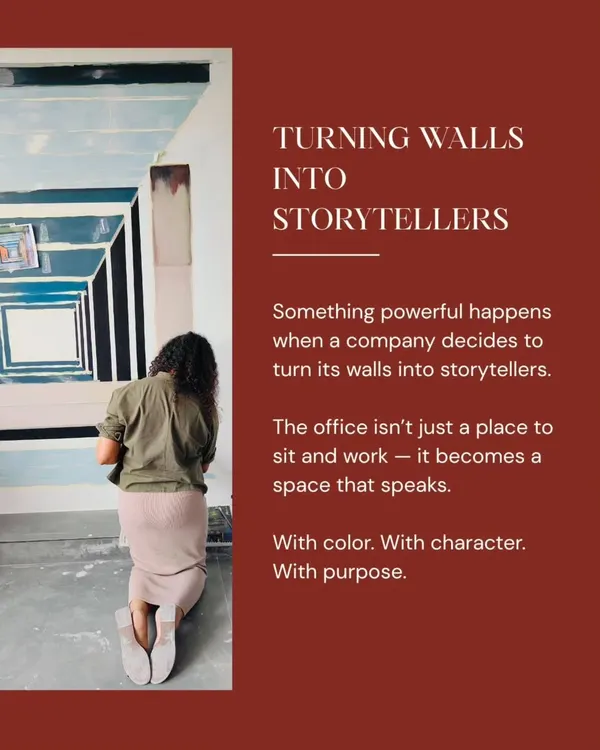
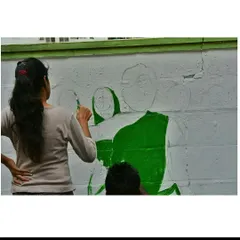
Here I am on a step ladder, blocking in the first layers of color for a new mural. Every piece starts with a blank wall and a vision, and this is the moment it starts to take shape.
The first line on a blank wall is always a special moment. This is the very start of a project, where the entire space is a canvas waiting for a story to be told.
Standing on a ladder, I begin the outlining process for a large corporate mural. This foundational step is crucial for mapping out the entire composition before the details and colors are filled in.
Every art form has its bad phase, but don't let it intimidate you. It's temporary and often leads you to the beautiful phase. Here I am, trusting the process as I fill in color blocks.
About The Artistic Process
Before a single drop of paint hits your wall, we spend time decoding your vision. Whether it is for a corporate office or a personal nook, I sketch out concepts on my iPad first, ensuring the narrative flow is perfect before we pick up the brushes on-site. This phase is non-negotiable because it confirms that the final result is exactly what you imagined.
Making a mural is more than just applying paint; it is a conversation between your brand or story and the wall. Here is how we get there:
The Method
1. Brief & Decoding: We start by talking about the space. I need to understand your vibe, the brand values, or the personal story you want to share. This is not just decoration; it is visual communication.
2. The Digital Storyboard: I take our chat and draft a digital sketch. You get two rounds of revisions here. This is crucial because it aligns our expectations—you get to see the layout, the characters, and the flow before anything is permanent.
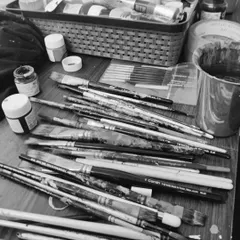
3. Material & Execution: Once the design is locked, the real work begins. I use professional acrylic markers like Posca and Molotow, and high-density acrylic paints. I mask your skirting and ceiling, use drop cloths, and ensure the workspace stays clean throughout the process.
4. Finishing Touches: After the line work and color blocking, I apply a protective matte or satin varnish. This serves a practical purpose: it ensures your mural lasts against dust, moisture, and the wear and tear of a busy space. If we are working on glass, I use specific oil-based markers that bond to non-porous surfaces without smudging.
I have painted for big names and small cafes alike, and my rule is always the same: sabse pehle apne kaam se mohabbat karo (love your work first). That focus is why these walls do not just look good—they actually speak.
Similar work from other experts
Browse through Curated picks from other experts on mytribe
Our Creative Process: From Sketch to Wall
 7
7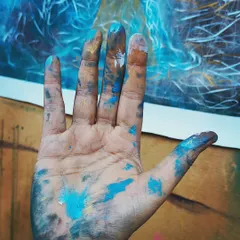
Behind the Mural: How We Plan & Paint
 27
27
Hand-Painted Murals: From Concept to Final Stroke

Behind the Scenes: The Art of Mural Painting
Behind the scenes of my creative process
The Artistic Process: From Sketch to Mural
Looking for something specific?
Search our gallery to find the right mural style for your space.
More from Custom Mural Painting by The Bombay Doodler
More services by The Bombay Doodler