Step-by-Step Figurative Mehandi: From Outline to Final Art
See how complex bridal scenes go from a simple pencil outline to detailed, professional henna art.
Every masterpiece begins with a simple outline. This is the first step in creating a 'Phera Rasam' figure, ensuring the posture and proportions are correct before adding details.
Step two: defining the facial features and basic clothing lines. This is where the characters start to take shape, and I teach how to draw expressions with just a few strokes.
Step three: adding the intricate patterns and shading to the groom's attire. This layering technique is what creates depth and a rich, designer look in your mehandi.
The final, completed 'Phera Rasam' figure. Seeing the design come together step-by-step shows how my structured teaching method makes even complex scenes achievable.
This video shows the transformation of a 'Baraat' scene from a simple outline to a fully shaded and detailed piece. This is a key part of my figurative bridal mehandi course.
Watch as a full 'Baraat' scene on an elephant comes to life. I teach how to manage large compositions with multiple figures, ensuring every element is perfectly placed.
A live demo of the 'Phera Rasam' for my students. They get to see the entire process up close, from the first line to the final, beautiful result.
The basic outline for a groom on a horse. We start with getting the anatomy and posture right, which is the foundation for a realistic and impressive figure.
Here, we've added the intricate details and shading to the groom's outfit and the horse. This shows how filler patterns can transform a simple sketch into a work of art.
The final artwork of the groom on his horse. This step-by-step process is what I teach in my classes to make figurative work easy to learn for everyone.
About From Outline to Art: The Process
My method starts with mapping the anatomy of figures on paper before applying henna to skin. Whether it is a Phera scene or a Baraat procession, I teach students to block out the proportions first, ensuring every face, hand, and dress fold looks intentional, not crowded. This structural approach is why my students can draw consistent, high-quality figures after just a few weeks.
Building a figurative mehandi piece, whether it is a Radha-Krishna portrait or a wedding Phera scene, requires more than just a steady hand. In my classes, we treat mehandi like a sketch. We start with basic shapes because if you do not get the anatomy right at the start, no amount of shading can fix the proportions later.
I teach my students to avoid just copying other artists. Instead, I show them how to reference paintings and adapt them for henna. We break down the Baraat or Phera scenes into manageable layers: the base outline, the defining features, and finally, the intricate filler work. This is the same workflow I use for my own bridal work.
My students in Wadala also learn strict pressure control. Using my homemade organic henna, they practice how to get thin lines for facial features and thicker, saturated lines for clothing. It is about understanding the flow of the design. When you learn the mechanics of sketching, you stop being a tracer and start being an artist. This foundation is exactly what makes my professional bridal course in Mumbai different. We do not just fill in spaces on the hand; we construct art from the ground up.
Similar work from other experts
Browse through Curated picks from other experts on mytribe
 19
19
From Sketch to Stain: My Creative Mehendi Process
Professional Mehndi Techniques & Artistry Masterclass
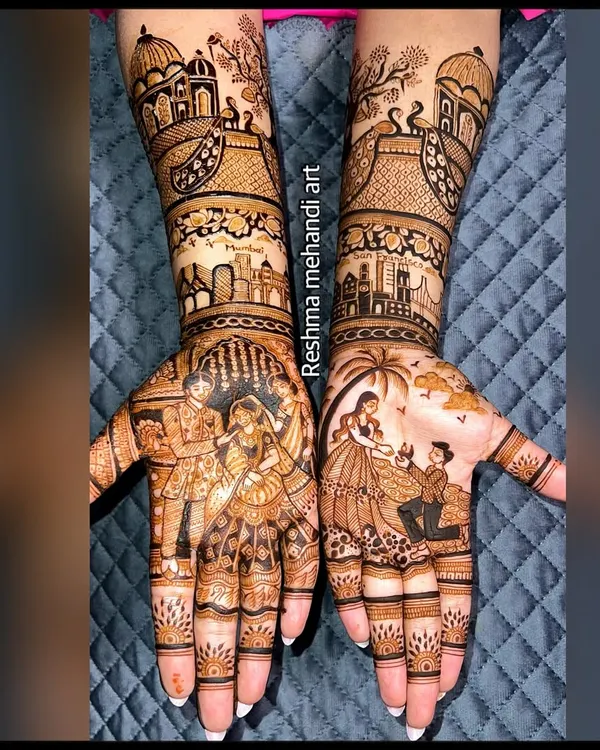 34
34Mastering Bridal & Figure Work: Detailed Mehendi Art
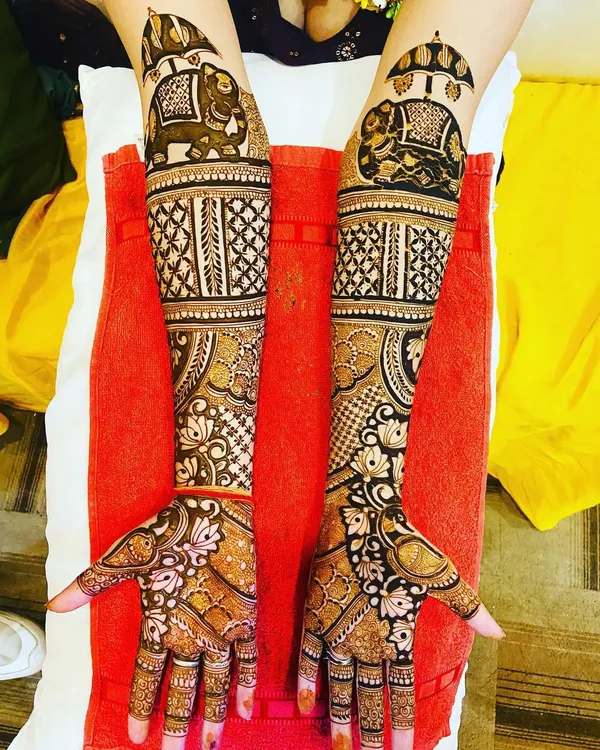 19
19
Bridal and Figurative Mehndi Training
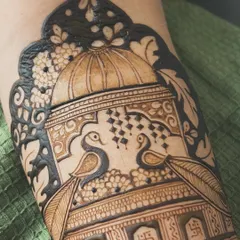
The Art in Progress: Behind the Scenes of My Mehndi
Behind the Scenes of Professional Bridal Mehendi Application
More from Mehandi Art Classes by Nida Henna Arts
More services by Nida Henna Arts