The Art of Precision Mehendi Application
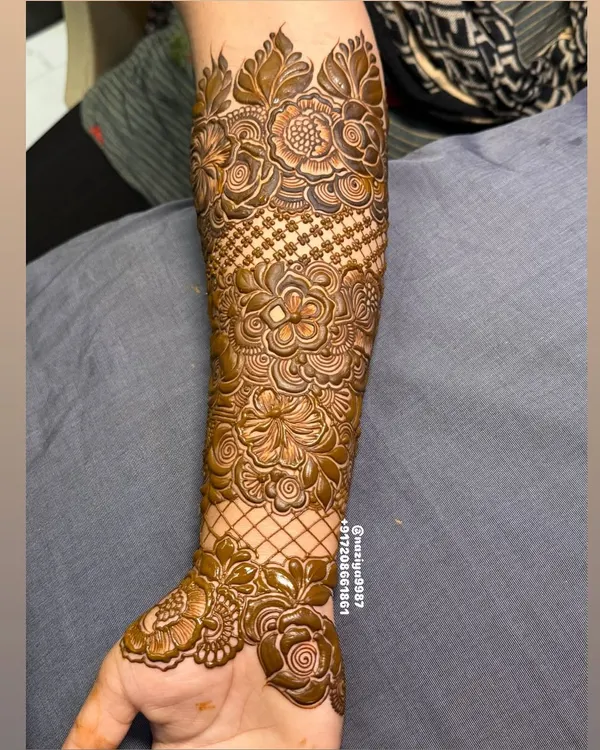
Watching the henna paste turn into intricate patterns is as satisfying as the final stain. See how I layer fine lines, shading, and traditional motifs to create deep, dark designs on your hands.
Watch as I fill in a large mandala on the palm. This video shows my technique for creating smooth, consistent shading and fine details.
A satisfying time-lapse of a floral design coming to life on the back of the hand. The text says "Raftaar pakadni baaki hai" (Still need to pick up the pace).
Creating a 3D 'jaali' or net pattern. The henna is applied in raised dots, giving the design a beautiful texture.
This video shows the creation of a beautiful heart-shaped lotus motif, complete with delicate hanging bells. The 3D effect makes the design pop.
A close-up of my cone work, showing the fine lines and intricate details of a floral and geometric pattern being created.
This video shows the process of outlining and filling a traditional mandala motif on the palm.
From a simple lotus bud to a fully adorned hand, this video shows the transformation.
Adding hanging jhumka (bell) motifs to a design, a classic element in bridal mehandi.
This video shows the filling of intricate patterns on the fingers and palm.
A close-up of shading work, where I use different pressures to create depth in the design.
About The Art in Motion
Getting a deep, dark henna stain is not just about the quality of the henna, it is about the application pressure. Notice in these clips how I adjust the cone flow based on the skin texture and the complexity of the motif. This control is what creates the 3D depth in my designs, and more importantly, it prevents the henna from smudging while it sets on your skin.
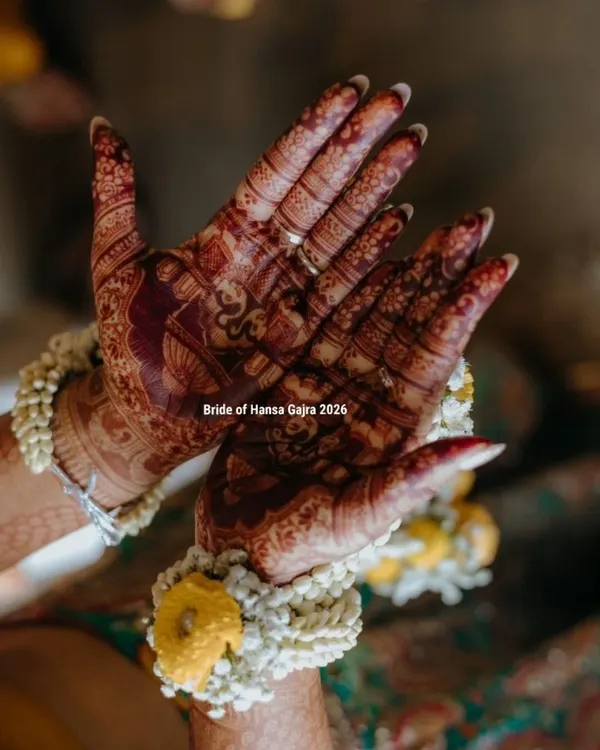
The difference between a standard mehendi design and one that truly pops lies in the technique. When I work on a bridal piece, every stroke is deliberate. I use 100% natural, chemical-free henna paste mixed with organic oils to ensure a safe, rich color.
Why Technique Matters
For the dense 'bhara hua' (filled) patterns, I focus on consistent line weight so the design looks balanced from fingertip to elbow. For 3D portraits or custom storytelling elements, I adjust my pressure to create depth and shadow, making the artwork stand out.
The Secret to the Dark Stain
After the application is complete, I use a lemon and sugar sealant spray. This keeps the henna moist for longer, allowing the dye to release more effectively into your skin. It is the crucial final step that turns a light brown stain into a deep, dark burgundy.
Whether it is a traditional mandala, a complex baraat scene, or simple geometric patterns for the groom, the process remains the same: steady, precise, and patient. If you are curious about how your specific bridal design will look, watch these clips to understand how I plan the layout. I am available to replicate these techniques for your special day, whether your wedding is in Delhi, Mumbai, or elsewhere across India.
Similar work from other experts
Browse through Curated picks from other experts on mytribe
The Art of Application: My Freehand Mehndi Process
The Art of Mehandi: Process & Stain
Behind the Scenes: The Art of Professional Bridal Mehandi
Intricate Mehendi Art in Progress
 15
15
The Art in Progress: Behind My Henna Designs
 16
16
Mehendi Art in Motion: Natural Stains & Detailed Processes
More from Bridal & Groom Mehandi by Atul Nayak
More services by Atul Nayak