The Art of Natural Henna Stains
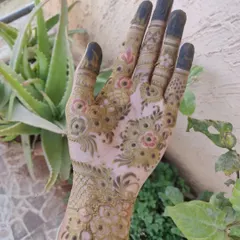
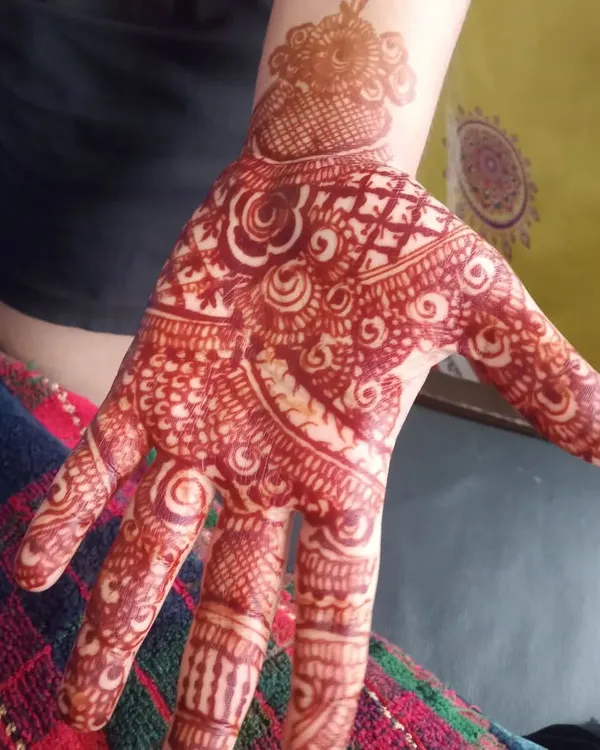
A deep, rich stain is the true sign of good henna. See the transformation from fresh green paste to the final, vibrant reddish-brown color I achieve with natural ingredients.
This video shows the full journey of a custom initial design, from the thick, dark paste to the final, beautiful reddish-brown stain.
Watch the satisfying process of creating a custom initial design, with a close-up on the precise application of the henna paste.
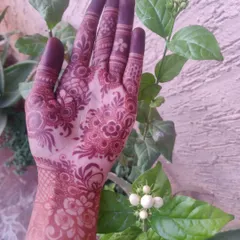
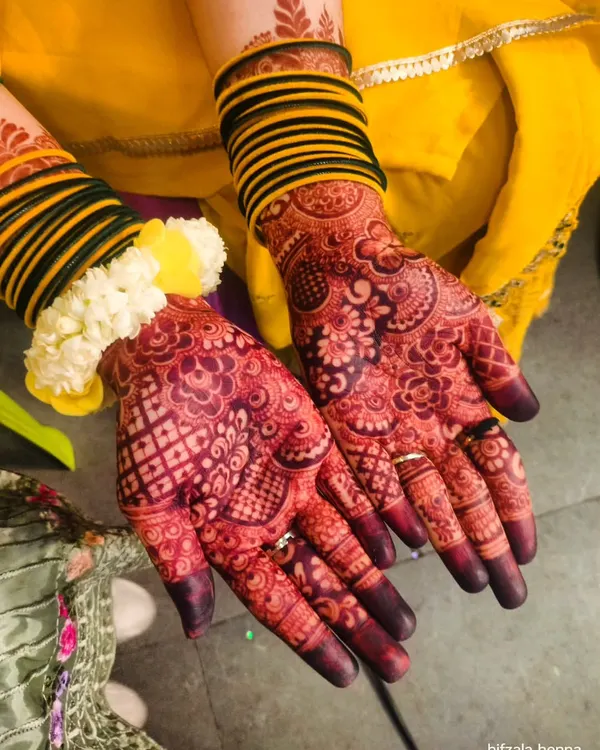
A beautiful comparison of a fresh, light-colored henna stain next to a fully matured, deep burgundy stain. This shows the magic of natural henna.
This video shows the final, rich reddish-brown stain of a full hand design, beautifully captured against a sunset on the beach. It highlights the amazing color that develops from my natural henna paste.
This video shows the complete henna journey, from the fresh paste of a party design to the beautiful, dark stain against a beach sunset.
A side-by-side comparison of a fresh, orange-toned henna stain and a mature, deep red stain using simple leaf motifs.
This video shows the application of a minimalist leaf design, the fresh paste, and the final, beautiful stain against a backdrop of yellow flowers.
See the transformation of an intricate, full-coverage design from the dark green paste to a stunning, deep red stain.
About The Henna Journey: Process & Stain
A deep stain does not happen by accident. It requires patience, warmth, and proper aftercare. When I apply my organic, chemical-free paste, the first 24 to 48 hours are the most critical time for the color to settle and reach its full potential.
The journey of a henna design is a process that unfolds over days, not hours. I use only natural henna paste, which is why you will see a fresh green application transform into a vibrant orange, and finally, a deep, rich burgundy or chocolate brown.
How to get the best stain
To ensure your henna turns out dark, keep a few things in mind:
- Keep it warm: Henna loves heat. Keeping your hands warm after application helps the dye release.
- Be patient: Do not wash the dried paste off with water. Scrape it off gently with a butter knife or card.
- Avoid water: Try to keep the area dry for at least 6 to 12 hours after removing the paste to allow the oxidation process to work.
- Natural oils: A light coat of coconut or mustard oil after the paste is removed can help protect the design as the color develops.
Since I work with organic ingredients, there are no chemicals involved, making the stain safer and the process more satisfying. Whether you are prepping for a wedding or a casual event, following these simple steps will give you that signature dark stain that lasts.
Similar work from other experts
Browse through Curated picks from other experts on mytribe
 7
7
Getting the Perfect Deep Henna Stain
 15
15
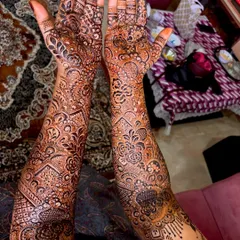
The Beauty of the Henna Stain: Achieving Rich Color
 9
9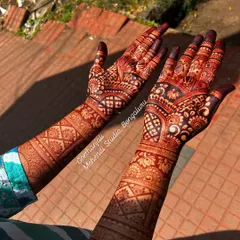
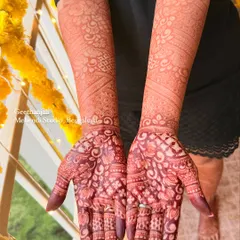
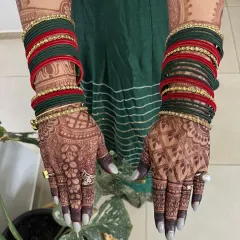
Natural Henna Stain Progression: Achieving Deep, Rich Color
 21
21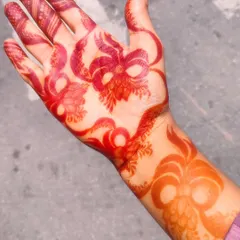
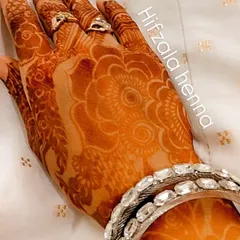
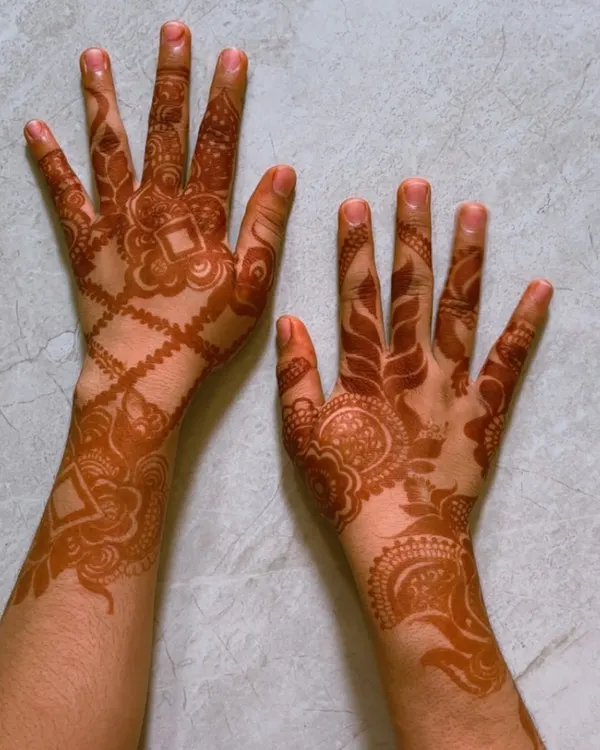
The Perfect Henna Stain Results
 4
4
Natural Organic Mehendi Stain: The 48-Hour Color Journey