Wicks, Tools & Pro Tips for Perfect Candles
Stop guessing your burn times and start making professional candles. Get the right tools, wicks, and techniques to fix tunneling and weak scent throw today.
Getting the wick right is one of the most important parts of candle making. This video explains the importance of testing different wicks to ensure a safe and even burn, a crucial step for quality control in your business.
Achieving a whipped cream or frosting effect on candles is easy with the right technique. This video shows me piping specially prepared wax onto a container candle, a popular method for creating dessert-style designs.
This video demonstrates a creative layering technique using glitter. By tilting the jar, you can create a dynamic diagonal line of glitter between two different colored wax layers, adding a touch of sparkle to your candles.
About Wicks, Tools & Pro Tips
The most common issue I see is using the wrong wick size for a specific vessel. If your wick is too thin, the wax tunnels and does not melt to the edges. If it is too thick, you get soot and excess heat. I always recommend testing your burn with different wick gauges and fragrance loads before finalizing your batch. Grab a sample pack or a multi-sized wick roll from my store so you stop wasting wax on failed trials.
Getting the burn right
Candle making is more science than art. If your candle isn't burning properly, it is usually down to the relationship between your wax type, vessel diameter, and wick gauge. I stock everything from cotton wick rolls to pre-tabbed wicks, but the trick is in the testing. Never commit to a large production run without burning a test candle first.
Essential tools for consistency
Stop trying to melt wax in a random kitchen bowl. You need tools that give you control:
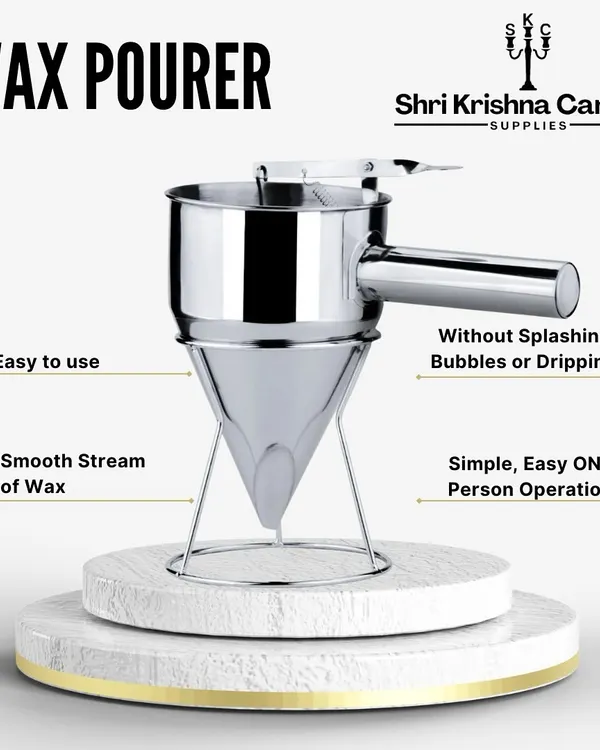
- Pouring Pitchers: My aluminium pitchers have a specific spout design to help you pour without spilling, which is a lifesaver when you are making multiple candles at once.
- Thermometers: Never guess your fragrance oil temperature. Adding scent too early can burn it off, leading to a weak cold throw.
- Heat Guns: These are not just for finishing. Use a heat gun to smooth out the tops of your candles after they cool, or to fix minor sinkholes around the wick.
Advanced techniques
Want to level up your game? Try layering or piping.
- Layering: For that dynamic diagonal look, tilt your jar while the first layer sets. Use my dye chips to get consistent color across layers.
- Piping: If you want that dessert-style aesthetic, make sure your wax is at the perfect 'piping consistency' before you start. It takes a little practice to get the swirl right, but it turns a basic candle into a premium product.
Have a question about a specific tool or mold? Drop me a message. I am here to help you get it right.
Similar work from other experts
Browse through Curated picks from other experts on mytribe
 5
5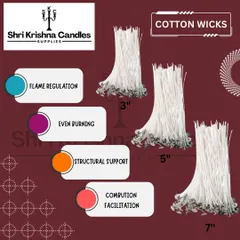
Essential Wicks and Tools for Professional Candle Making
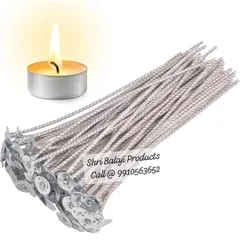
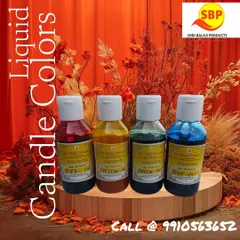
Premium Candle Wicks, Colors & Fragrance Oils
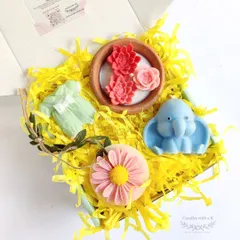
Your Guide to Choosing Quality Soy Candles
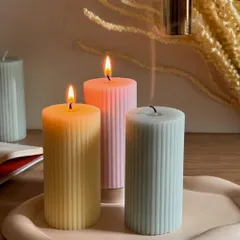
Candle Care & Tips for a Cleaner Burn
 6
6
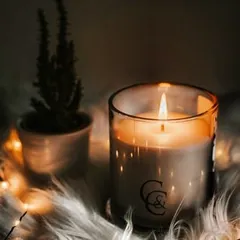
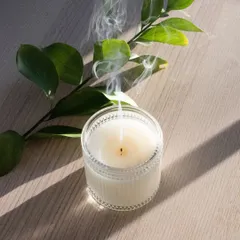
Custom Scented Candles & Handmade Soy Wax Decor
Start Your Own Candle Brand Without the Production Hassle
More from Candle Making Supplies by Soap Material Hub
More services by Soap Material Hub