How I Get the Perfect Dark Mehndi Stain
Getting a deep, dark colour isn't just luck. It is about using the right ingredients and technique. Here is how I create a stain that stays beautiful for days.
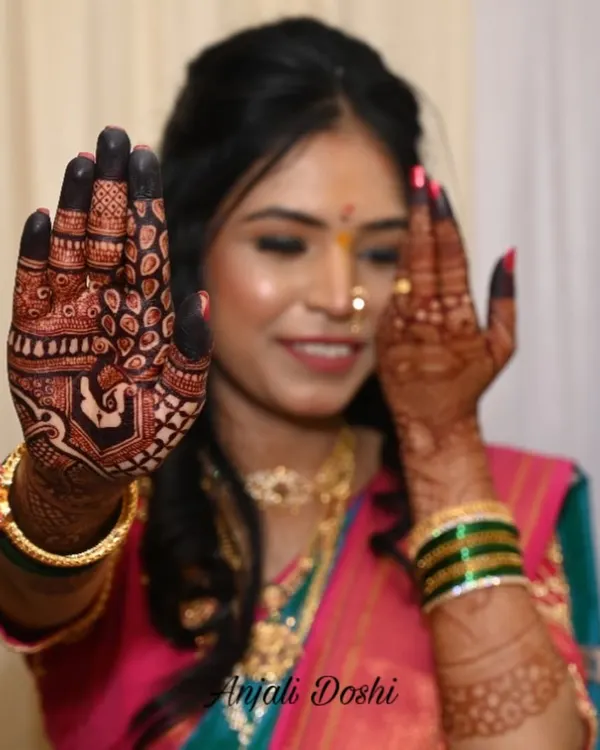
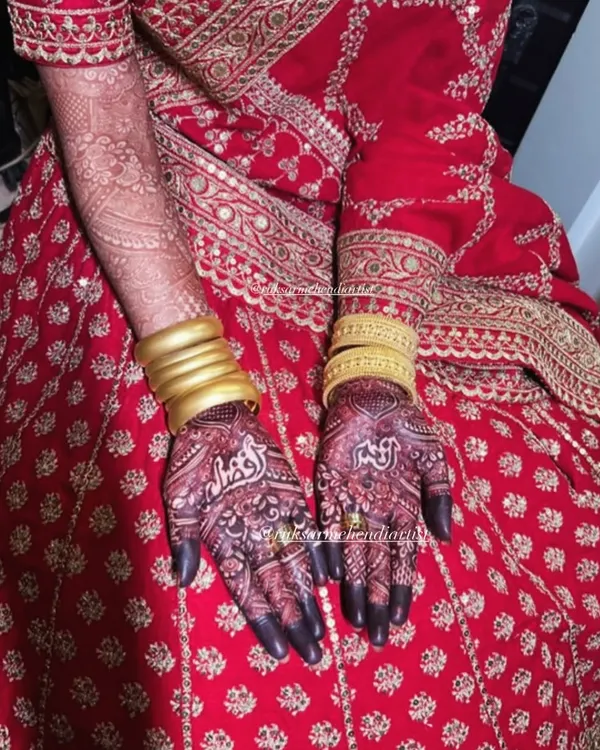
A beautiful moment from a wedding, with the bride's hands adorned with my mehndi. The dark stain looks stunning against her white and gold outfit.
A mini vlog showing my process, from mixing the fresh henna paste to traveling home after a long day's work.
The final rich, dark stain of a bridal mehndi, beautifully accessorized with gold jewelry and traditional bangles.
From fresh paste to final color. This video shows the design with the wet henna, and then the gorgeous dark stain after the paste has been removed.
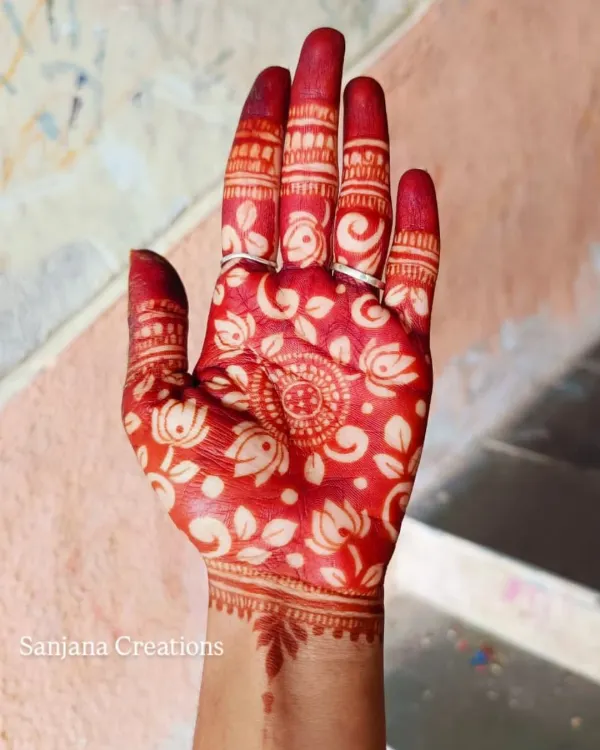
Ma sha Allah, what a beautiful henna stain! This is the result of using fresh, natural henna and following the right aftercare steps.
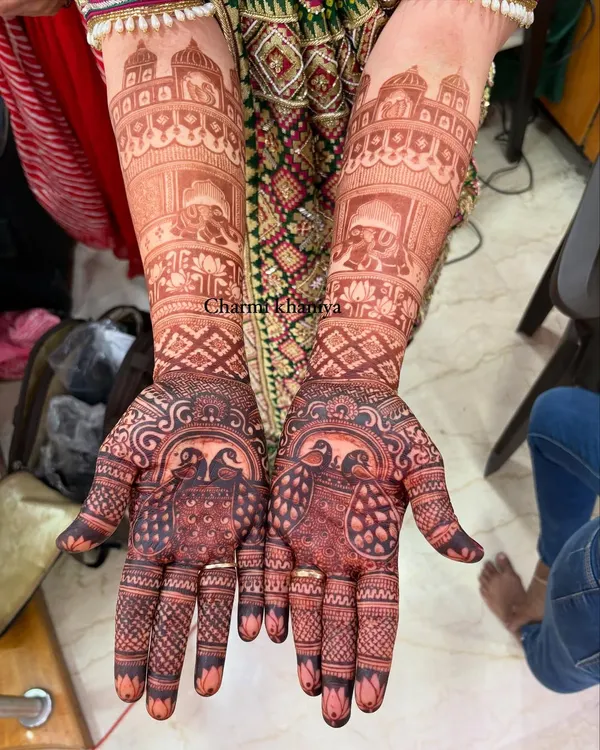
A tutorial on how I fill flowers in a bridal design. This technique of shading and layering helps create a rich, three dimensional look.
A satisfying video of a peacock design being drawn. Focusing on the goal, not the obstacle, is key to creating detailed work.
The beautiful, deep red stain of a bridal mehndi. This is the result you can expect from my fresh, homemade henna paste.
A close-up, satisfying video of the mehndi cone gliding smoothly to create a delicate floral border.
A close-up of a peacock design in progress. You can see the fine details and the raised texture of the fresh henna paste.
About The Process & The Perfect Stain
The secret isn't magic, it is simple chemistry. I mix my henna cones fresh for every single booking, using only high-quality henna powder and essential oils like clove or eucalyptus. I do not use chemical-based cones that fade in two days. After applying the design, I use a lemon and sugar sealant to lock the moisture in, which allows the stain to develop to that deep, rich colour you want for your wedding day.
Many people ask me why my mehndi stains turn out so dark. It comes down to the basics: freshness and patience. Most store-bought cones are filled with chemicals and dyes that give an instant, fake colour which fades just as quickly. My henna is different because it is 100% natural. I prepare the paste on-site or just before coming to your venue, ensuring the lawsone pigment is potent and ready to work on your skin.
Why Ingredients Matter
I use triple-sifted henna powder. If the powder is coarse, the application won't be smooth, and the lines will look messy. I add premium essential oils like Eucalyptus or Clove. These oils are not just for the scent; they release the dye from the henna powder. If you don't use the right oil, you won't get that deep, dark stain.
The Role of Aftercare
Even with the best henna, the stain depends on you.
- Keep it on: Leave the dried henna on for at least 6 to 8 hours. The longer, the better.
- The Sealant: I apply a lemon-sugar mix after the design is done. This keeps the henna moist, preventing it from cracking and falling off too early.
- Stay Warm: The dye releases best when your hands are warm. Avoid washing your hands with water for the first 24 hours. The stain will oxidize and darken naturally over the next two days, going from a light orange to a deep burgundy.
If you follow these steps, you will have a beautiful, dark stain that lasts well through your wedding celebrations.
Similar work from other experts
Browse through Curated picks from other experts on mytribe
Get a Rich, Dark Mehendi Stain
 7
7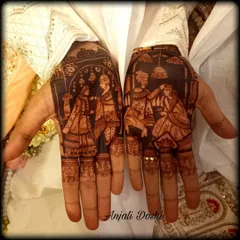

Achieving the perfect dark mehendi stain for your wedding
 7
7Achieving the Perfect Deep Mehendi Stain
My Organic Mehndi Process for a Guaranteed Dark Stain
 10
10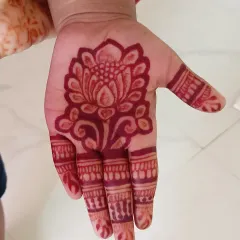
Get That Perfect Dark Mehndi Stain in Mumbai
 32
32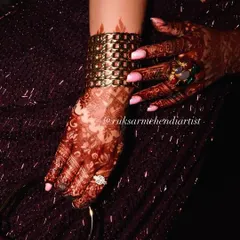
The Signature Stain: My Guarantee for Deep Henna Color
More from Bridal Mehndi by Neha Mehndi Creations
More services by Neha Mehndi Creations