A Step-by-Step Guide to Professional Home Painting
Painting is about way more than just the roller. Here is exactly how we prep, prime, and finish your walls for a long-lasting, smooth look. 🏡
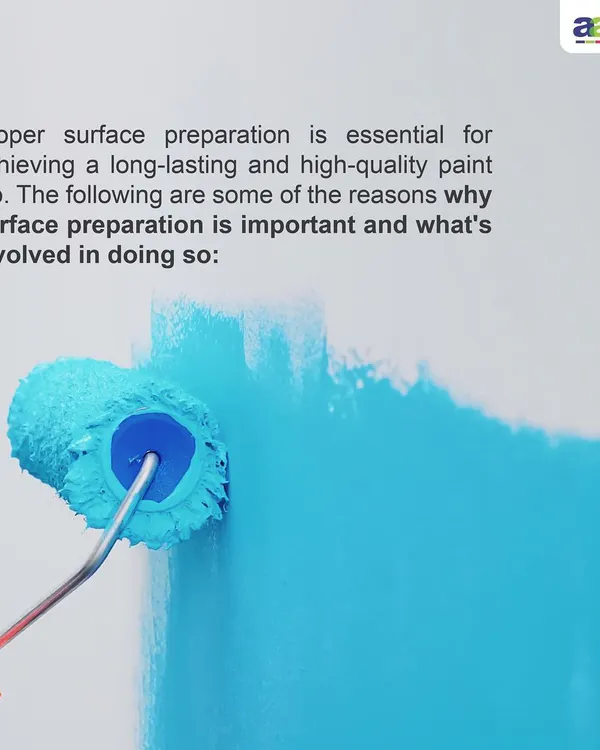
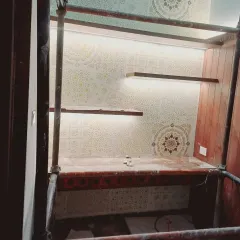
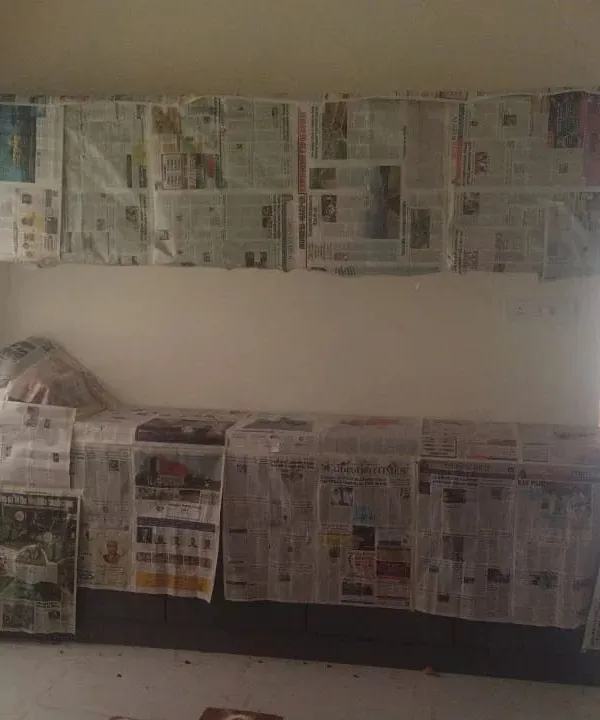
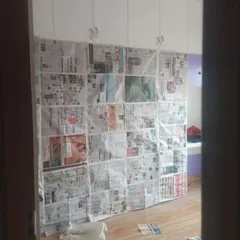
Step 1: Preparation. The most important step for a lasting finish. I make sure to gather all supplies, prepare the walls by cleaning and sanding, and protect your floors and furniture.
A visual guide to the preparation phase. Proper wall prep, including using spackle for any holes, is essential before any paint or primer is applied.
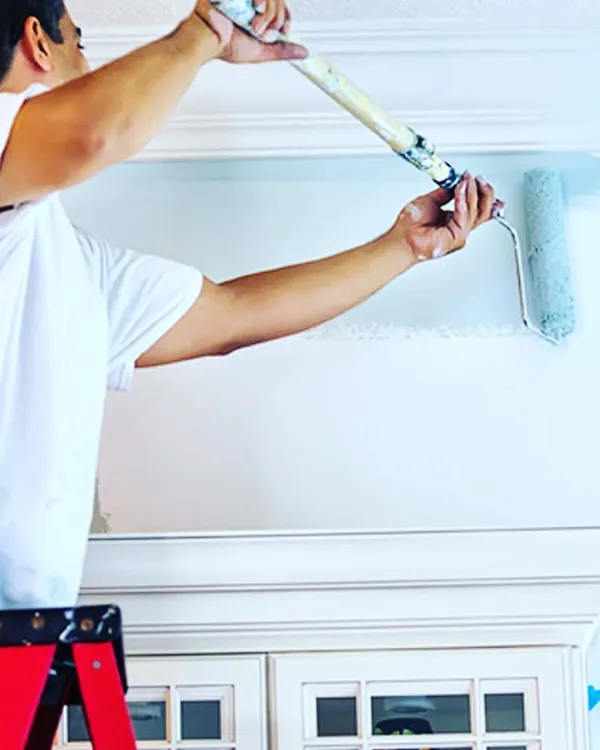
Step 2: Priming. I always use a good quality primer to ensure the paint adheres well, covers old colors, and results in a durable, even finish. Here you can see a roller applying primer to the wall.
This image shows the priming process in action. Applying an even coat of primer is key, especially when making a dramatic color change or painting on new drywall.
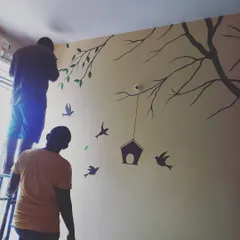
Step 3: Painting. Once the primer is dry, I begin painting. I start by carefully cutting in the edges with a brush before using a roller for the large surfaces to get a smooth, professional look.
This graphic illustrates the painting stage. Using the right tools and techniques ensures there are no drips or uneven patches, just a beautiful new wall.
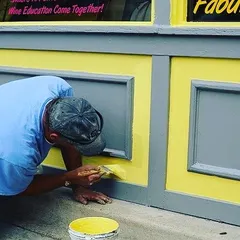
Step 4: Finishing Touches. The job isn't done until the details are perfect. This includes carefully removing painter's tape at the right time to get those crisp, clean lines.
A final look at the finishing touches. This last step is what separates a good paint job from a great one, ensuring your room looks polished and complete.
About My Step-by-Step Painting Process
The secret isn't just the paint; it's the prep work. We don't skip the masking tape, and we take the time to sand properly and clean up afterwards, so you're not left with messy floors or uneven paint lines. ✨
Getting a high-quality finish requires patience. When we visit your home in Bangalore, we follow a strict four-stage process to make sure your walls look great and stay that way. 🎨
1. Preparation
Before any paint touches your wall, we focus on the surface. We clear away dust, cobwebs, and patch up any nail holes or cracks. Protecting your furniture and floors with drop sheets is part of this step—we want your room to look better than we found it.
2. Priming
Many people skip this, but we don't. We apply a water-based primer to create a smooth, neutral base. This is crucial for Bangalore's climate, as it helps the top coat adhere better and prevents peeling caused by moisture or temperature changes.
3. Painting
We start by cutting in the edges with a brush, handling corners and fixtures where the roller can't reach. Once the outline is done, we use high-quality rollers for the main surfaces, applying two to three coats to ensure an even, vibrant color.
4. Finishing Touches
This is where the magic happens. We remove the painter's tape carefully and at the right angle to prevent the paint from peeling. We inspect every wall for drips or missed spots before we call it a day. A great paint job is all about these details. 😇
Similar work from other experts
Browse through Curated picks from other experts on mytribe
 18
18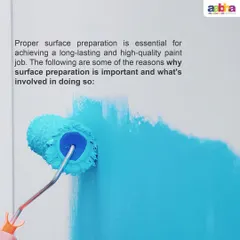

Our Quality-First Painting Process
 4
4
Our Professional Painting Process
Our Professional Wall Painting Process
 4
4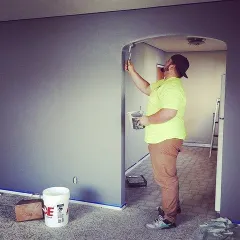
Our Painting Process
 15
15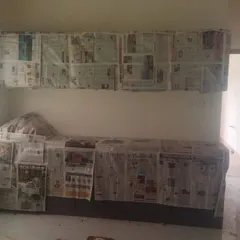

Our Professional Painting Process in Bengaluru
 5
5
Our Painting Process and Quality Standards
Looking for a different painting service?
Use our search to find exactly what you need.
More from Painting Consultation by My Paint My Home
More services by My Paint My Home