Mehendi Application: From Practice to Skin
Learning mehendi is more than just drawing on paper. See how I adapt patterns to the curves of the hand and feet, and learn the techniques behind getting clean lines on skin.
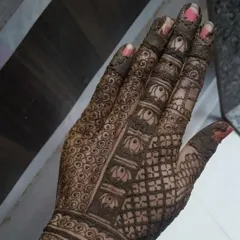
A sneak peek of a full bridal mehendi application in progress. You can see how the intricate patterns we practice on paper are carefully applied to the hand and fingers.
This tutorial focuses on 'Asabaa', or finger designs, in the Gulf style. Learning to create beautiful, detailed patterns for each finger is an important skill for any mehendi artist.
Watch the process of creating a mandala design on the wrist. This video shows how to build the pattern layer by layer, ensuring symmetry and clean application on skin.
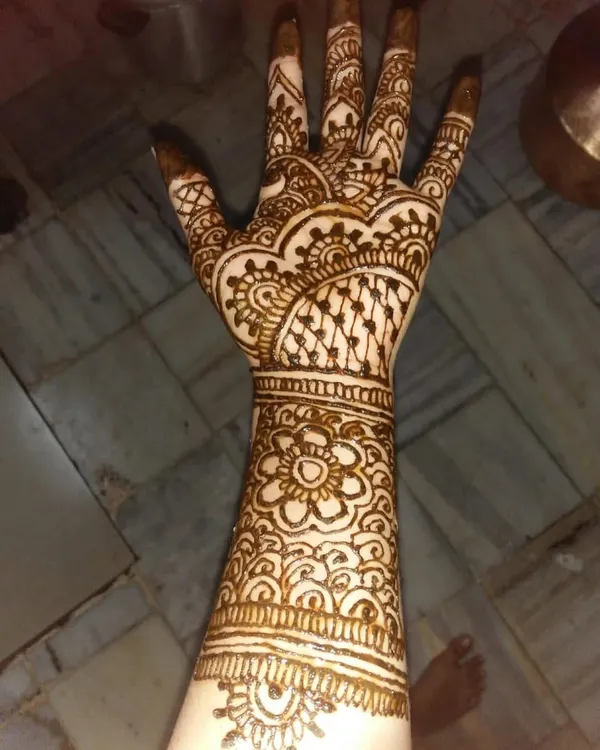
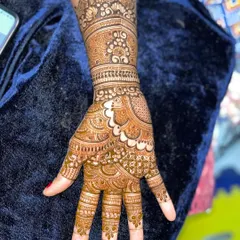
This clip shows a finished Arabic-style mehendi design on the hand. The pattern flows from the wrist down to the fingers, demonstrating a popular and elegant style we cover in class.
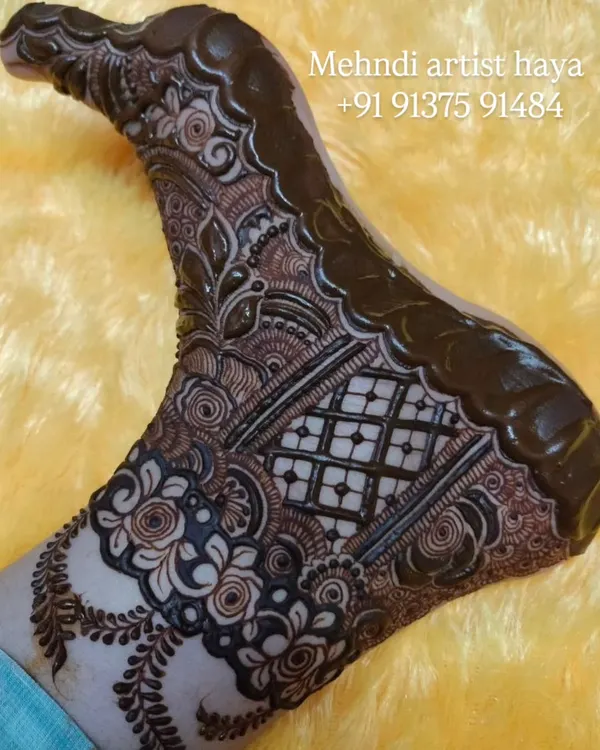
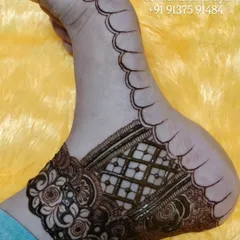
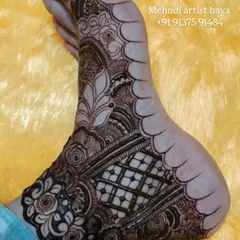
A unique design featuring a floral motif inside a 'jharokha' or window frame. My classes encourage creativity and teach you how to incorporate unique elements into your mehendi art.
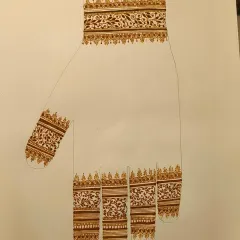
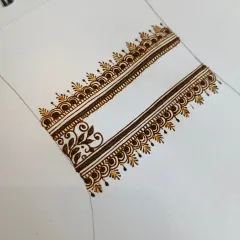
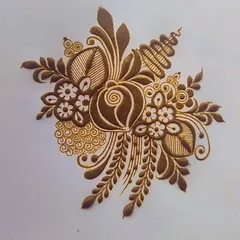
Creating a simple but striking pattern with repeating motifs. This is a great example of a quick, modern henna design that is very popular for parties and festivals.
A demonstration of creating tiny, delicate floral buds on the palm. Mastering these small details is essential for adding richness and complexity to your mehendi designs.
About Live Application: From Practice to Skin
Getting a clean line on a flat piece of paper is completely different from working on skin, where fingers move and palms aren't flat. In my classes, we spend time on 'lift and drop' pressure control specifically for live skin. If you've been struggling with shaky lines, it’s usually because you’re gripping the cone too tightly or trying to move too fast. We start by slowing down the process, focusing on the weight of the henna paste, and learning how to adjust your posture so your hand doesn't tremble while you’re detailing a client's palm.
Bridging the Gap: Paper to Skin
Most beginners focus solely on design, but application is a completely different skill set. When you move from paper to skin, the variable isn't just your hand—it’s the surface you are working on. Hands and feet have natural curves, wrinkles, and warmth, all of which affect how the henna paste settles.
What we focus on in class:
- Cone Pressure: The most common mistake is inconsistent pressure. I teach you how to manage the flow of the paste so you can draw without the line breaking or the cone clogging.
- Posture and Stability: You cannot draw a clean line if your hand is hovering or your posture is tense. We look at how to anchor your hand against the client’s skin for maximum control.
- Working with Complexity: Whether it's the 3D Gulf style or traditional Indian bridal motifs, I show you how to layer the design. You will learn to start from the wrist and work outward, so you don't smudge your previous work while detailing the fingers.
Why Practice Matters
I always tell my students: you can watch a hundred tutorials, but muscle memory only comes from the cone. My courses emphasize repetitive drills—starting with basic frills and humps until they become second nature. When you can draw these motifs with your eyes closed, you can finally stop worrying about the 'how' and start focusing on the creative 'what'.
If you are ready to stop doodling on paper and start creating designs that actually stain beautifully on skin, reach out. We can start with a foundation course or a specialized workshop depending on where you are in your journey.
Similar work from other experts
Browse through Curated picks from other experts on mytribe
 20
20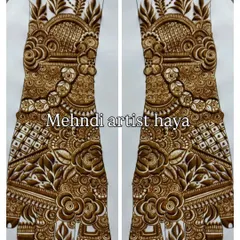
Elegant Foot & Leg Henna Designs
Mehndi Design Practice & Artistic Process
 5
5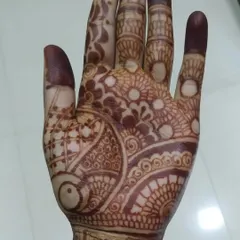
Professional Mehendi Classes and Training
Professional Mehendi Classes in Virar: From Sketch to Skin
Learn Mehandi Art: From Paper to Skin
Henna Mixology & Application Techniques
More from Mehendi Training by Mehendi Art Gallery
More services by Mehendi Art Gallery