My Process: How I Create the Perfect Henna Stain
Ever wonder how I get that deep, rich maroon stain? It starts long before I pick up a cone. Here is the magic behind my process.
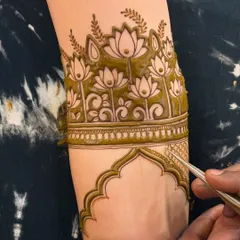
A short video showing me at work, carefully applying an intricate design to a client's hand. This gives a glimpse into the focus and precision that goes into my art.
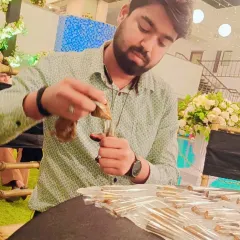
My handmade henna cones, ready for a busy wedding season. I prepare my own paste to ensure it is 100% natural and gives the best possible stain.
A video showing the delicate process of creating a hibiscus flower design. Each petal is carefully drawn and shaded to bring the flower to life.
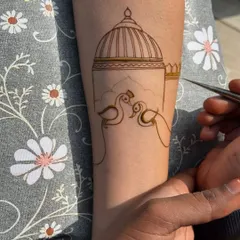
A time-lapse video showing the creation of a peacock design. You can see the motif taking shape, from the initial outline to the detailed filling.
A happy client's video review. She was thrilled with how I combined her ideas to create a design she loved. Hearing such wonderful feedback makes my day.
A close-up video of me filling in a detailed floral pattern. This is where the magic happens, as the design comes together line by line.
A tray of my fresh, natural henna cones, beautifully arranged with flowers for a mehndi event. Quality and presentation are both important to me.
About My Process & Henna Cones
The secret to that deep, dark stain you see in my photos isn't just about how long the henna stays on. It is the henna taping technique I use. By carefully sealing the design with breathable medical-grade tape after it dries, I lock in the moisture and body heat, which is exactly what helps the pigment mature into that rich, long-lasting maroon. When you sit in my chair, you aren't just getting a design, you are getting the results of my own natural, hand-mixed paste.
The Henna Mix
I believe in keeping things natural. Every cone I use is mixed by me personally, using 100% natural henna powder and essential oils. No chemical dyes, no black henna, and absolutely no skin-irritating additives. I prep these batches fresh because the quality of the raw material is the first step in getting a stain that lasts. You will never find me using pre-made store cones that risk your skin health.
The Application
Once the design is complete, that is where the real work begins. I use a sealant, usually a lemon-sugar mix, to help the henna stick. But the real game-changer for my clients is the taping. This technique prevents the design from crumbling off and creates a controlled environment for the stain to darken. It keeps your clothes safe and keeps your design intact while the color develops.
Your Role in the Aftercare
The final result depends a lot on aftercare. I always provide a set of instructions, but here is the quick version: avoid water for the first 12 to 24 hours, and keep your hands warm. The deeper the color develops, the happier I am. Whether you are prepping for a wedding or a casual festival, I treat every hand as a canvas that needs both care and creativity. If you have questions about sensitive skin or specific festival timings, let's chat.
Similar work from other experts
Browse through Curated picks from other experts on mytribe
My Art and Process: The Secret to Natural Mehndi
Behind the Art: My Mehndi Process and Paste Making
My Mehandi Process: From Cone to Colour
My Process & The 100% Colour Promise
Behind the Scenes: My Organic Henna Process
Achieving the Deepest Natural Henna Stain
More from Festive & Occasion Mehndi by Magic Stains
More services by Magic Stains