Mastering Nail Extension Techniques: Step-by-Step
18 years of nail artistry condensed into practical, step-by-step tutorials. No fluff, just the real technique to build extensions that last.
This is a common mistake beginners make with Polygel dual tips. Always choose a tip that is slightly larger than the natural nail, because the product inside will take up space.
A step-by-step guide for creating an inbuilt sticker acrylic extension. The key is to place the sticker on a thin, soft layer of acrylic and then encapsulate it with another clear layer to seal it in.
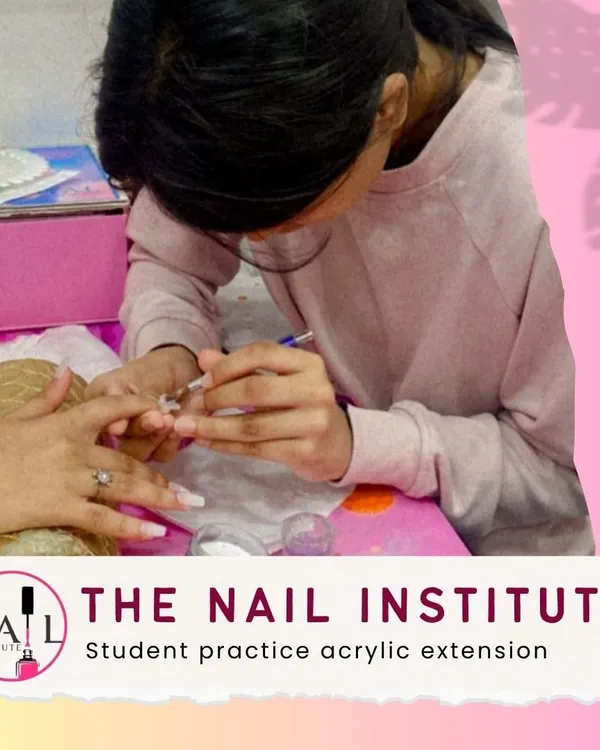
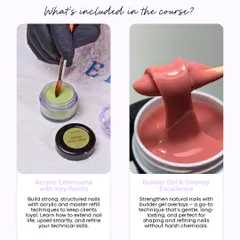
A tutorial on the correct acrylic bead application. I demonstrate how to pick up the right liquid-to-powder ratio and place the bead on the nail, gently pressing and spreading it for a smooth finish.
Mastering the cuticle area is crucial for long-lasting extensions. This tutorial shows how to place a small, perfectly formed acrylic bead near the cuticle and blend it seamlessly without flooding.
The product thickness near the cuticle should be at zero level, meaning almost flat. This tutorial explains how to manage your bead consistency, whether it's too wet or too dry, for a perfect application.
The acrylic bead closest to the cuticle should not be runny. It needs to be slightly wetter than the apex bead, allowing it to flatten evenly without touching the skin, which minimizes filing.
A demonstration of the reverse French technique using acrylic. This advanced method involves sculpting the smile line first, creating a sharp and clean French tip.
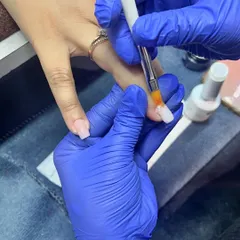
The correct process for nail extension removal is simple and safe. I use a drill to remove 80% of the product, then soak off the remaining 20% to protect the natural nail from any damage.
This is the correct way to apply a nail tip with glue. I demonstrate how to hold the tip at an angle, press firmly to avoid air bubbles, and use my thumb and ring finger to apply double pressure for a secure bond.
A quick lesson on how to trim nail tips for oval and round shapes. For an oval shape, you cut more from the sides, while for a round shape, you trim less to follow the natural curve of the fingertip.
About Core Extension Skills: Step-by-Step
Most beginners fail because they rush the acrylic bead consistency or flood the cuticle area. It is not just about the tools; it is about the angle of your brush—specifically at 45 degrees—and knowing exactly when a bead is too wet versus too dry. If you are struggling with lifting, your prep is likely the problem, not the product quality.
The Foundation of Real Skill
Nail extension isn't just about making nails look pretty for a week. It is about structural integrity. Whether you are working with Acrylic, Polygel, or Soft Gel, the science remains the same. If your apex isn't balanced or your cuticle work is messy, your extensions will lift, and your clients will never return.
Why Shortcuts Fail
I see so many 'nail artists' today who just copy tutorials and skip the theory. They treat the nail industry like 'Chinese bhel'—all mixed up with no focus. My tutorials on this page break down the basics:
- The Polygel Secret: Why your dual tips must be slightly larger than the nail plate.
- Acrylic Bead Control: The difference between a runny bead and a structural bead.
- The Russian Manicure Prep: Why opening the cuticle pocket with a fine drill bit is non-negotiable for a clean, injury-free finish.
Your Path to Mastery
Technique is a muscle memory. You cannot learn to shape an almond or a coffin nail just by watching videos. You need to get your hands dirty, feel the product consistency, and understand why we don't 'flood' the cuticle.
If you are ready to stop looking for shortcuts and actually learn the craft, my Borivali studio is where we do the real work. We don't do 'time-pass' here. We teach you to be a technician who people trust. If you are serious, I am ready to teach.
Similar work from other experts
Browse through Curated picks from other experts on mytribe
Mastering Nail Extensions: Professional Techniques and Certification
 45
45
Mastering Nail Extensions: Professional Gel & Acrylic Training
Master Gel and Acrylic Nail Extensions
Nail Extension Mastery: Professional Training in Malad
Master Professional Nail Art Techniques Step-by-Step
Mastering Nail Extensions and Artistry
Need to learn a specific technique?
Tell us which nail skill you want to master.
More from Professional Nail Technician Courses by Keerti's Nailbox
More services by Keerti's Nailbox