The Art of Handcrafted Soap Making
Ever wondered how your favorite skincare gets its beautiful swirls and textures? Come see the messy, colorful, and satisfying process of making soaps in my studio, from the initial pour to the final, careful cut.
Pouring soap is like therapy for me. This video shows the drop swirl technique for one of my Christmas soaps. You never know exactly what you'll find inside until you cut it!
A close-up of wet soap batter just after pouring. I love creating these beautiful swirls and textures. This is where the artistry begins.
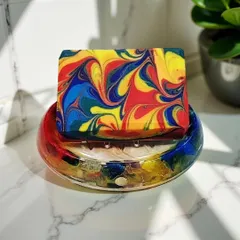
Getting back into the groove! Here I'm making a Pride-themed soap with rainbow layers and my bestselling Aloe Vera and Coconut Milk soap.
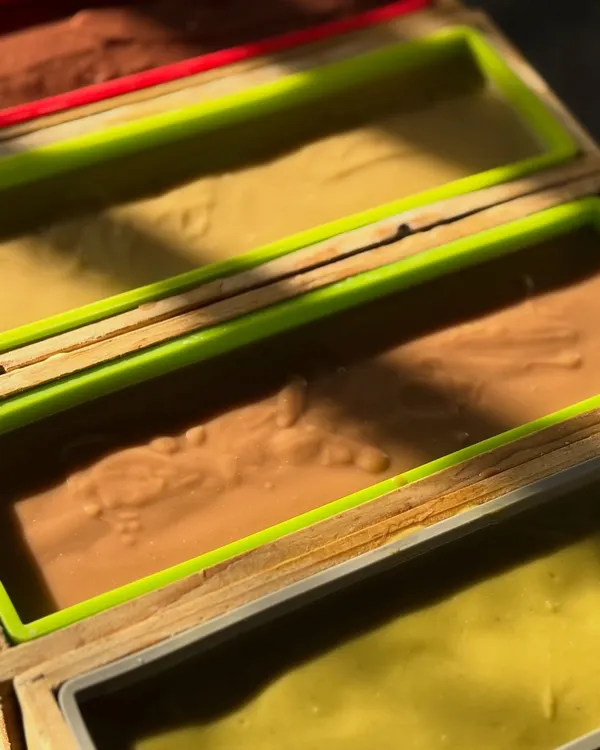
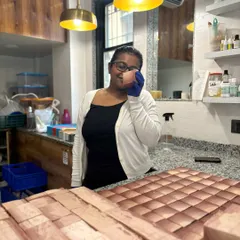
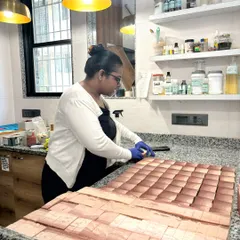
Look at this creamy, wet soap! I'm making my Coconut Cabana and Turmeric Coconut Milk bars here. They need to cure for 4-6 weeks before they are ready for you.
Making my first-ever neon soap! I was so excited to see how these vibrant, electric colors would turn out. The pouring process is always so much fun.
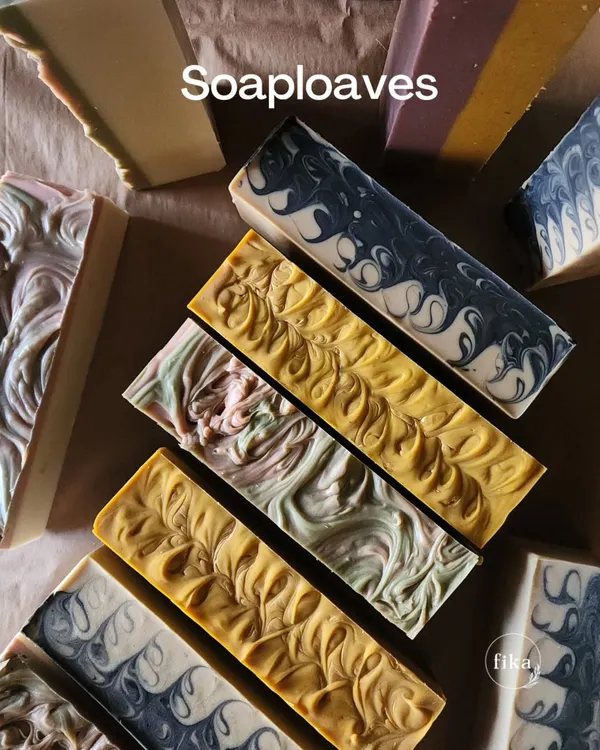
Creating the beautiful swirls on top of the neon soap loaf. This technique with a simple stick creates that gorgeous feathered pattern inside the bar.
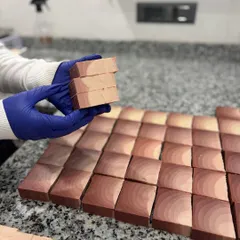
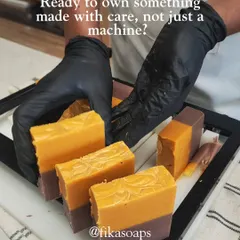
The big reveal! Cutting into the neon soap loaf to see the final design. I was so happy with how these bright, cheerful bars turned out.
This is how I make my Beer and Berries soap. I replace the water with beer, which is rich in B vitamins and adds a wonderfully creamy lather to the final bar.
For all the coffee lovers, here's the making of my Cafe Mocha soap. I pipe the top to look like whipped cream, and the whole bar smells like a fresh cappuccino.
Getting ready for the holidays! This is the making of one of my Christmas soaps, using the in-the-pot swirl method to create festive red, green, and white patterns.
About The Art of Soap Making
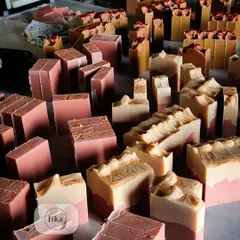
Every bar you see here doesn't just appear on the shelf overnight. After I pour, swirl, and cut each batch, these soaps sit in my home studio for at least 4 to 6 weeks to cure. This slow aging process is non-negotiable—it is exactly what makes the bar hard, long-lasting, and gentle enough to leave your skin feeling soft rather than stripped.
Making cold process soap is a delicate balance of chemistry and creativity. When you see those intricate drop swirls or hanger swirls in my videos, know that it takes precise timing. The soap batter needs to be at just the right consistency—too thin and the colors muddy together, too thick and it won't pour into the molds.
Why the 4-6 Week Wait Matters
People often ask why I don't sell fresh batches immediately. Cold process soap making involves mixing oils with a lye solution, which triggers saponification. While the soap is technically safe to touch after a couple of days, it needs that month-long cure to evaporate excess water. This results in a much harder bar that doesn't melt away in your shower within a week. It also ensures the pH levels are balanced for your skin.
The Ingredients I Use
I keep my formulations simple and effective. You will find base oils like Olive, Coconut, and Castor mixed with rich butters like Shea and Kokum. I love playing with additives—freshly extracted turmeric for tone, activated charcoal for deep cleansing, or coconut milk for that extra creamy lather. Because I work in small batches, every loaf is truly one of a kind. You might see a design that I absolutely love, but even if I use the exact same ingredients next time, the swirl will never look identical. That is the beauty of handmade skincare.
Similar work from other experts
Browse through Curated picks from other experts on mytribe
Artisanal Cold Process Soap Swirls
The Art of Handmade Soap Making
Behind the Scenes of Handmade Organic Skincare
 27
27The Art of Slow-Crafted Cold Process Soap
The Art of Handcrafted Cold Process Soap
 7
7
Our Artisan Handmade Soap Collection
More from Handmade Skincare Products by Soapistry
More services by Soapistry