Electronics and Circuits for Young Learners
At Robomations, we believe the best way to learn electronics is by building, not watching. See how our students master circuits, breadboards, and logic, one experiment at a time.
Here, two students collaborate on an experiment with an SPST (Single Pole, Single Throw) switch and a DC motor. The student explains how the switch completes the circuit to convert electrical energy into mechanical energy, making the motor run.
These students demonstrate how they recreated a traffic light using basic robotics components. They explain how LEDs, resistors, and jumper wires can be used to build a functional model that mimics real-world technology.
A group of students explains the function of an SPDT (Single Pole, Double Throw) slide switch. They demonstrate how a single switch can be used to alternate power between two different LEDs, a concept used in flashlights and toys.
This video shows a team of students presenting their work, including a traffic light model. It highlights their teamwork and ability to explain the components and logic behind their electronic creations.
A third-grade student demonstrates his joystick and servo motor experiment. He confidently lists the components, including the Arduino board and jumper wires, showing how even our younger students get hands-on with controllers and motors.
A student explains her ultrasonic sensor circuit, which measures the distance of an object. She identifies the key components like the Arduino board and LEDs, and demonstrates how the circuit works once connected to a power source.
This team of young students demonstrates their "10 Running Lights" project. They show how rotating a trimmer's knob controls the speed and number of glowing LEDs, a great visual lesson in variable resistance and circuit control.
A team of third-graders presents their six-LED forward and reverse running light model. They identify the transistors, IC, and resistors used to create the dynamic light pattern, showing an early understanding of circuit components.
This clip breaks down the absolute basics of electronics. I demonstrate how to properly connect an LED to a battery on a breadboard, explaining the importance of polarity (positive and negative terminals) for the circuit to work.
Two fourth-grade students demonstrate their battery level indicator. They explain how different LEDs light up to show the battery's charge level, a practical project that teaches them about resistors and simple indicator circuits.
About Exploring Electronics & Circuits
It is rarely about the theory. When a student builds a circuit for the first time—like a traffic light or a battery indicator—they often start with a simple breadboard. They quickly learn the difference between positive and negative terminals, a lesson that clicks only after they see an LED glow, or fail to light up, based on how they connected the components. This immediate feedback loop is exactly where the confidence begins to grow.
We skip the heavy lectures. Our electronics and circuits curriculum is designed around what we call tinker-first learning. Students do not just memorize what a resistor, transistor, or capacitor does. They use them to build functional, tangible projects that they can hold in their hands.
The Learning Journey
We start with the absolute basics. Students learn how to power an LED using a battery and a simple breadboard. From there, the complexity ramps up naturally:
- Circuit Logic: We move from simple on-off switches to understanding how components like transistors and integrated circuits (ICs) control the flow of electricity.
- Practical Application: Instead of abstract diagrams, students build real-world models. They create running light displays, battery level indicators that tell you how much charge is left, and traffic light simulations using actual jumper wires and logic gates.
- The Power of Debugging: Perhaps the most important skill we teach is troubleshooting. When a circuit doesn't work, we don't just fix it for them. We guide them to check their connections, verify their polarity, and look for loose wires. That moment when a child identifies a loose connection and their project suddenly sparks to life is what it is all about.
Why This Matters
This hands-on approach changes how children perceive technology. It stops being a 'black box' and becomes a set of building blocks they can control. Whether it is a third-grader wiring their first DC motor or a middle-schooler creating an automatic sensor circuit, the goal remains the same: helping them realize they are capable of creating things that actually work.
Similar work from other experts
Browse through Curated picks from other experts on mytribe
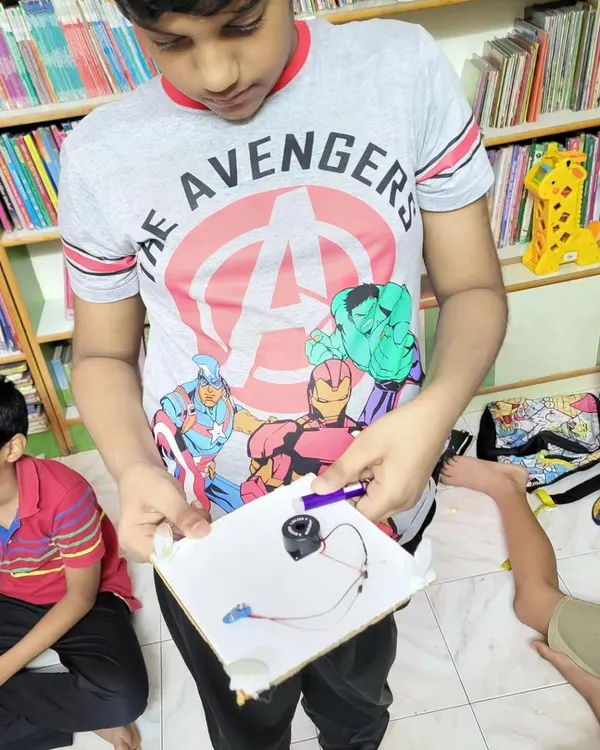 10
10
Electronics & Robotics Projects for Kids
Hands-on Robotics and Electronics Workshops for Kids
Electronics & Coding Fundamentals for Young Makers
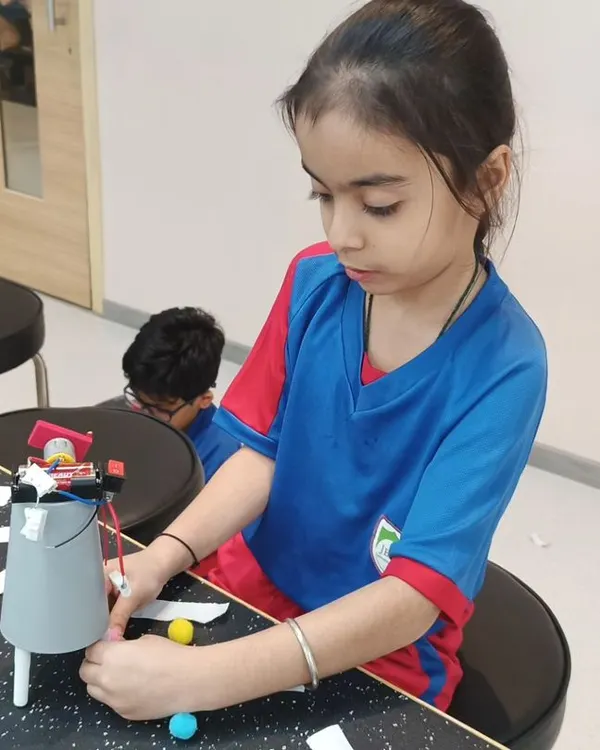 16
16
Hands-on Robotics and Engineering Workshops
 8
8Hands-on Robotics and Coding Curriculum
Young Engineers: Hands-on Robotics and Coding Classes
More from STEM Summer Camps by Robomations
More services by Robomations