From Blank Page to Art: My Creative Process
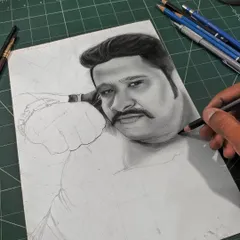
I believe every sketch holds an emotion. Here is how I turn a blank sheet of paper into a realistic portrait, step by step.
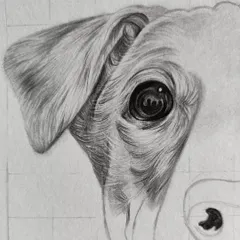
Step 1: A tutorial on how to structure a face for a portrait. I start with basic circles to map out the placement of the eyes and nose, creating a solid foundation.
Step 2: Building on the basic circles, I begin to define the shape of the eyes and the bridge of the nose. This step is crucial for getting the proportions right.
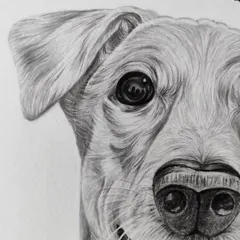
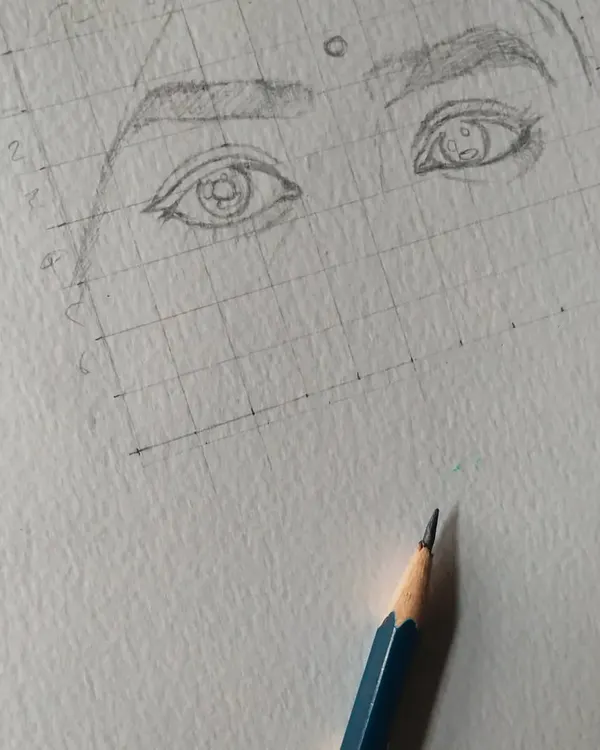
Step 3: Here, I refine the almond shape of the eyes and add the initial outlines for the eyelids and eyebrows, giving the face more definition.
Step 4: I add the structure for the nose and begin to map out the triangular relationship between the eyes and the tip of the nose, a key step in realistic portraiture.
Step 5: The mouth is added, and guiding lines are drawn to ensure all features are aligned correctly. The basic structure of the face is now complete and ready for shading.
Step 6: The final step of the tutorial shows the sketch with initial shading. This demonstrates how the underlying structure guides the light and shadows to create a three-dimensional, realistic face.
This is the first step of my dot portrait technique. I begin with a grid of empty circles on an A3 sheet, which will serve as the canvas for the portrait.
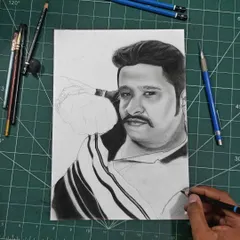
In the second step, I start filling in the dots in the darkest areas of the portrait, like the hair. This slowly begins to reveal the form of the subject.
Step three of the dot portrait process. As I fill in more dots, the facial features start to become clearer, creating an image through varying densities of black ink.
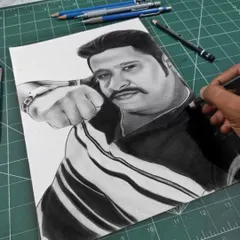
By step four, the portrait is almost complete. The face is clearly visible, and the technique creates a unique, almost pixelated effect that is very different from traditional shading.
About From Blank Page to Art: The Process
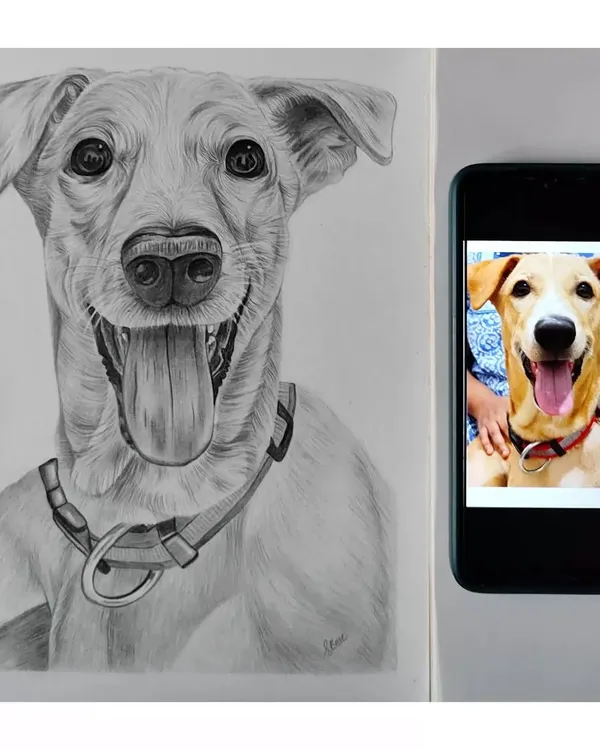
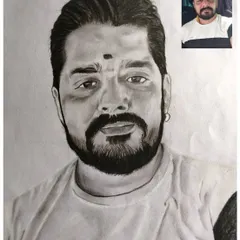
When you commission a portrait, I don't just sketch what I see. I use a structural grid method to map out the proportions, which ensures the final drawing actually captures the person's features accurately. It’s the difference between a rough drawing and a piece of art that feels real.
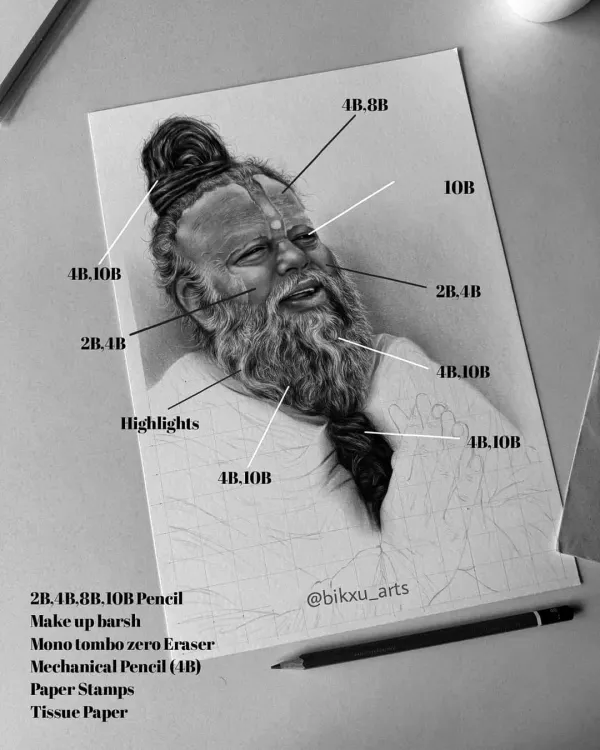
Every piece I create starts with understanding the 'why'. Whether it is a realistic charcoal portrait of a guru or a sentimental gift, the foundation is the same.
The Grid Method for Accuracy
For realistic portraits, I rely on the grid method. This technique involves breaking down your reference photo into a precise geometric structure. By mapping the distance between the eyes, the bridge of the nose, and the facial contours first, I ensure the finished sketch is anatomically correct. This process takes time, but it is the only way to make a drawing look exactly like the person in your photo.
Dot Portrait Technique
For those looking for something unique, I also use a meticulous dotting technique. Instead of smooth shading, I build the image using thousands of tiny dots of varying density. It creates a striking, almost pixelated look that catches the light differently than traditional charcoal. It’s a slow, patient process that results in a truly one-of-a-kind artwork.
From My Studio to Your Home
I treat every artwork as a final product, not just a draft. Once the sketching is done, I seal the charcoal or graphite with a professional-grade matte fixative spray. This prevents smudging and ensures the texture stays sharp for years. Since I ship across India—from the North to Kerala—I package every piece in crush-proof PVC tubes or reinforced hardboard to make sure it arrives at your doorstep in perfect condition.
Similar work from other experts
Browse through Curated picks from other experts on mytribe
 7
7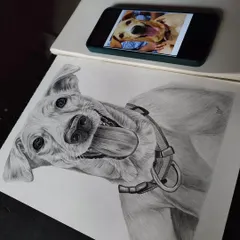
Realistic Pencil Sketches: My Process from Photo to Art
My Realistic Pencil Sketching Process
Behind the Scenes: My Portrait Drawing Process
 35
35Behind the Scenes: How I Create Hand-Drawn Portraits
 27
27The Artistic Process: How I Create Realistic Portraits
Realistic Pencil Sketches Hand-Drawn from Your Photos
Looking for a specific art style?
Use the search bar to find the perfect sketch style for your custom order.
More from Spiritual & Conceptual Art by Shivam Yash
More services by Shivam Yash