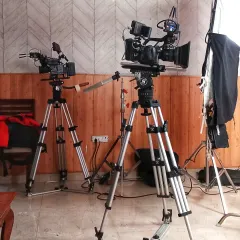
Cinematic Filmmaking & Editing Techniques
I am a storyteller at heart, but I am also a total nerd for the gear and techniques that make a frame come alive. Here is how I break down my cinematic process, from camera moves to colour grading, so you can start creating your own.
From flat to cinematic. This video shows my beginner's workflow for colour grading in Premiere Pro, transforming a simple shot into something full of emotion.
5 simple camera movements to make your shots instantly cinematic. This video is the introduction to a series of tips that work for any camera, even your phone.
Cinematic Move #1: The Pan. A simple pan, like this one following a Mumbai local train, can guide the audience's eyes and reveal a story.
Cinematic Move #2: The Tilt. Tilting the camera vertically, like in this shot of a massive waterfall, can add drama and a sense of discovery.
Cinematic Move #3: The Push-In/Out. Here I demonstrate a push-in on a historic Mumbai building to draw you into the moment.
Cinematic Move #4: The Crane/Jib. Using a drone to create a crane shot gives this landscape a grand, sweeping feel.
Cinematic Move #5: Handheld. Embracing the imperfection of a handheld shot, like this one of a trekker by a river, adds realism and urgency.
Static doesn't mean boring. Here are 5 easy methods to make your static shots more cinematic, starting with this moody scene at Marine Drive.
Static Shot Tip #1: Movement. Even if your camera is still, action within the frame, like people boarding this bus in the rain, keeps the shot alive.
Static Shot Tip #2: Center Frame. A centered composition, like this one of the Gateway of India, gives direct focus to your subject without distraction.
About Filmmaking & Editing Tutorials
My workflow is not about the most expensive gear; it is about the 'look'. Whether you are shooting on an iPhone 15 or a dedicated cinema camera, the secret hides in the subtle choices—like how a 1.33x anamorphic lens flares in low light or how a simple tilt can turn a regular waterfall into a discovery. I do not just teach you the settings, I show you how to see the frame before you even hit record.
The Gear-Agnostic Mindset
I believe the camera matters less than the intention behind the lens. You will see me using everything from a professional cinema rig to my iPhone 15 with a 1.33x anamorphic lens. The goal is to capture that movie-look—that specific blend of warmth, shadow, and movement—no matter what I am holding. Whether you are tracking a Mumbai local train with a simple pan or framing a historic structure like the Gateway of India, it all starts with how you train your eye to see lines and depth.
Mastering the Fundamentals
Cinematic is not just a filter; it is a series of deliberate choices. In my tutorials, I break down the five moves I rely on:
- The Pan & Tilt: Adding drama to landscapes and urban movement.
- Push-ins: Drawing the viewer into the narrative.
- Handheld: Embracing imperfections for that raw, documentary feel.
- Static Composition: Using leading lines and depth of field, like foreground elements, to keep a still shot feeling alive.
The Edit: Bringing it Together
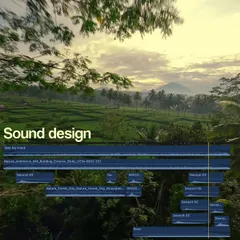
Shooting is only half the battle. In my colour grading guides, I show you how to move from flat, raw footage to a finished narrative. I focus on Premiere Pro workflows, covering everything from basic white balance to creative LUTs and halation effects. My aim is to help you build a sense of 'sukoon' (peace) in your edits, making them feel less like random clips and more like a story that belongs to you. If you have questions about a specific lens, a software bug, or just want to chat about finding your own style, I love talking shop. Let’s get into the details.
Similar work from other experts
Browse through Curated picks from other experts on mytribe
 11
11The Filmmaker's Craft: My Camera Settings & Cinematic Editing Tips
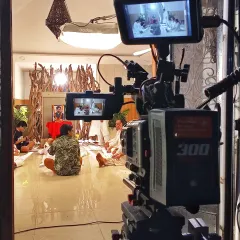
Behind the Scenes & Photography Tutorials
Behind the Scenes: My Cinematic Editing Process
 10
10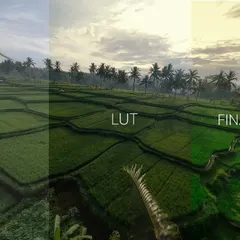
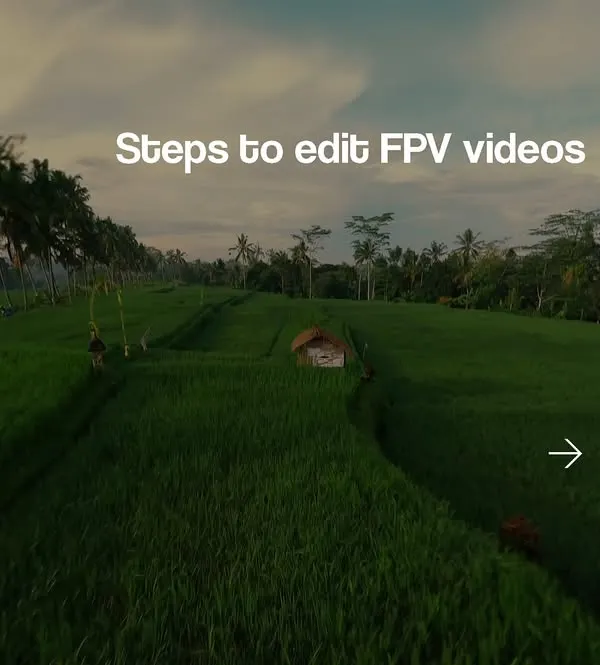
Mastering FPV Post-Production & Video Editing
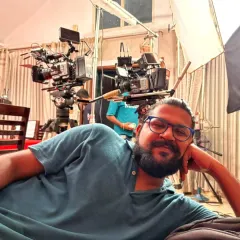
Behind the Lens: My Filmmaking Process and Journey
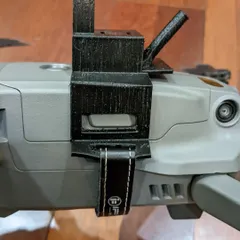
Behind the Lens: My Drone Gear and Creative Process
Looking to refine your own filming skills?
Search for specific techniques, gear, or editing tutorials.
More from Wedding & Lifestyle Films by Avinash
More services by Avinash