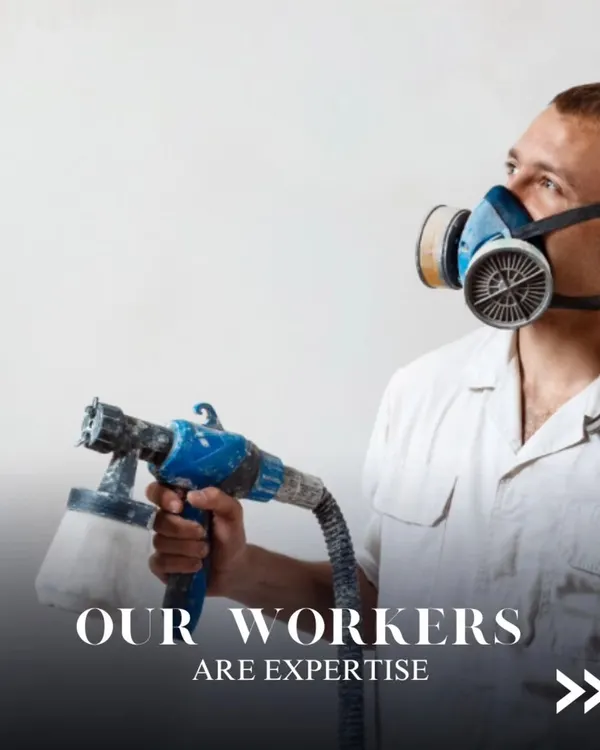
A professional painting process without the mess
Forget the usual painting headaches. We handle everything from the initial consultation to the final sweep-up, ensuring your home stays clean and your project finishes on time.
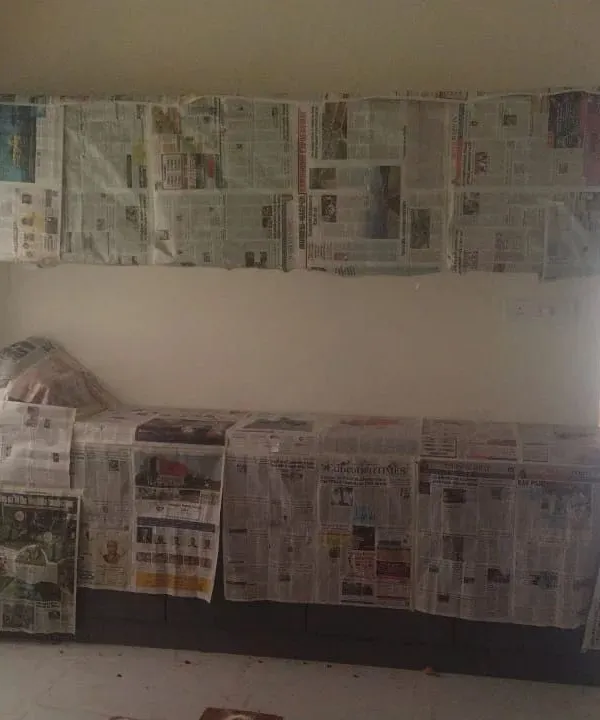
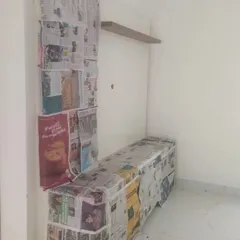
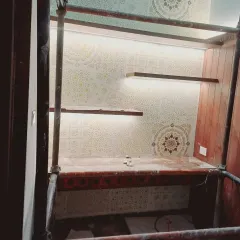
Here's Day 1 of a 3 BHK villa transformation. Our first step is always careful masking of all furniture and surfaces to ensure a clean, professional job from the very beginning.
In this daily vlog, we show our process for starting a 3BHK flat. We meticulously cover every piece of furniture, wardrobe, and flooring because we treat your property with the same care we would our own.
Looking for painters? Our process is simple. We offer free design consultations, use skilled and verified painters, and guarantee a spotless finish, all delivered on time.
Don't worry about the technical details like plastering or applying 'lambi'. We handle all the complex prep work so you don't have to. Just book a slot, and we'll take care of the rest.
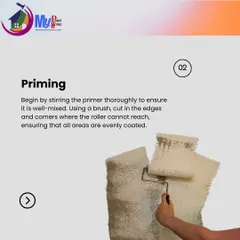
The three key ingredients for any successful wall makeover are putty, primer, and professional painting. We never skip these crucial steps to ensure a durable and flawless finish.
Wondering why putty is so important? It's the secret to a smooth, even surface and ensures the final paint colour looks its best. We always start with the right foundation.
Wall cracks are a common problem. Our operations manager explains how we use specialized products like Dr. Fixit Crack X Paste and Shrinkfree to permanently solve these issues before painting.
Sorry, not all cracks can be fixed with Vaseline! For wall cracks, you need a professional solution. We have the tools and expertise to repair any crack for a smooth, flawless finish.
We respect your time and your deadlines. This is our promise: we deliver your dream project on time, every time.
About Our Hassle-Free Process
Before a single drop of paint touches your wall, our team spends significant time on masking. We use professional-grade plastic sheets to wrap every wardrobe, switchboard, and piece of furniture in your room. It might sound like a simple step, but it is the difference between a pristine finish and you spending your weekend scraping paint off your favorite TV unit or flooring.
Getting your home painted shouldn't involve 'paanch minute mein aa rahe hain' excuses or finding paint splatters on your floor for the next six months. We have replaced the traditional, unreliable local painter model with a structured, professional workflow.
The AapkaPainter Workflow
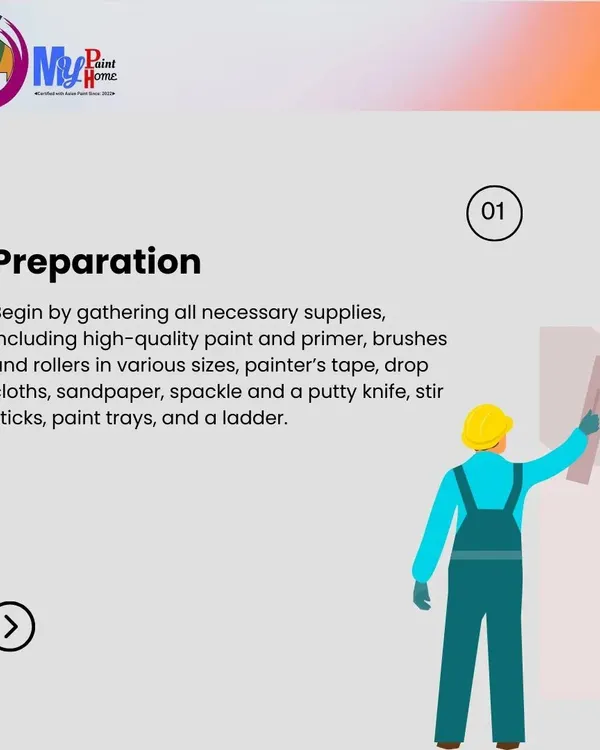
1. Transparent Consultation We don't provide vague estimates. Our process starts with a free site visit, where we assess your walls, discuss color preferences, and provide a digital, itemized quotation. You know exactly what you are paying for before we start.
2. Asset Protection (The Masking Step) This is where we differ from the standard. We treat your home like our own. We use heavy-duty masking tape and protective plastic sheets to cover furniture, appliances, and fixtures. We want you to see a fresh wall, not a mess to clean up.
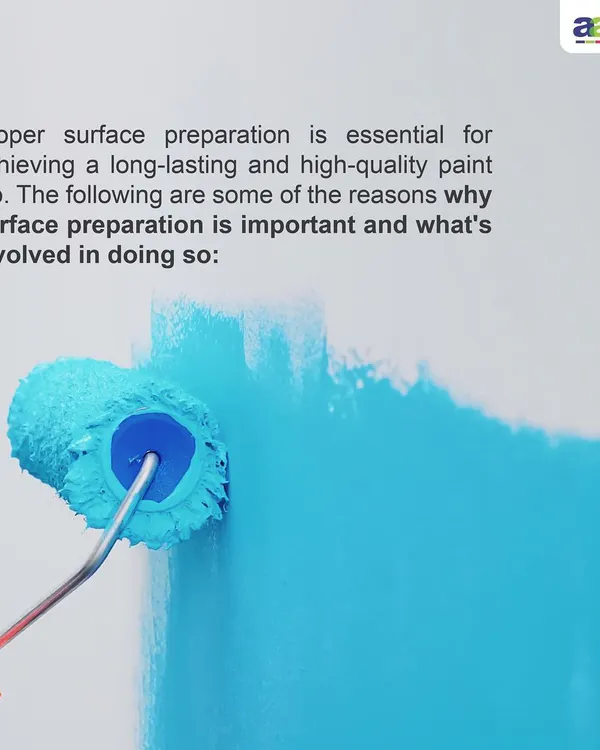
3. The 'Right Foundation' Technique Great paint requires great preparation. We don't skip the basics. Whether it is applying putty to smooth out uneven patches or using Dr. Fixit solutions to seal cracks up to 10mm, we focus on the prep work that makes the final coat durable. Skipping these steps leads to peeling, but we ensure the wall is perfect before the first coat of emulsion is applied.
4. Quality Execution We use machine sanding for dust extraction and high-quality rollers for a smooth finish. Our teams are trained to follow a systematic approach, meaning your project is completed within the promised timeframe.
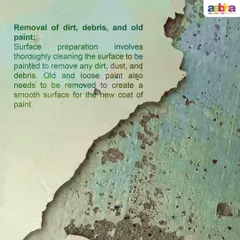
5. Spotless Handover When we leave, we take the debris with us. The only thing we leave behind is a freshly painted, clean home. No paint spots on switchboards, no dust on the floor—just a complete transformation.
Similar work from other experts
Browse through Curated picks from other experts on mytribe
 13
13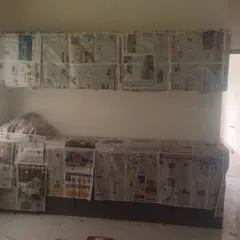

Professional Home Painting Process in Bengaluru
 11
11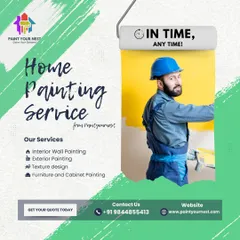

Our House Painting Process and Quality Promise
 8
8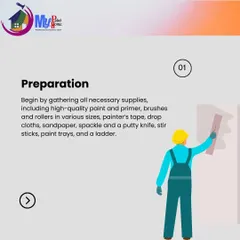

A Step-by-Step Guide to Professional Home Painting
 18
18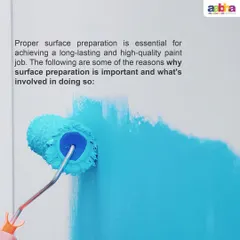

Our Quality-First Painting Process
 4
4
Our Professional Painting Process
Our Professional Wall Painting Process
Still looking for something else?
Search for specific painting services or room types we handle.
More from Commercial Painting by AapkaPainter
More services by AapkaPainter