Mastering Presentation Skills: A Proven Step-by-Step Guide
Stop fighting with your slide deck. From storyboarding your core message to using Presenter’s View like a pro, here is a structured, jargon-free guide to owning your next presentation.
Tip 1 in my presentation skills series. Before you even think about slides, you need to know your topic inside and out. I explain why research, data collection, and finding the right stories are the essential first steps.
Tip 2 is all about knowing your audience. I explain why you need to tailor your content to who you're speaking to, whether it's college students or doctors at a conference, to keep them engaged and add real value.
Tip 3 focuses on the most crucial question: what is the purpose of your presentation? I discuss how defining your goal, whether it's to inform, persuade, or entertain, is key to crafting a focused and effective message.
Tip 4 is a simple rule: less text, more meaning. I show you how to move away from text-heavy slides and use visuals, stories, and interactive elements to make you, the speaker, the hero of the presentation.
Tip 5 addresses a common mistake: designing slides without a plan. I introduce the concept of storyboarding as the essential blueprint for aligning your content and creating a logical, impactful presentation flow.
Tip 6 shows you how to create a storyboard. In this video, I walk you through my simple pen-and-paper method for planning your presentation slide by slide, ensuring you have a clear outline before you start designing.
Tip 7 is about selecting the right media. I provide guidelines for choosing high-quality, purposeful images and videos that align with your message and enhance your presentation without creating a clash.
Tip 8 guides you on selecting the perfect template. Once your content is ready, I explain how to choose a template that fits your storyboard, is flexible, and is visually appealing, with resources like Canva and Google Slides.
Tip 9 is a pro-level hack: using Slide Master in PowerPoint. I explain how this powerful tool works as the "back end" of your presentation, allowing you to customize and create your own unique slide layouts.
Tip 10 covers the visual appeal of your presentation. I share advice on choosing the right colors and fonts, using tools like the Canva color palette to create a professional and cohesive design that complements your message.
About Mastering Presentation Skills
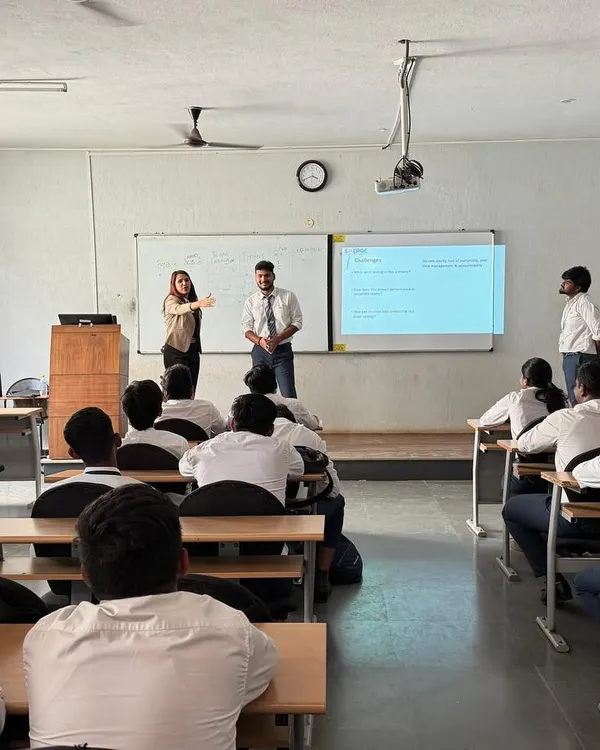
If you open PowerPoint before you touch a pen and paper, you are already behind. Before creating a single slide, use a simple booklet to storyboard your narrative sequence. This prevents the 'slide clutter' that kills audience engagement. A clear structure on paper means you spend your energy on delivery, not on formatting.
Creating a stellar presentation isn't about mastering software tools, it is about mastering your message. Many professionals fall into the trap of 'showsha' (superficial flashiness) where they focus on complex transitions while their actual core message is weak.
My approach focuses on the 'Andar se majboot' (strong from within) methodology:
1. The Pre-Design Phase
Don't jump into design. Start with research and audience analysis. Whether you are speaking to doctors or college students, the content must be tailored. If the audience already knows the basics, don't bore them with generic data. Give them something new.
2. The Storyboard Blueprint
This is a non-negotiable step. Use a physical notebook to draw squares representing each slide. Outline the flow, the visuals, and the data before you create one digital slide. This ensures logic, prevents redundant content, and makes the design phase much faster.
3. Less Text, More Meaning
Your slides should support you, not replace you. If your audience is reading your slides, they aren't listening to you. Use visuals to create impact and keep the text minimal. Remember, you are the hero of the presentation, the slides are just the props.
4. Technical Hacks
Learn the back-end tools. Master the 'Slide Master' in PowerPoint to create your own unique layouts instead of relying on default templates. Use 'Presenter's View' when you need to refer to notes or time without the audience seeing your cues.
5. Final Delivery
Ultimately, confidence is your best accessory. Practice with a stopwatch to nail your timing, pay attention to your body language, and wear your nerves with a smile. If you are prepared, the audience will feel it.
Similar work from other experts
Browse through Curated picks from other experts on mytribe
Mastering the Art of Public Speaking: A Practical Toolkit
 8
8

Public Speaking & Presentation Skills: Find Your Voice
Actionable Public Speaking Tips to Command Any Room

Mastering Executive Presence and Body Language
Public Speaking and Stage Confidence Coaching
 15
15

Keynote Speaking and Interactive Professional Sessions
More from Corporate Training & Professional Development by Nancy Shah
More services by Nancy Shah