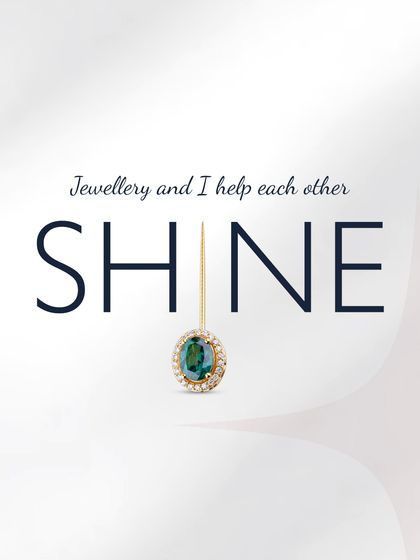
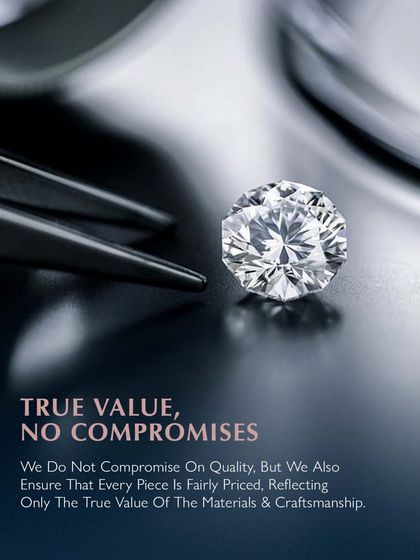
Featured
This is the premier showcase a user sees on your profile. It is designed to tell a compelling story about the quality, uniqueness, and personal nature of my craft, encouraging them to explore further.
Sacred & Symbolic Jewellery
I create deeply personal amulets and talismans that carry your faith and story. Each piece, from a 'Taweez' with custom script to a 'Navratan' locket, is handcrafted with natural gemstones to serve as a meaningful emblem of protection, belief, and identity.
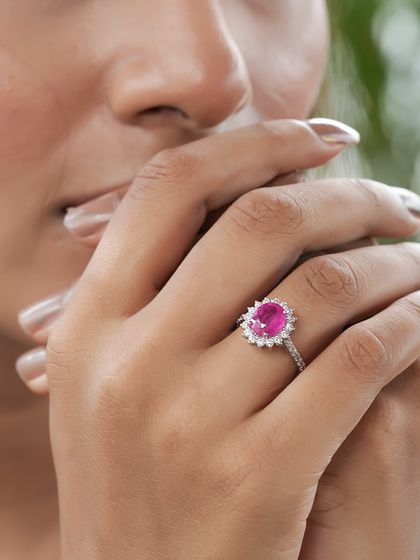
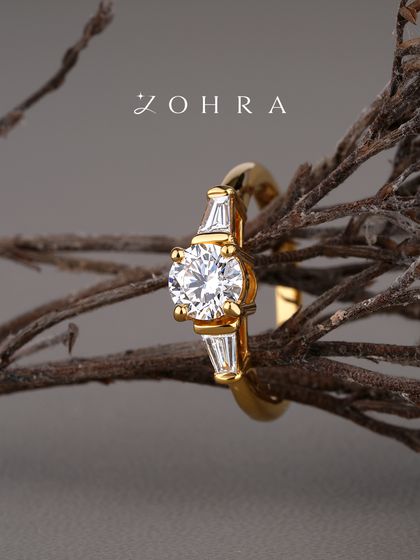
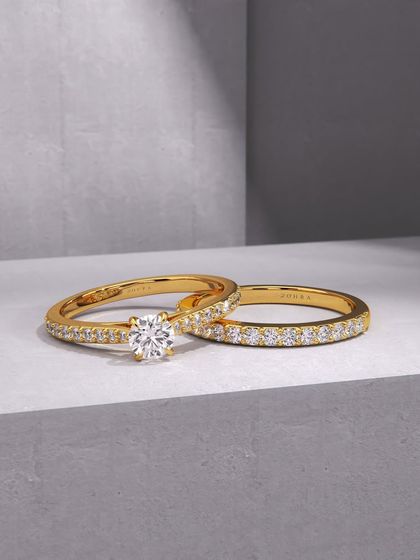
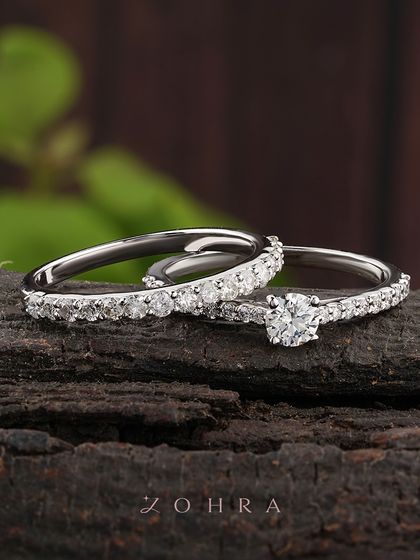
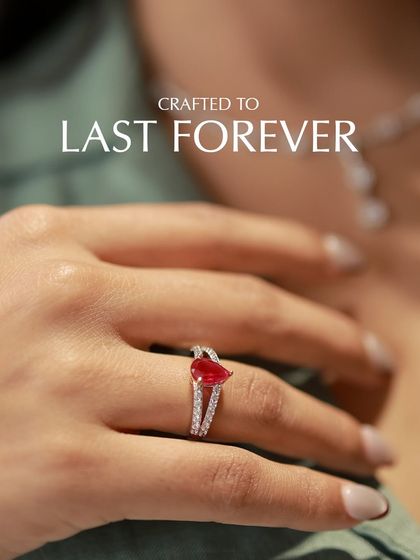
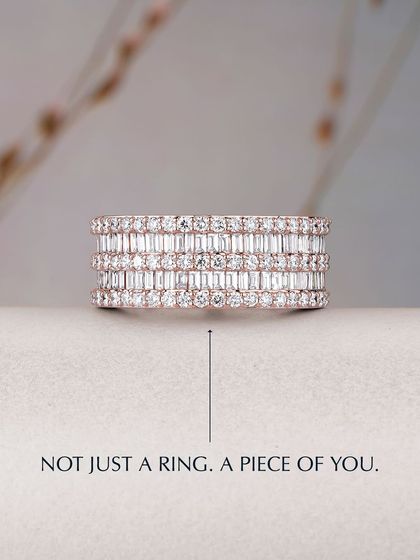
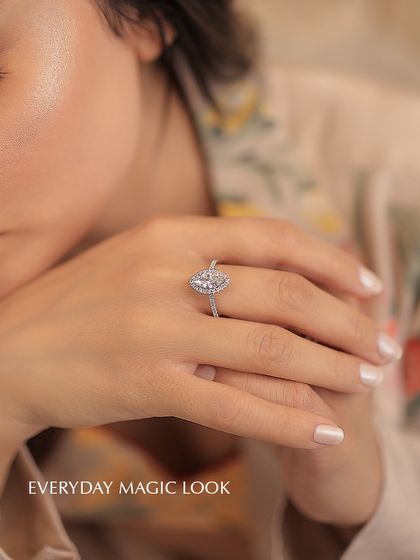
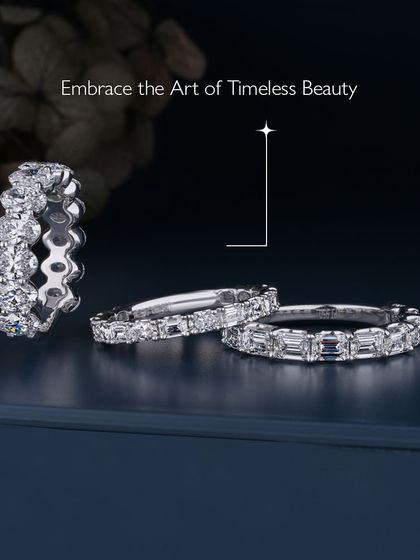
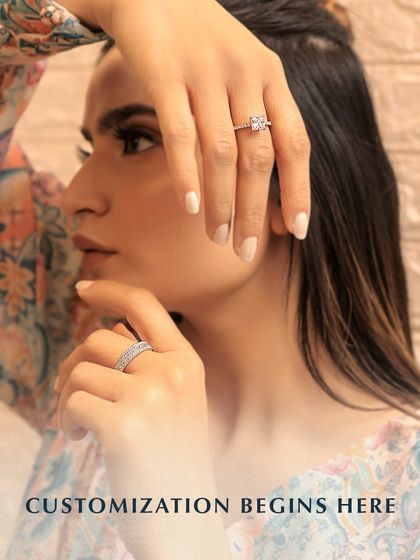
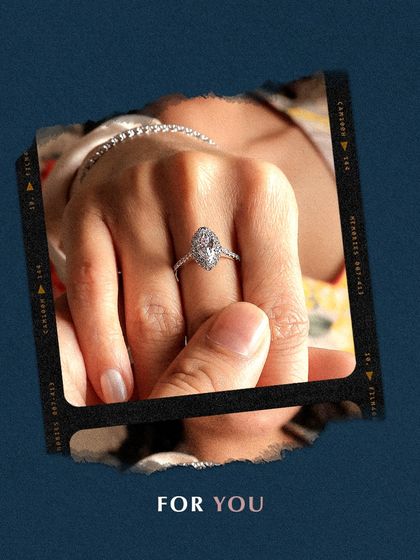
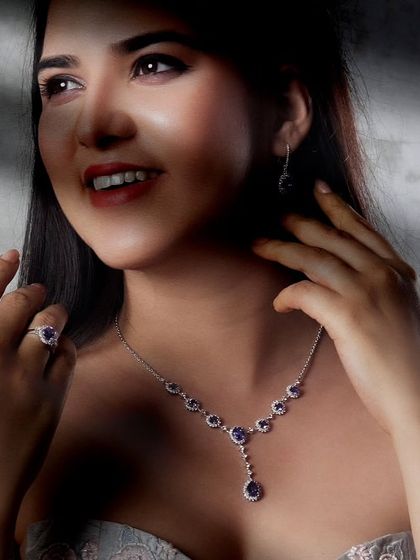
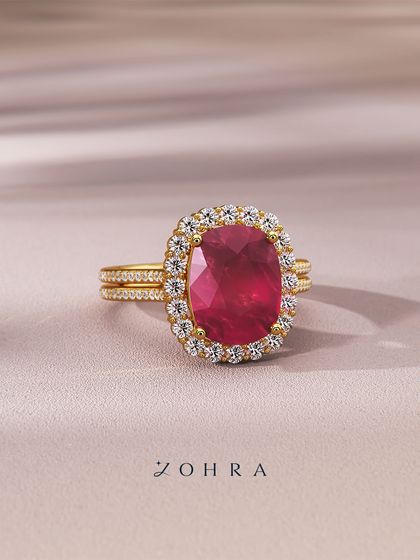
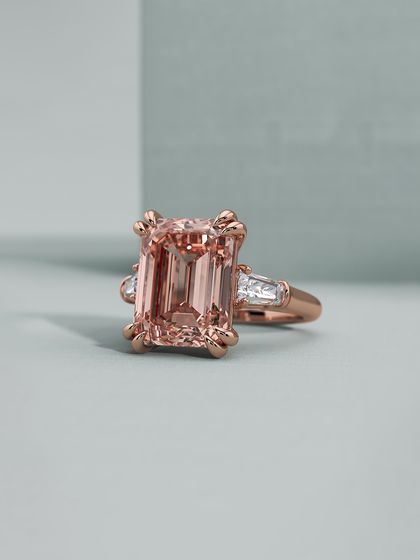
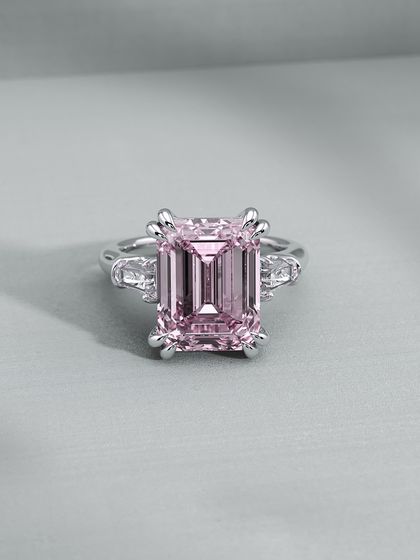
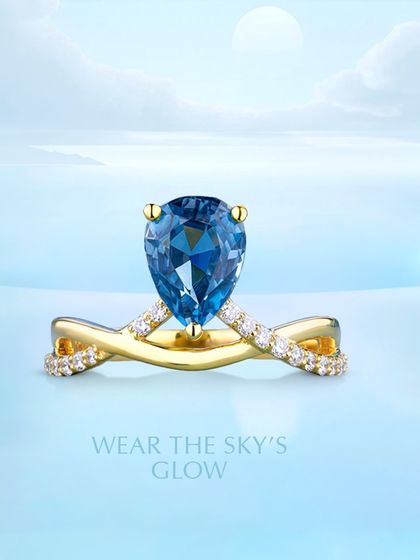
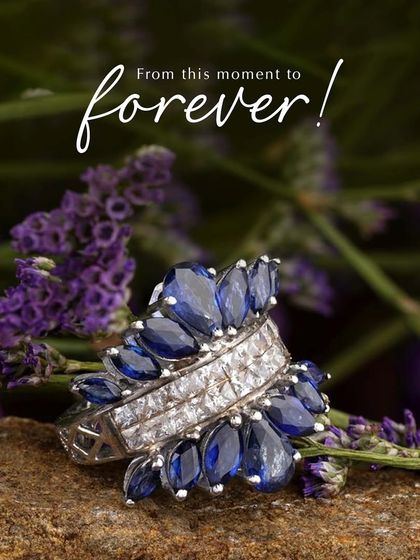
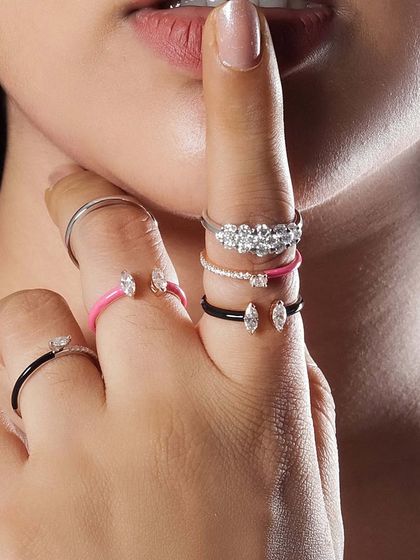
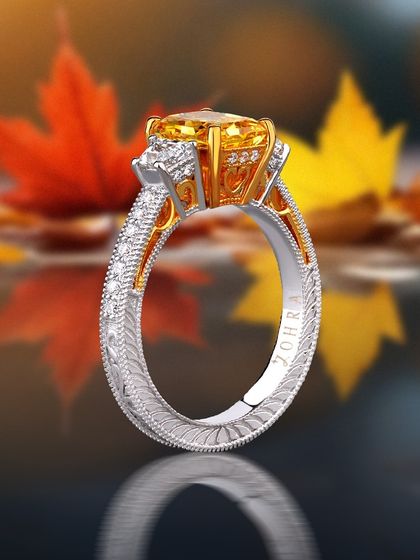
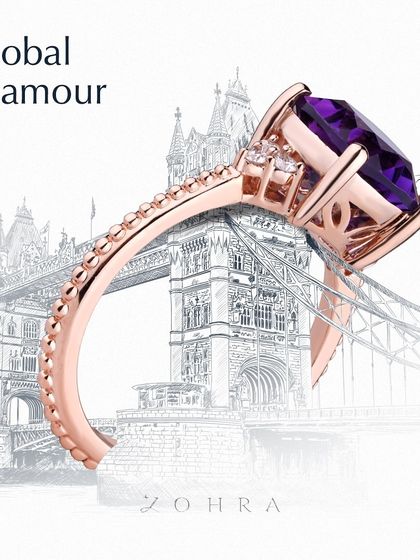
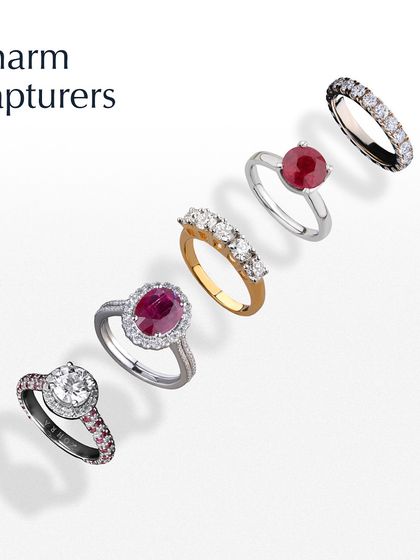
Engagement & Eternity Rings
Your love story is one of a kind, and your ring should be too. I work with you to design custom engagement rings and eternity bands, using hand-selected diamonds and precious gems set in 18k gold or platinum to create a symbol that will last forever.


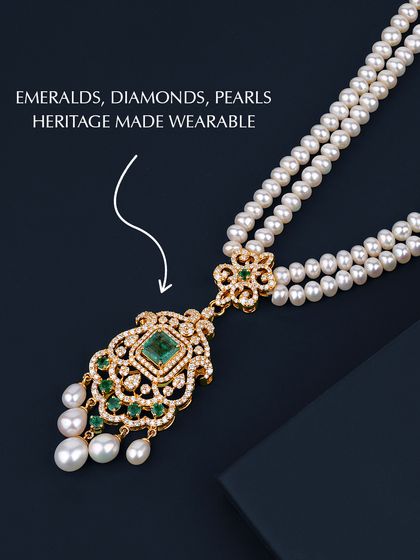
Heirloom Necklaces & Sets
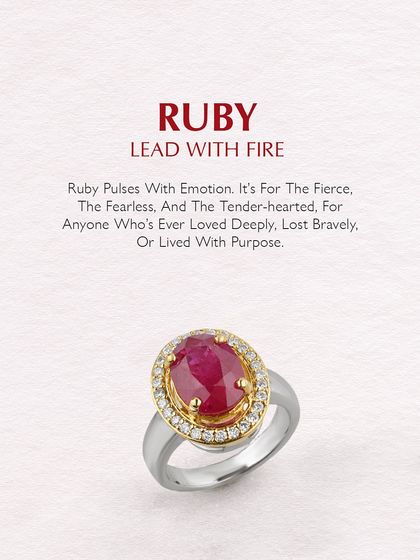
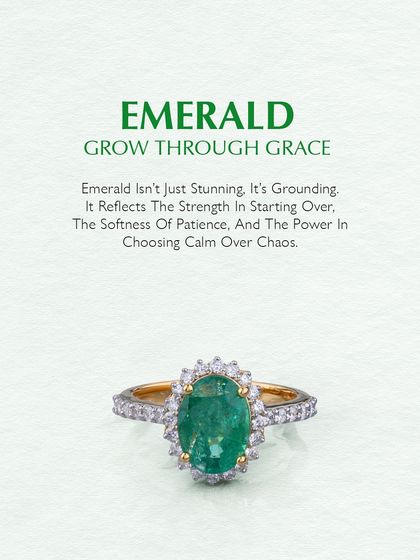
I design magnificent necklaces and matching sets meant to be passed down through generations. Specializing in traditional 'Takhtee' designs and modern interpretations, each piece combines pearls, emeralds, rubies, and diamonds into a wearable legacy for brides and families.
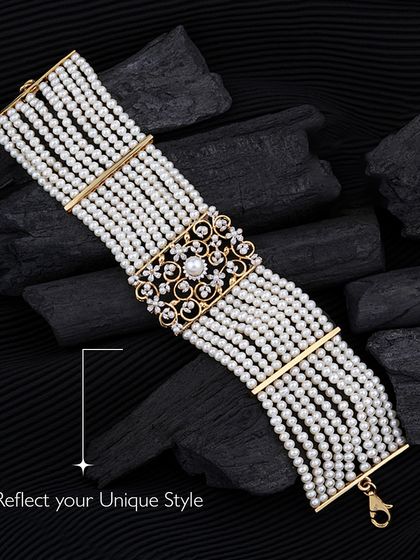

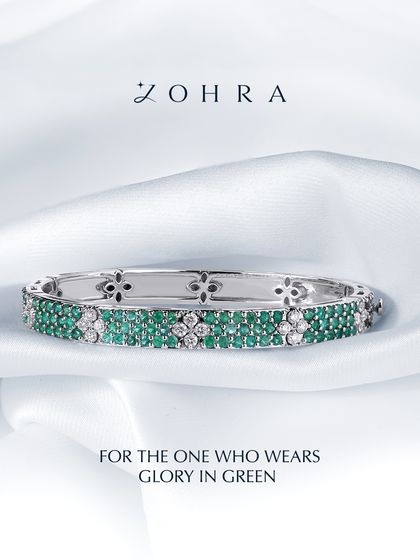
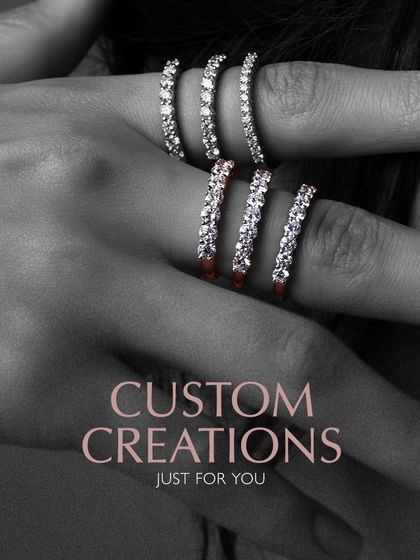
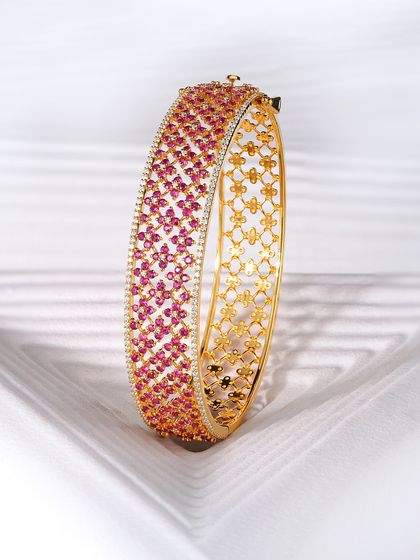
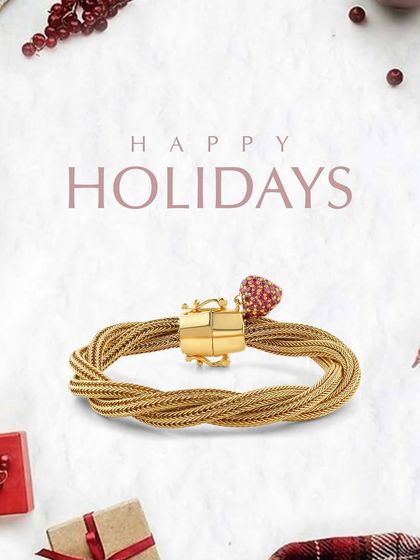
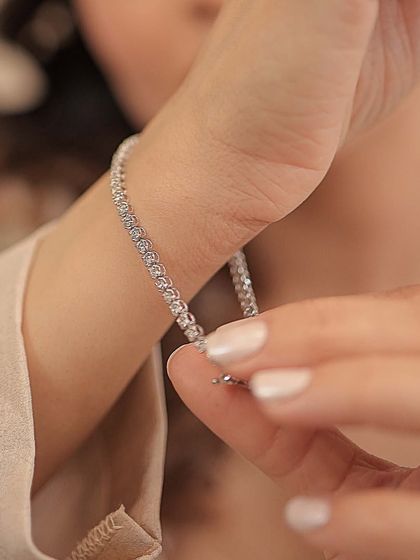
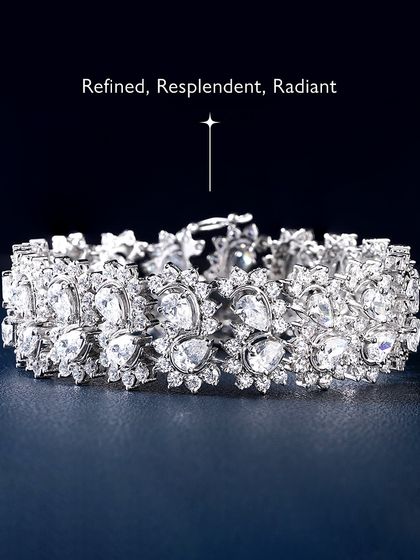
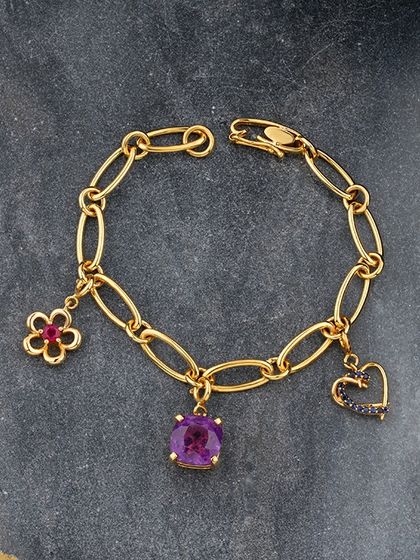
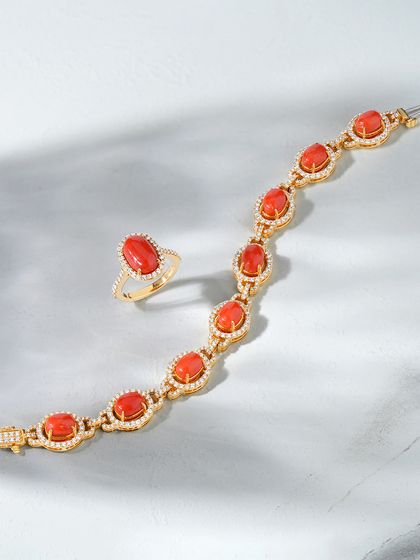
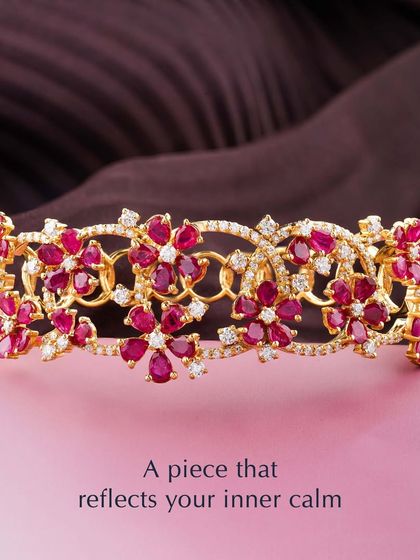
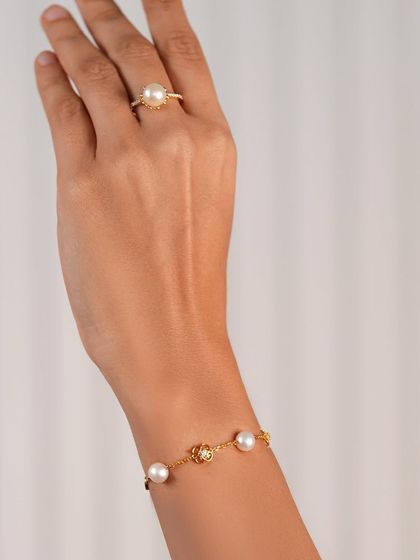
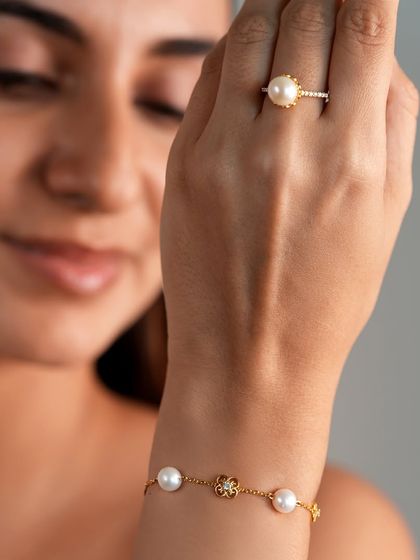
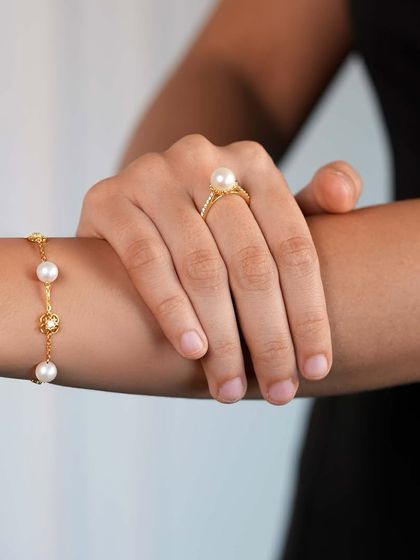
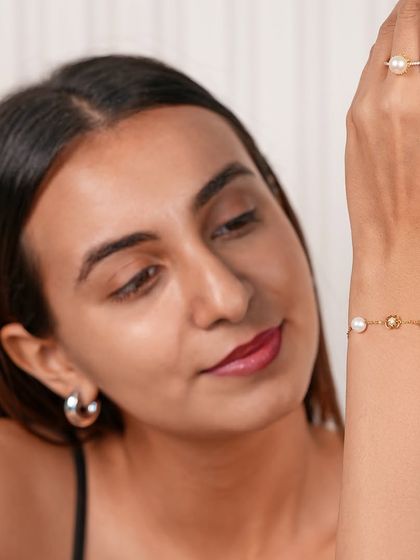
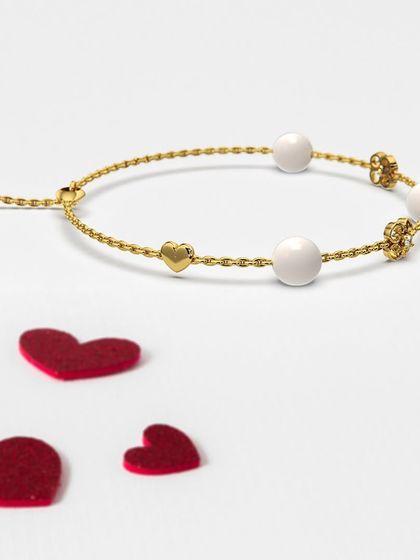
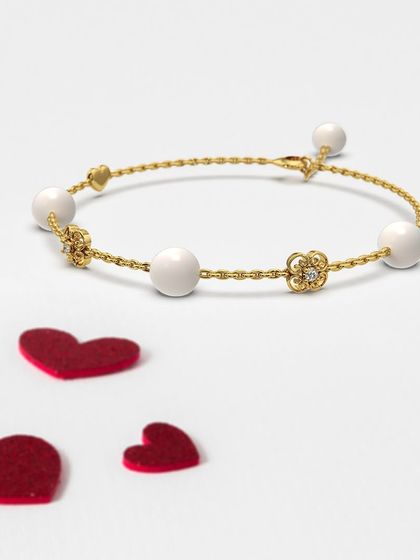
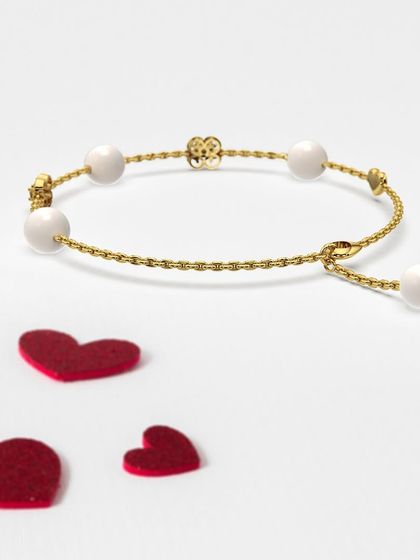
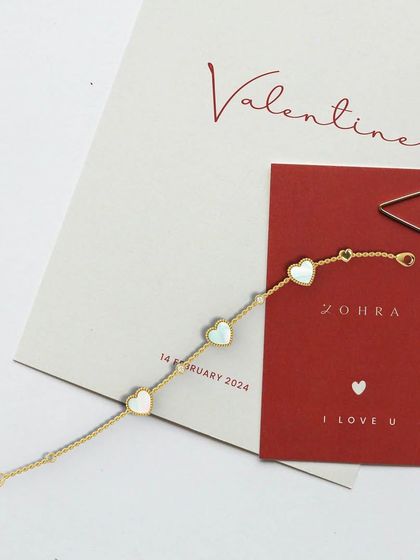
Bespoke Bracelets & Bangles
I craft bracelets and bangles that are more than just accessories; they are extensions of your personal style. From delicate diamond tennis bracelets and pearl chains to bold gemstone bangles, each piece is custom-made to adorn your wrist with meaning and elegance.


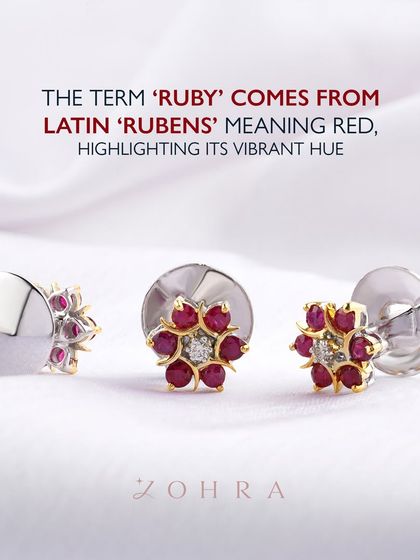
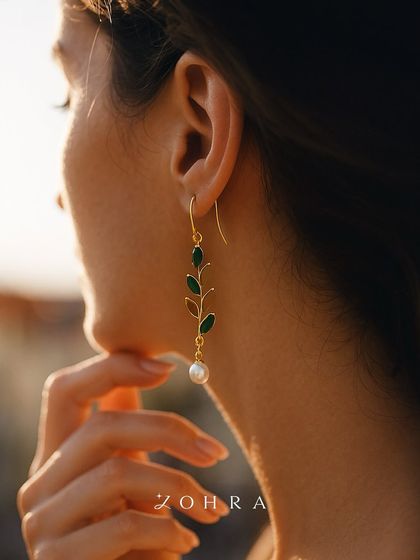
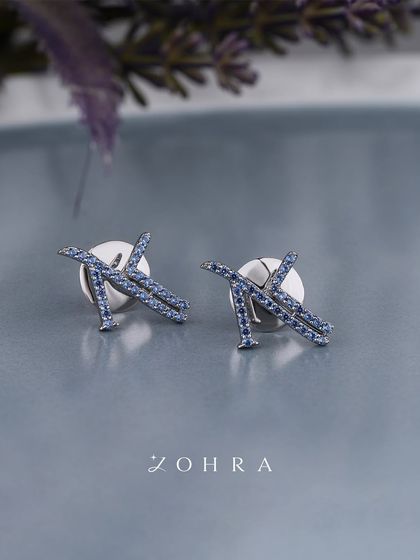
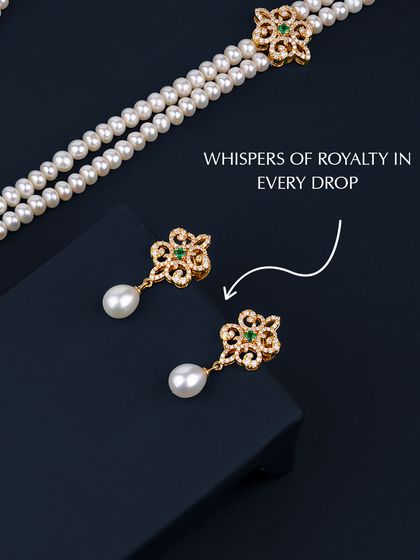
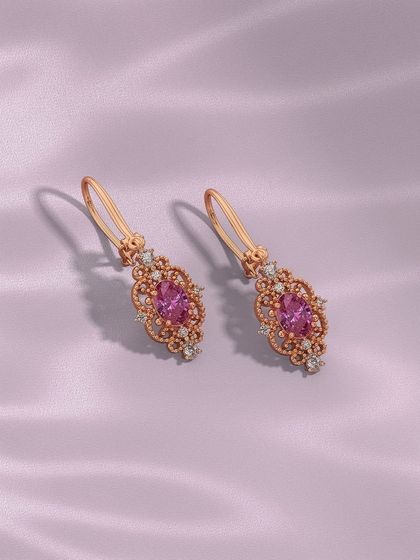
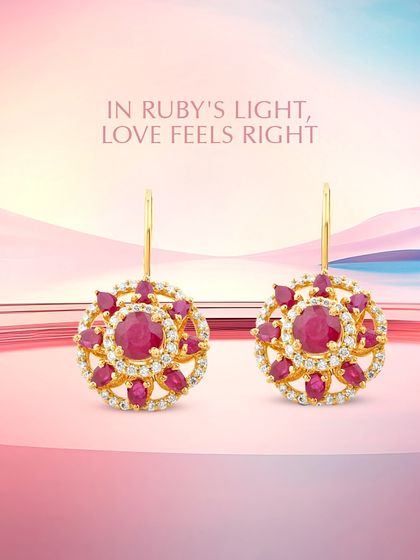
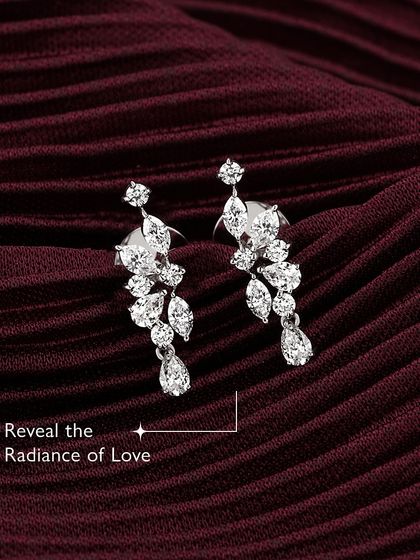
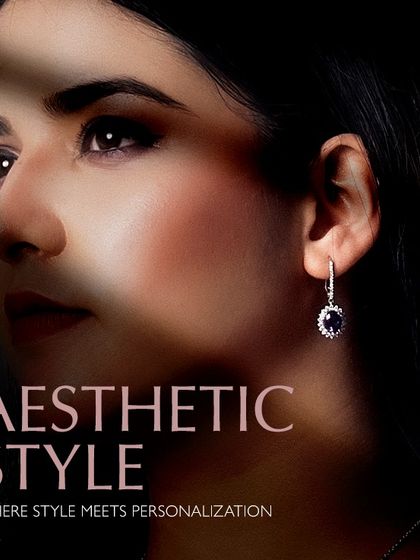
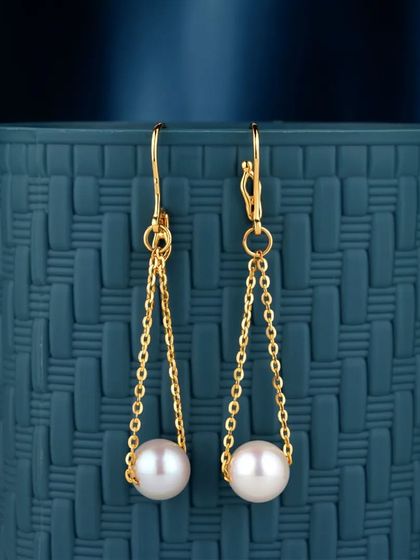
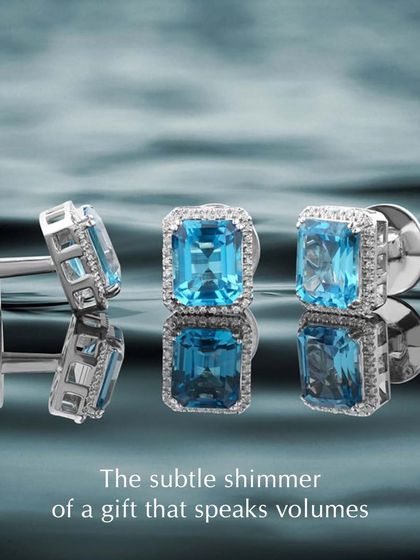
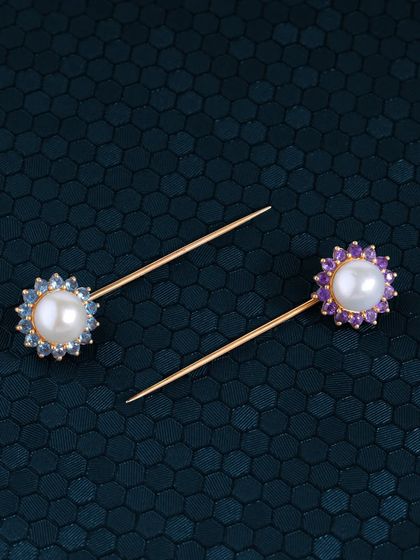
Elegant Earrings
Discover earrings designed to capture light and reflect your personality. My custom designs range from delicate studs and nature-inspired drops with pearls and emeralds to elaborate gemstone chandeliers, all handcrafted to frame your face with unique artistry.

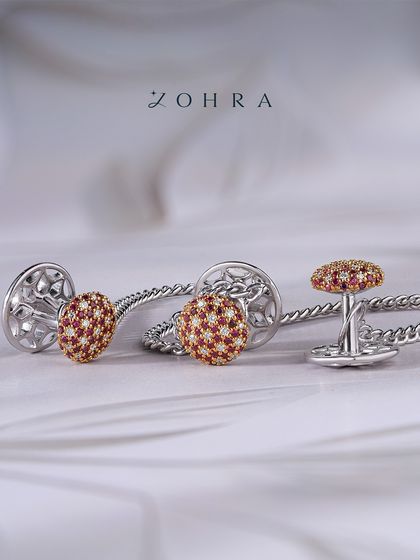
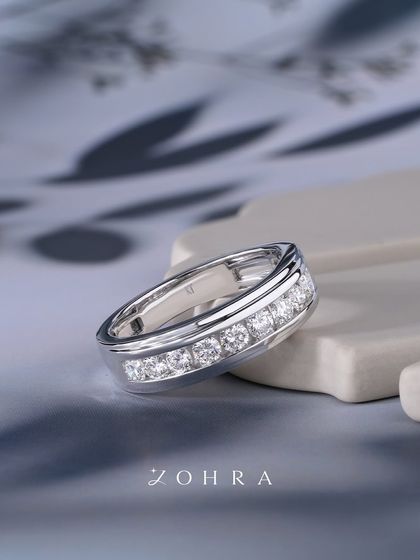
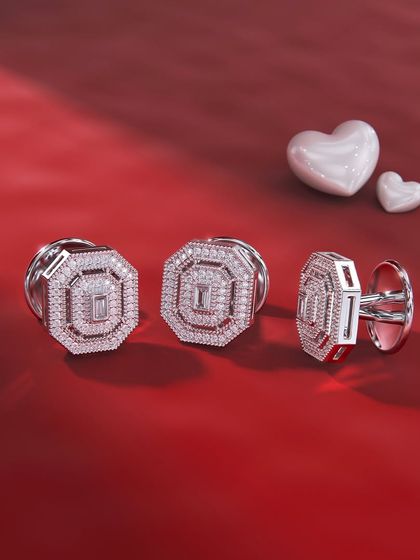
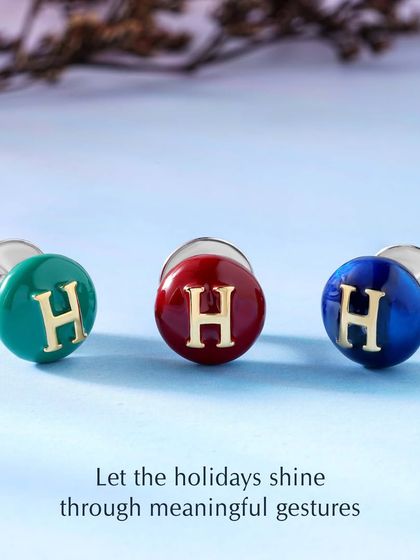
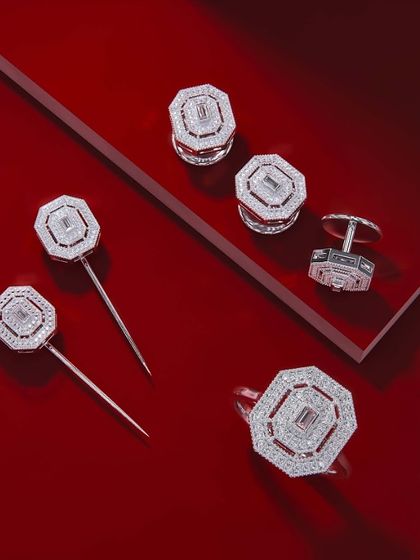
For the Modern Gentleman
I create distinguished accessories for men who appreciate fine craftsmanship and personal style. This includes custom cufflinks, buttons, and rings, meticulously crafted from precious metals and set with hand-picked diamonds, rubies, or other gemstones of your choice.


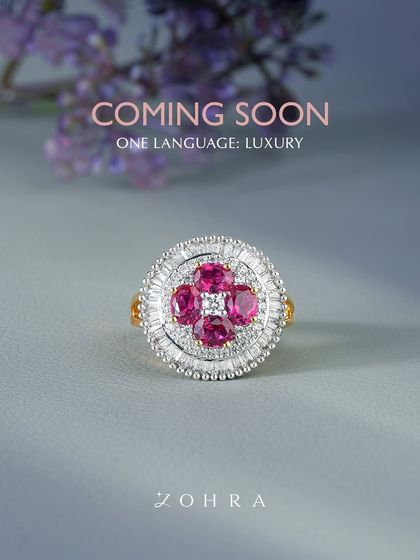
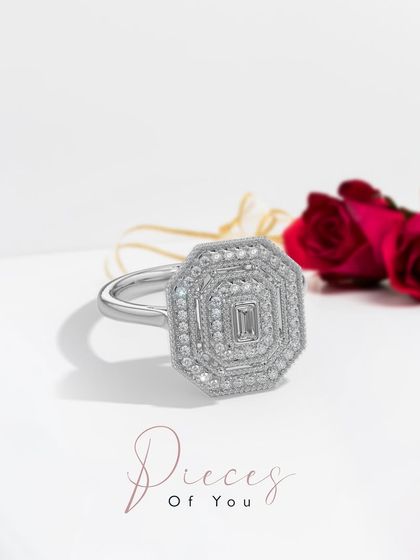
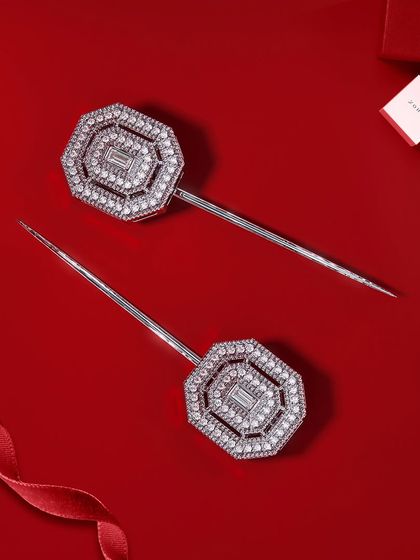
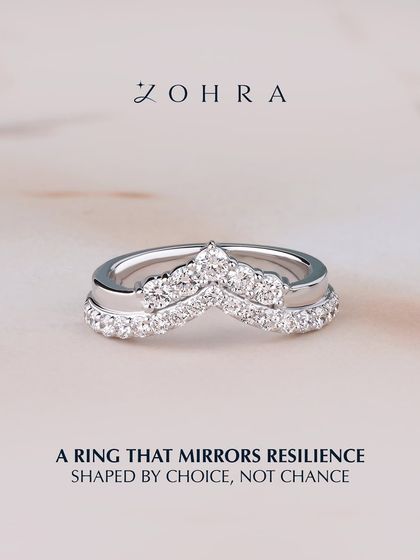
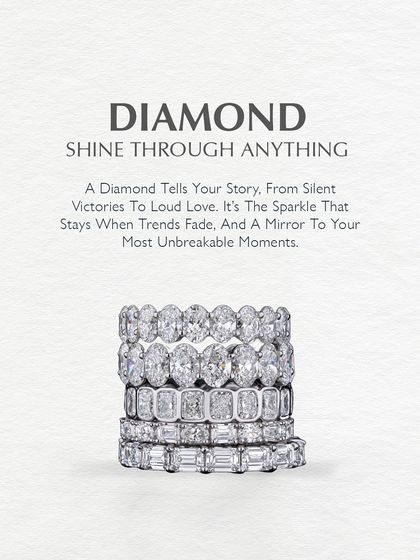
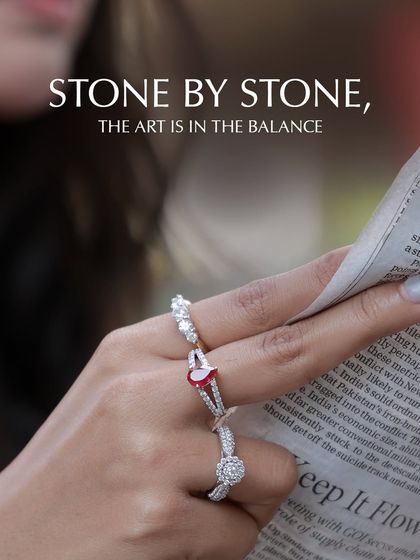
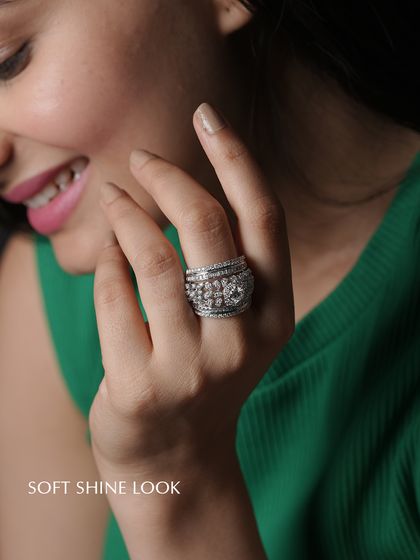
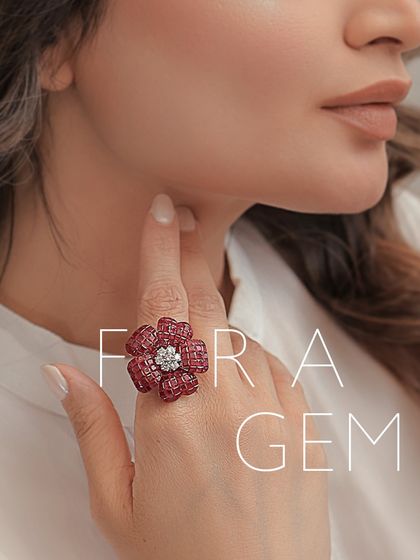
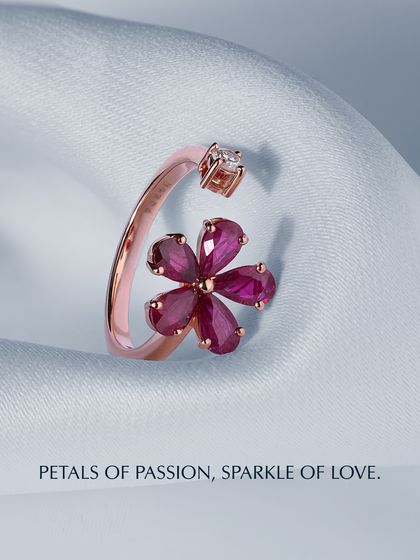
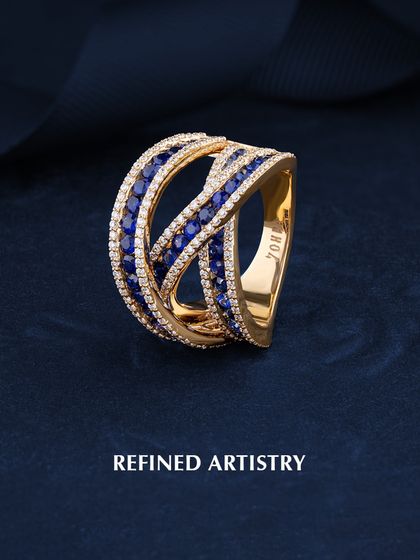
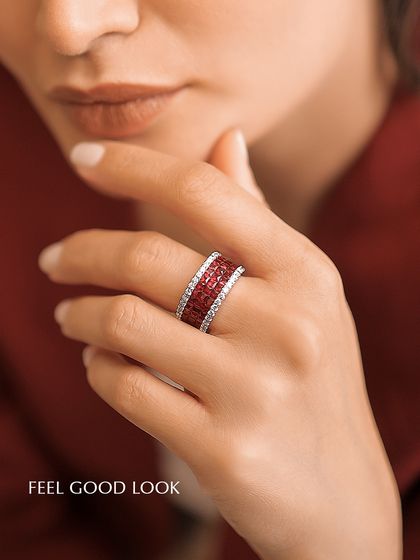
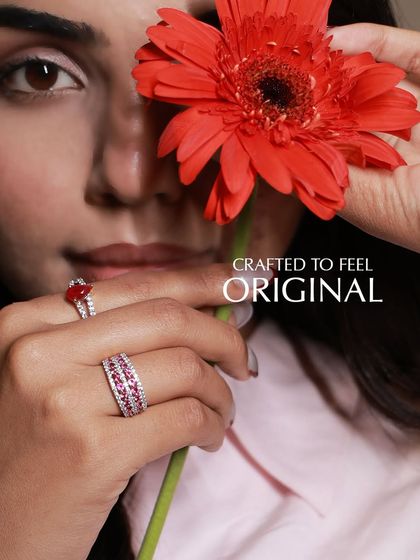
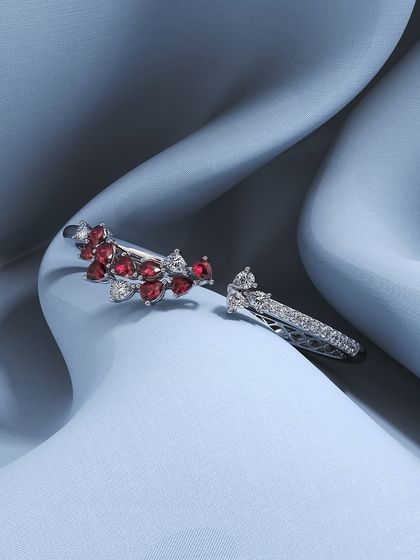
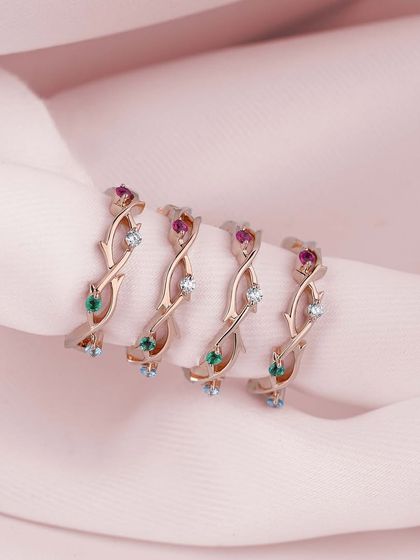
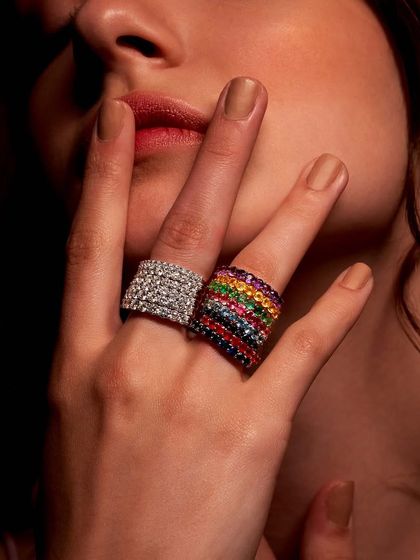
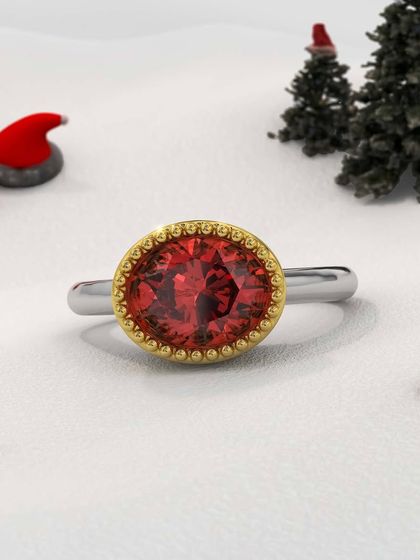
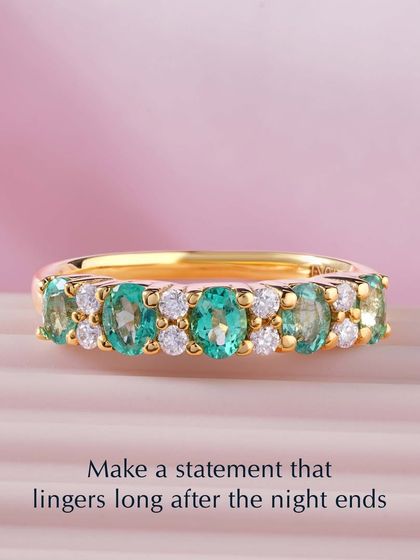
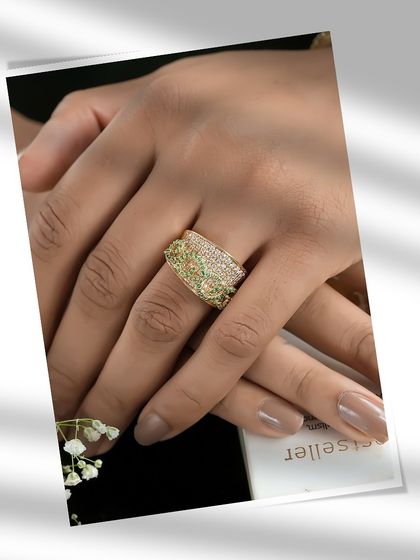
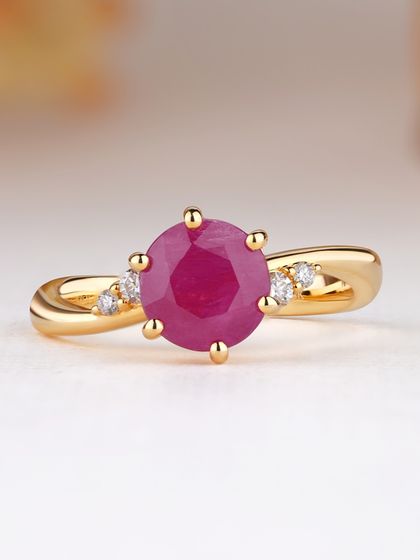
Statement Rings & Floral Designs
For those who want their jewellery to make an impact, I design bold statement rings that are true conversation starters. This includes intricate floral motifs and unique architectural shapes, brought to life with vibrant gemstones like rubies, sapphires, and emeralds.


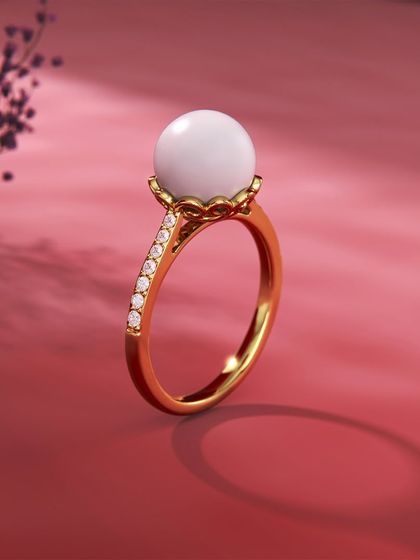

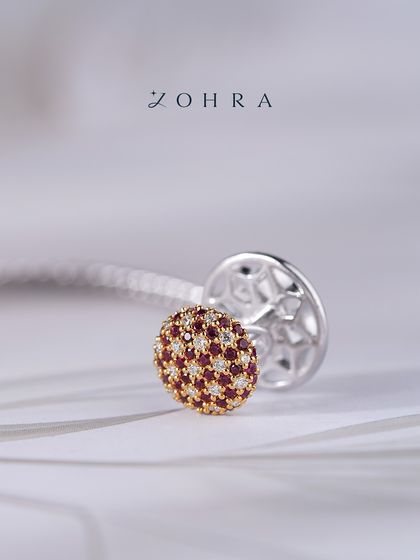
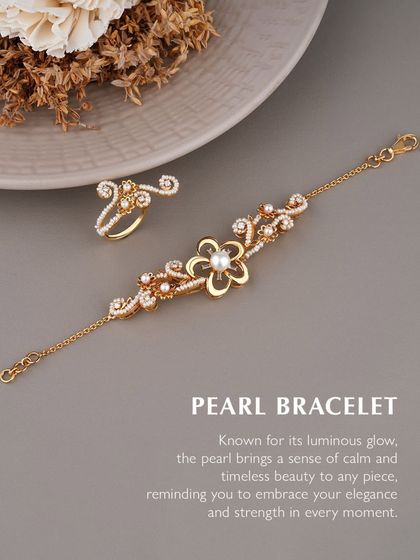
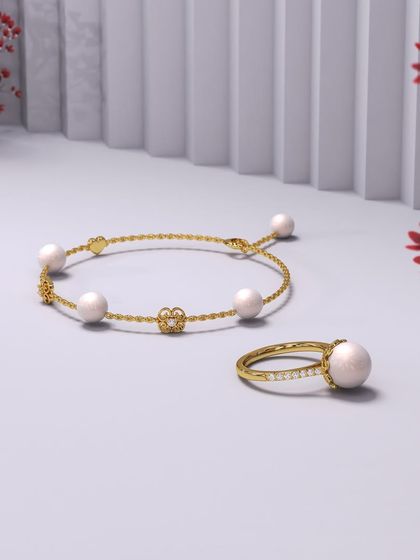
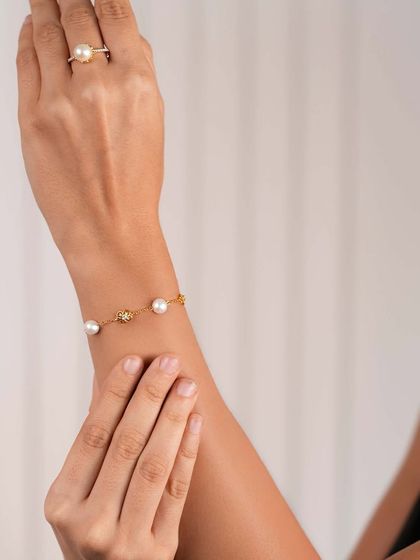
The Pearl Collection
There is a timeless grace to pearls that I love to capture in my designs. I create custom jewellery featuring luminous pearls, from classic drop earrings and delicate bracelets to bold rings combined with diamonds and other precious gems for a modern touch.
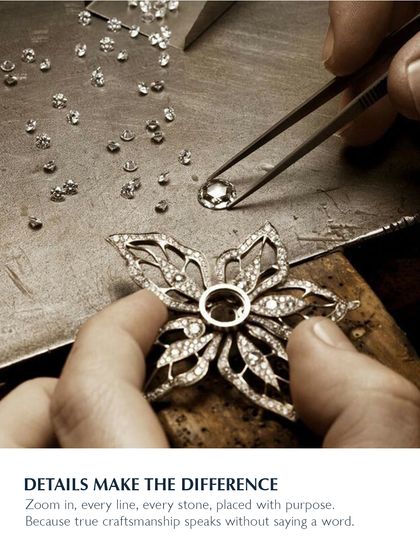
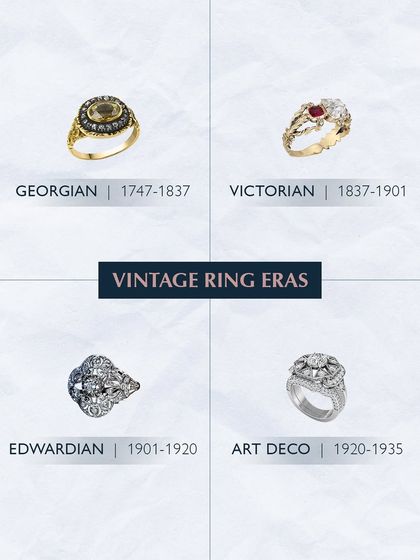
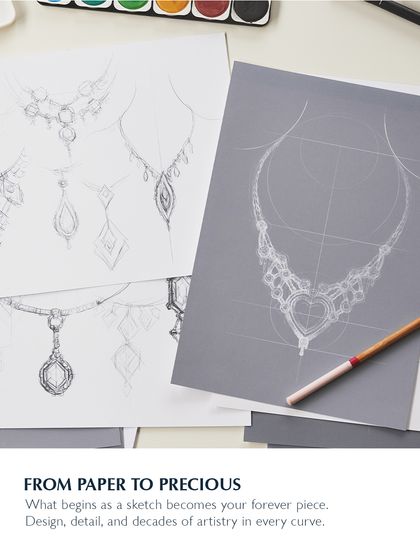
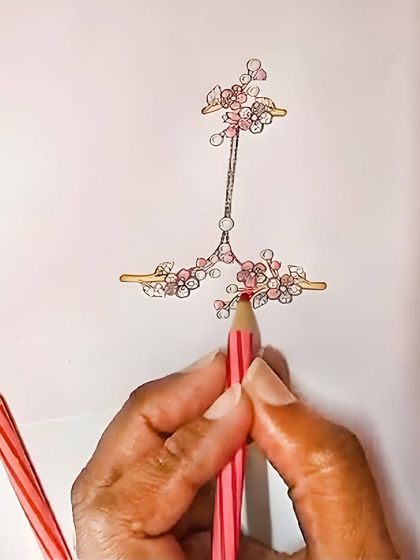
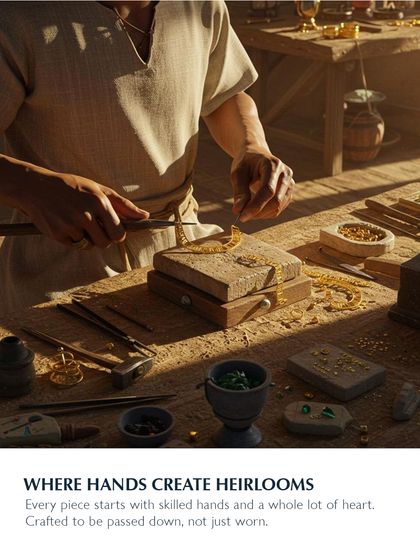
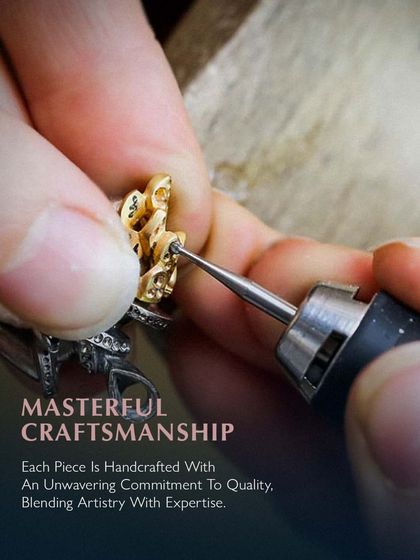
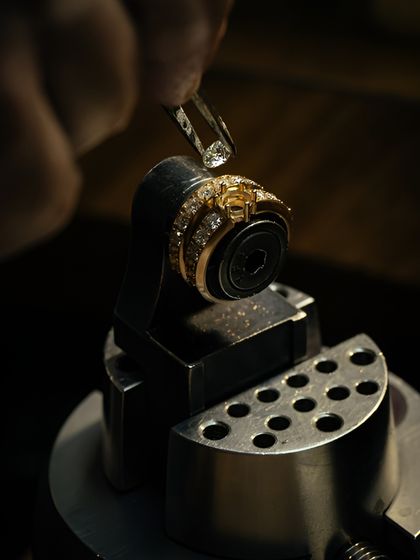
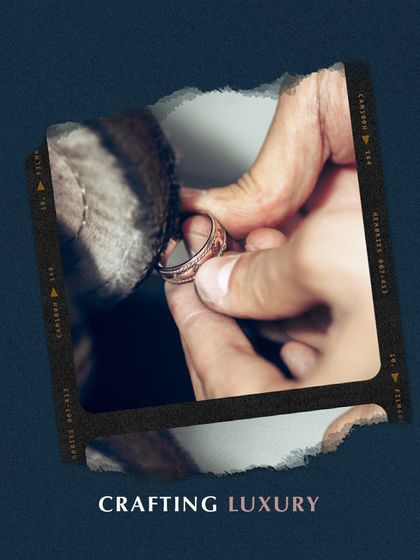
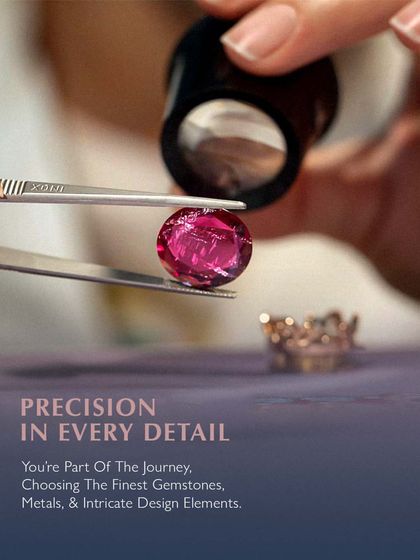
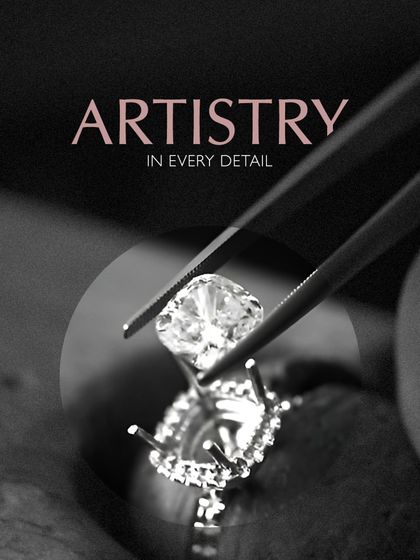
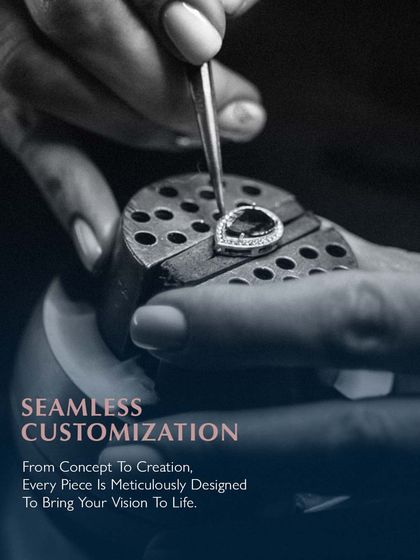
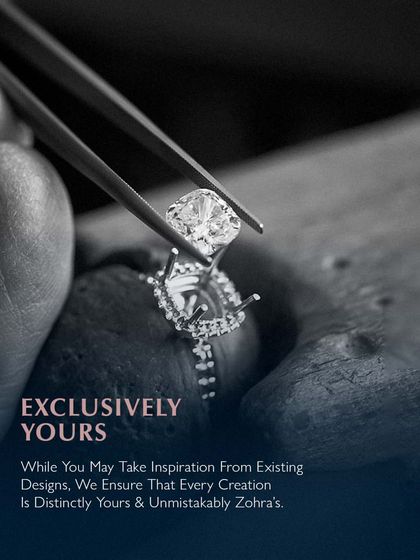
The Art of Creation
Every piece begins as a conversation and a sketch before it is brought to life by the hands of my master artisans. This is a glimpse into the meticulous process of transforming your vision from paper to precious, ensuring every detail is crafted with purpose and passion.
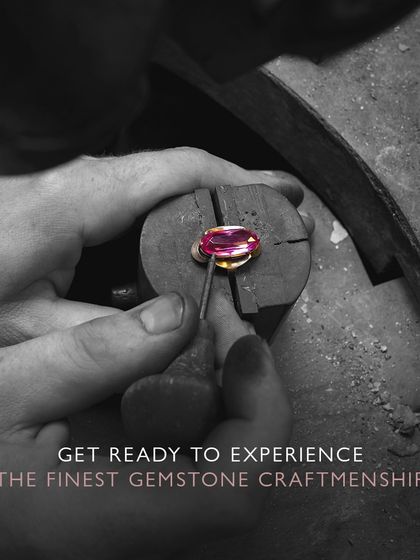
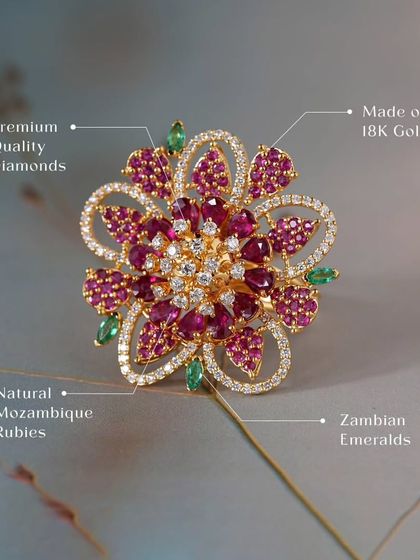
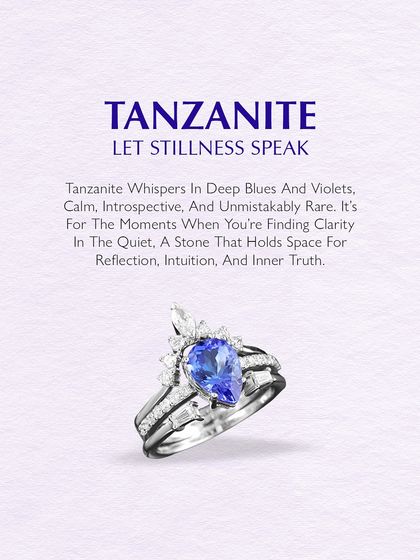
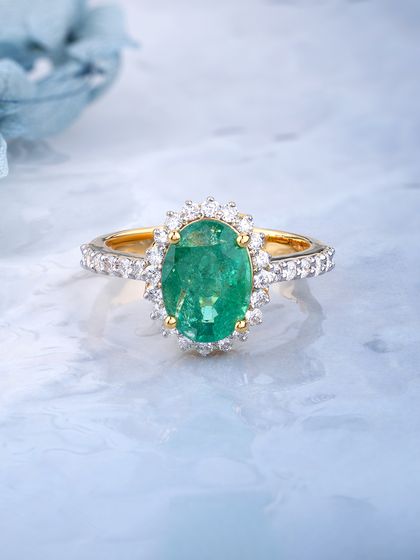
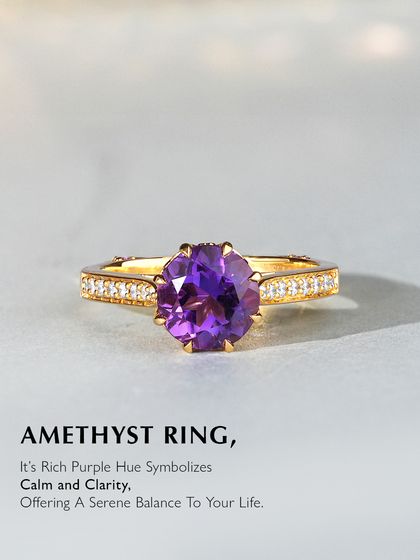
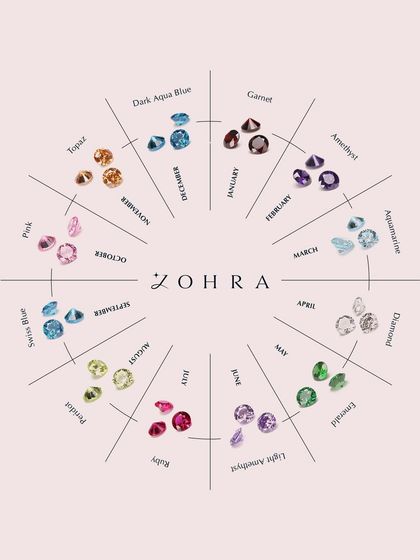
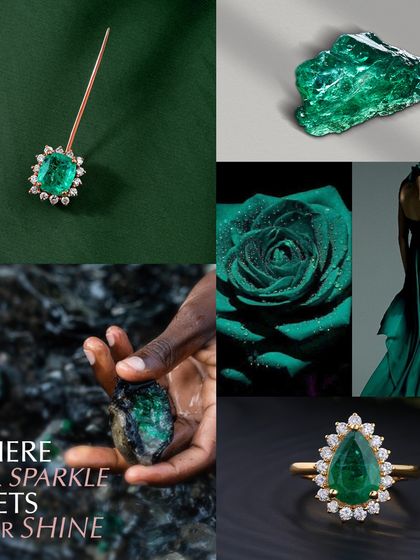
The Gemstone Library
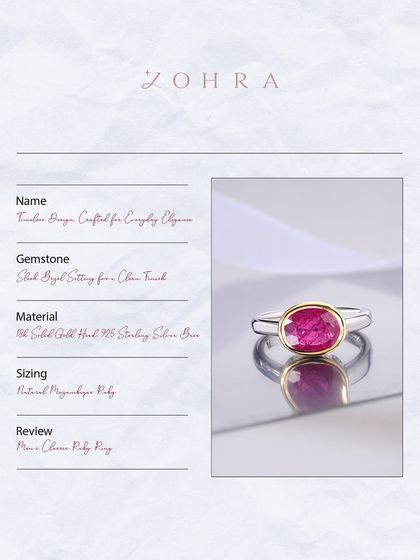
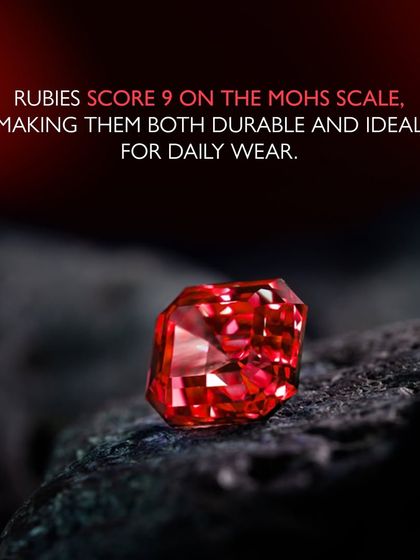
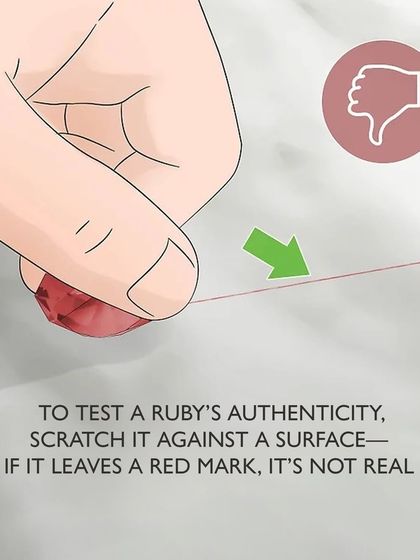
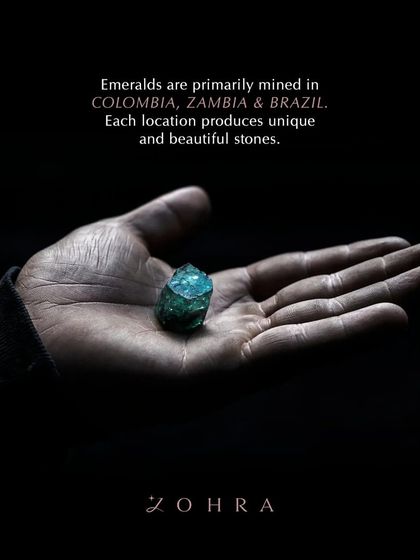
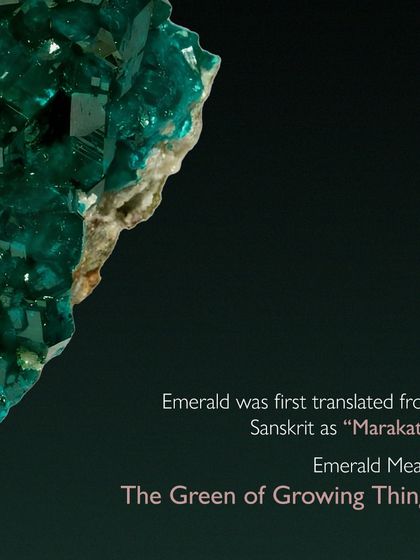
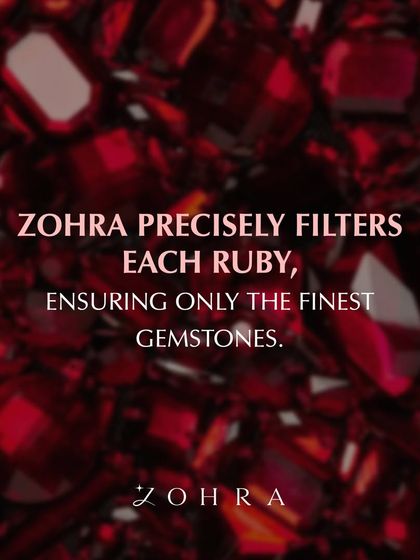
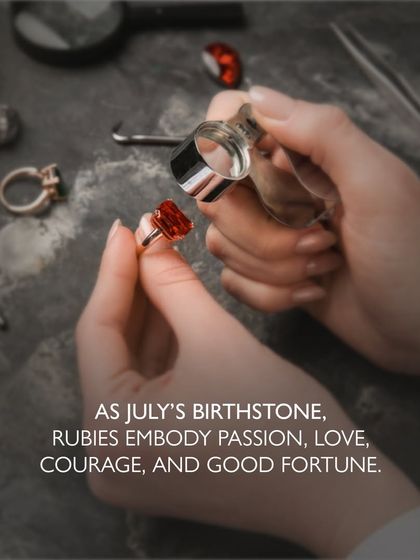
Learn about the unique energy and story behind each natural gemstone I use in my creations. From the fiery passion of a Mozambique ruby to the calming grace of a Zambian emerald, I help you choose the stone that truly speaks to you and your story.

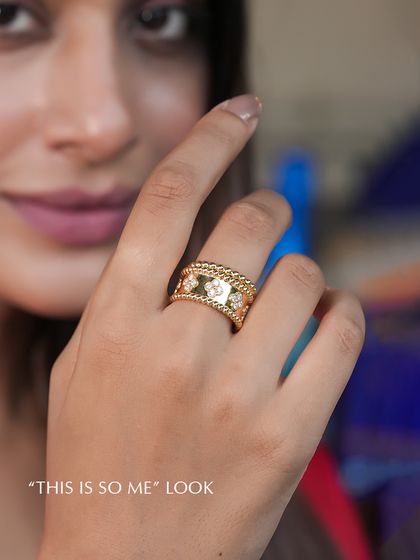
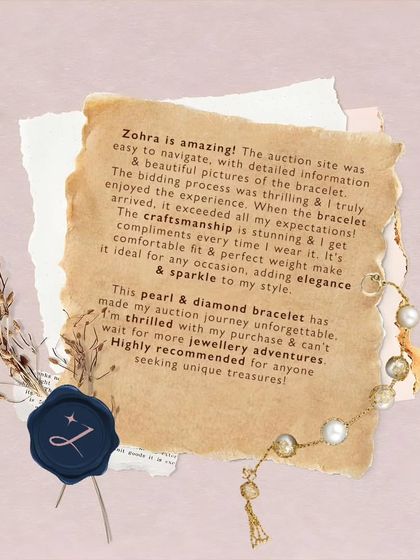
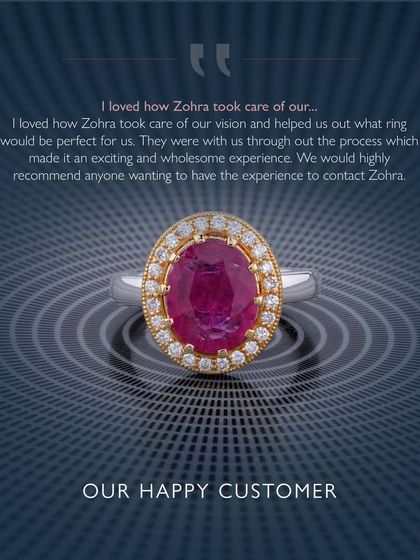
Client Stories & Brand Insights
Here, I share the stories behind the jewellery and the philosophy that guides my work. From client testimonials to explainer videos on my process, this is where you can understand what makes the Zohra experience truly different and personal.

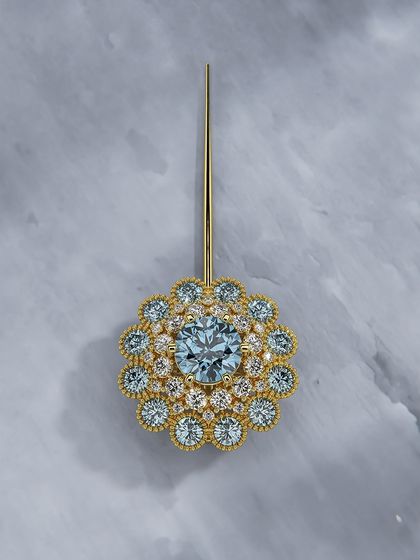
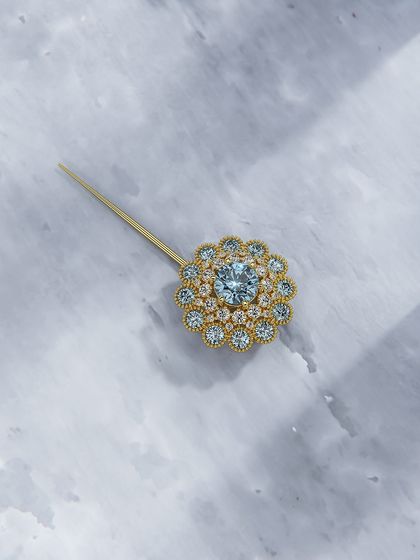
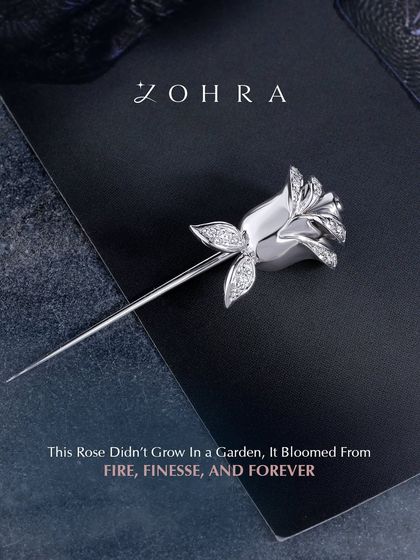
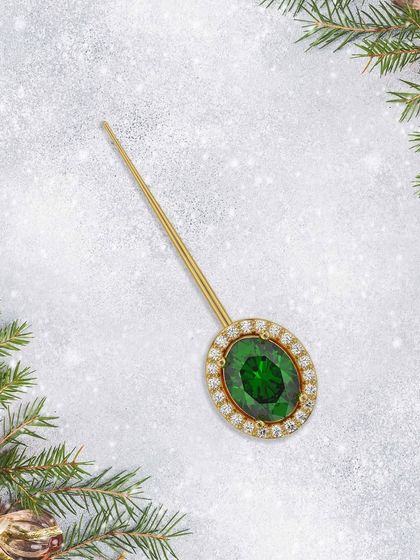
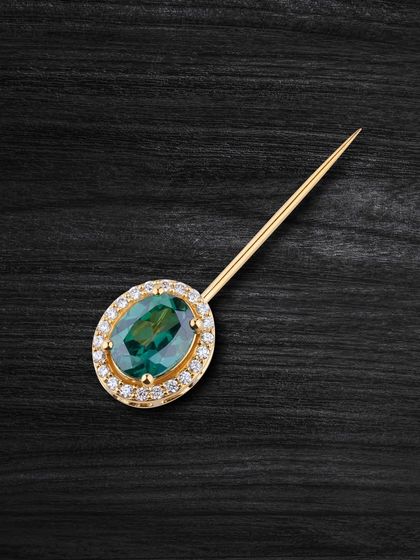
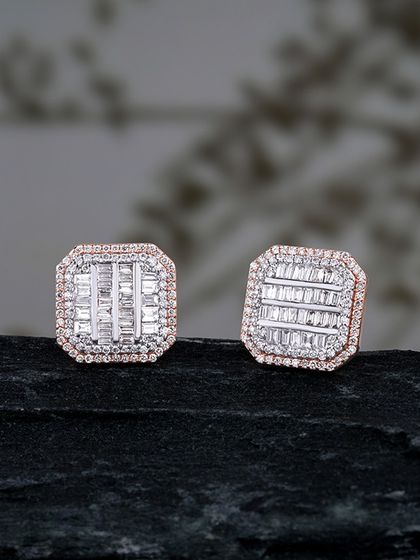
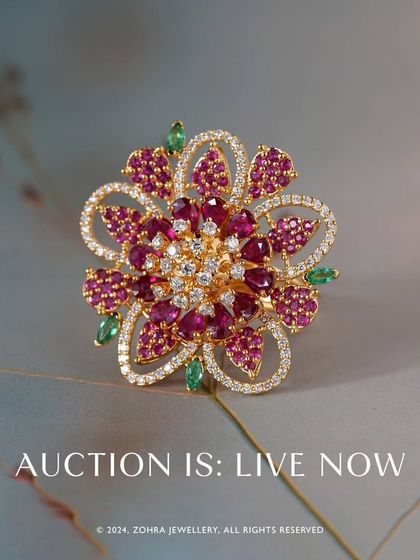
Additional Work & Inspirations
A collection of other unique pieces, design announcements, and moments of inspiration. This gallery showcases the wide range of styles I can create, from modern rings and pins to classic earrings, each with the signature Zohra touch of quality and artistry.