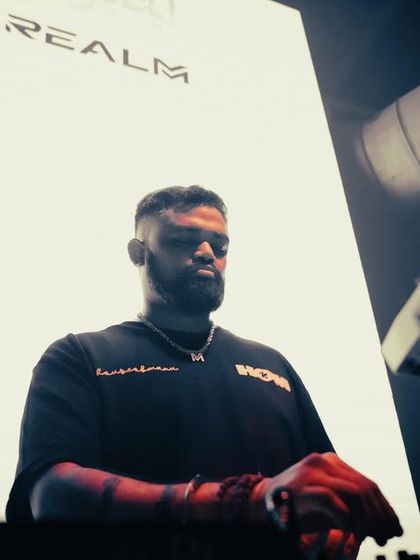
Featured
This is the first look at the energy and scale I bring to every event. From massive festival stages to legendary collaborations, this is a snapshot of the unforgettable experiences I create.
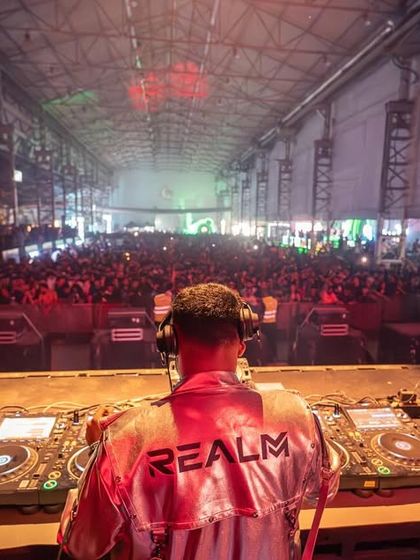
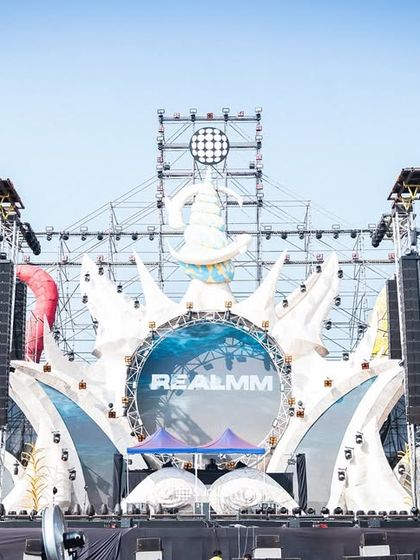
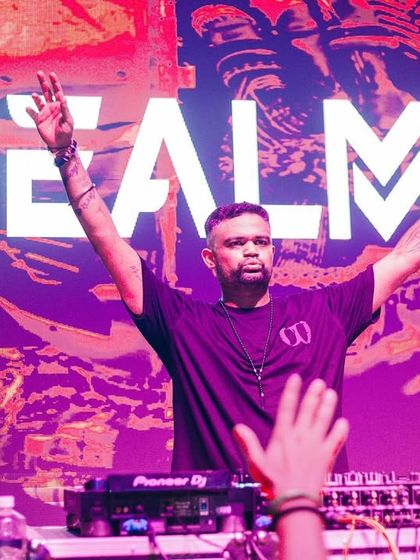
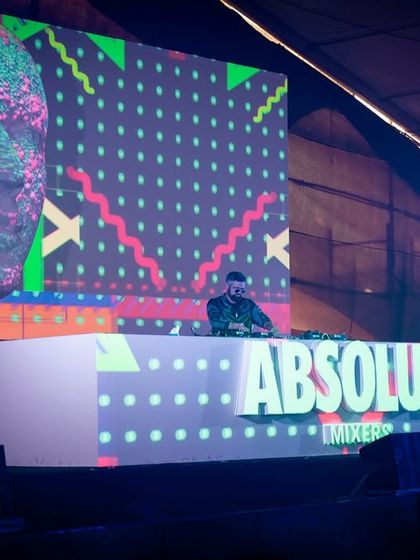
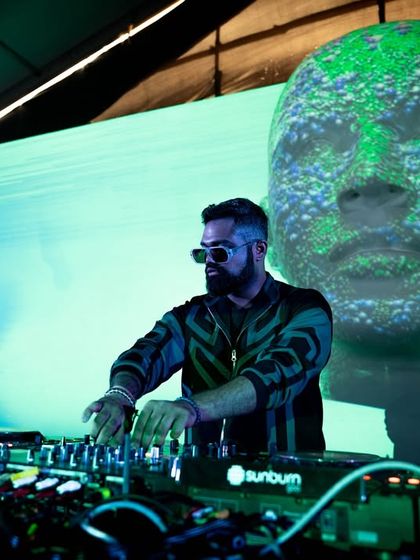
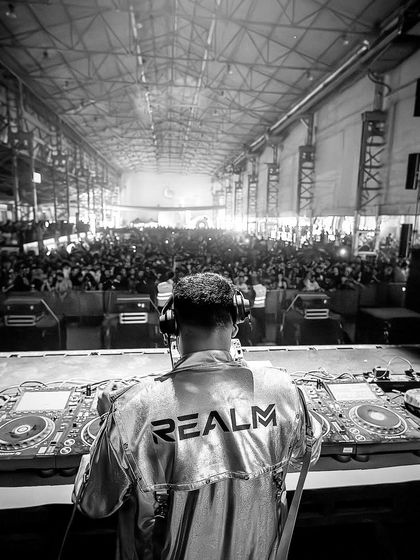
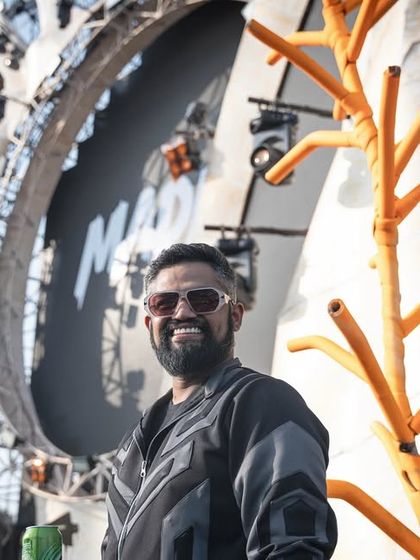
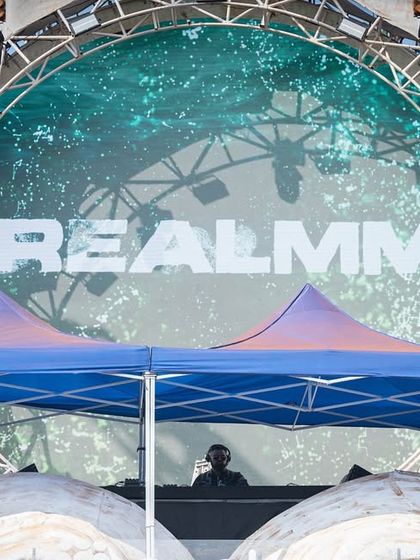
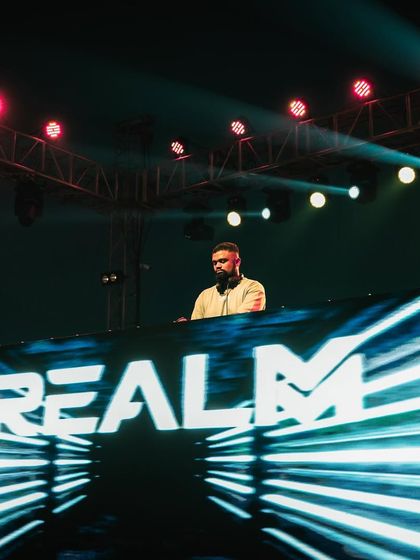
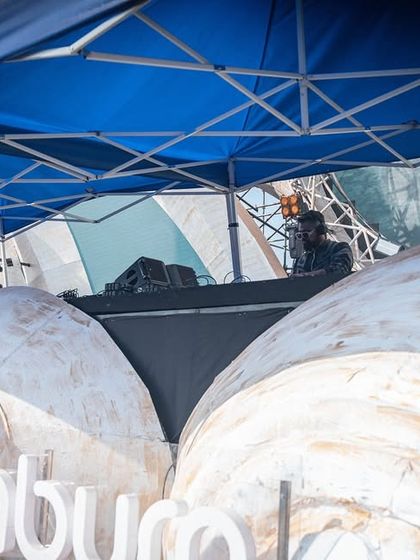
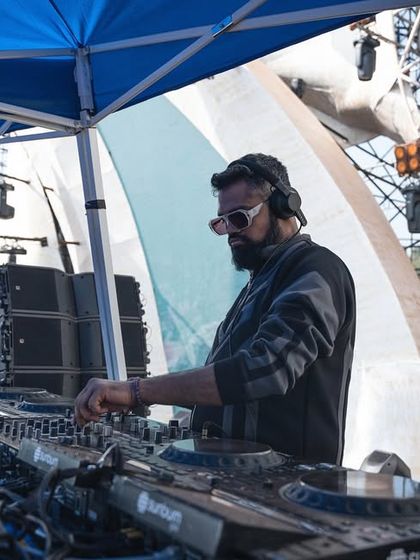
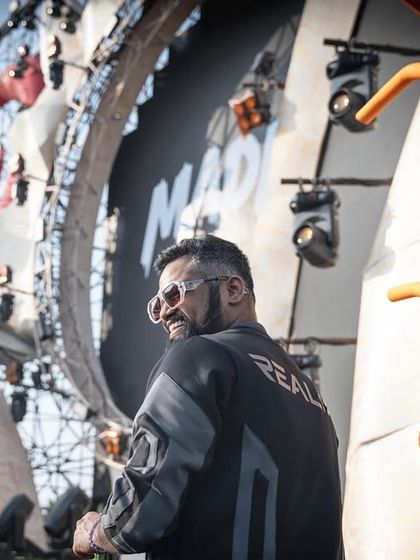
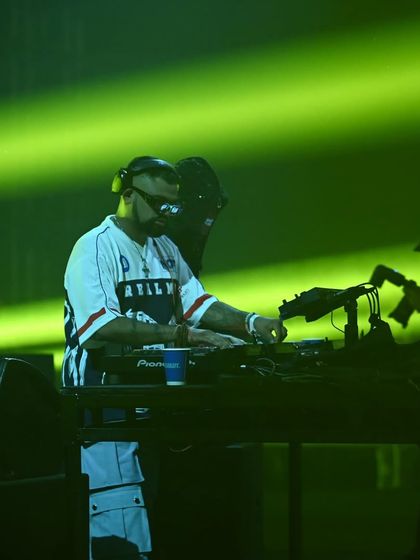
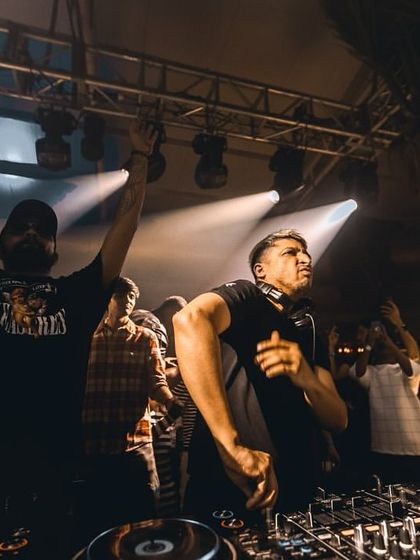
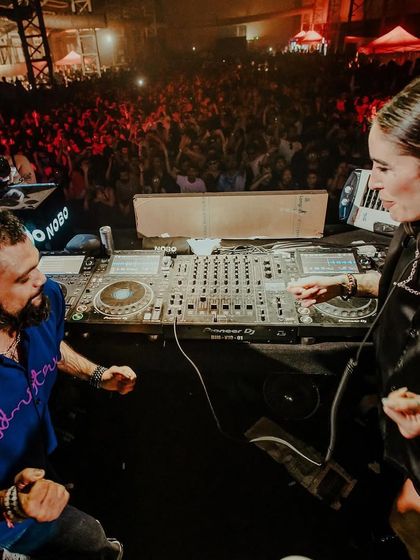
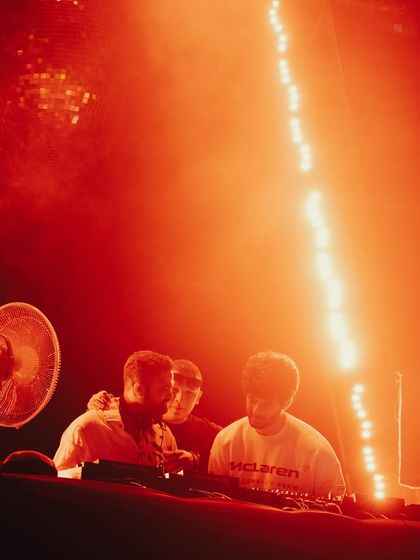
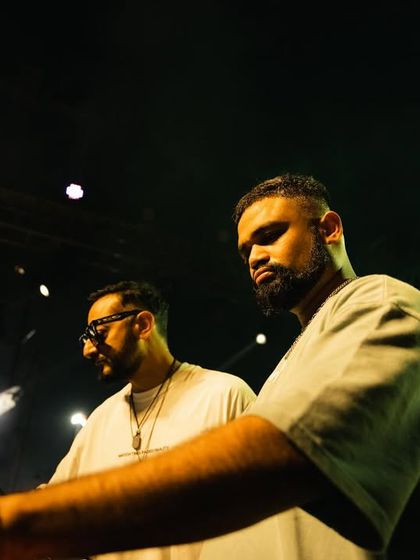
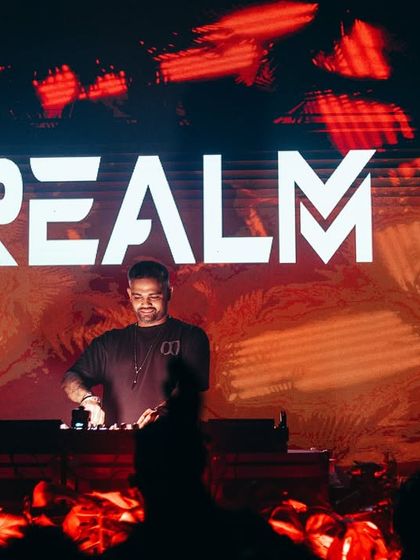
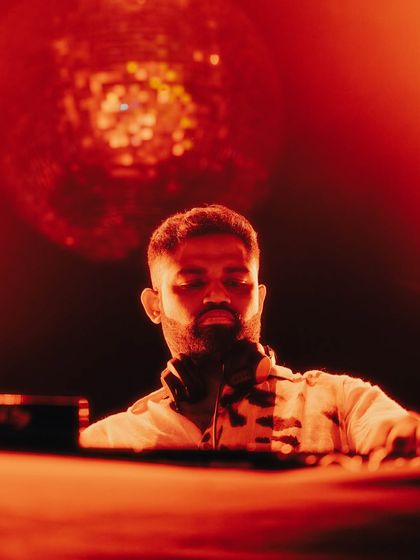
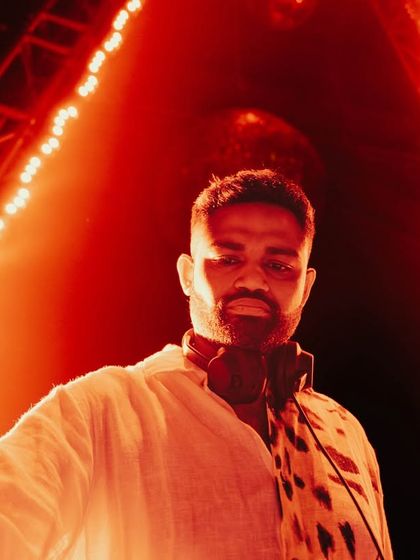
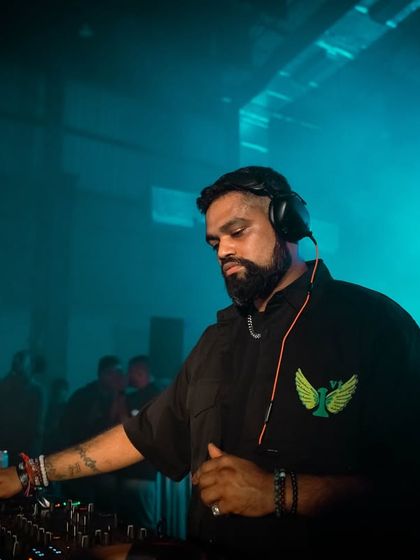
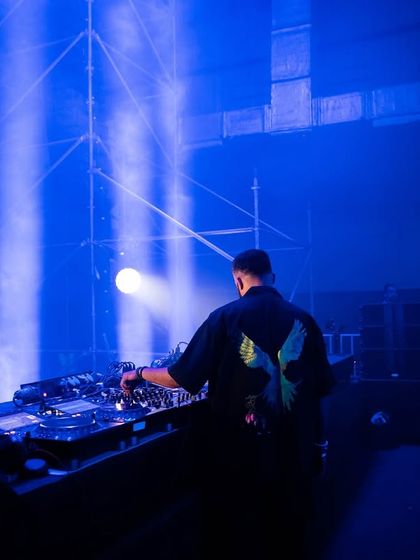
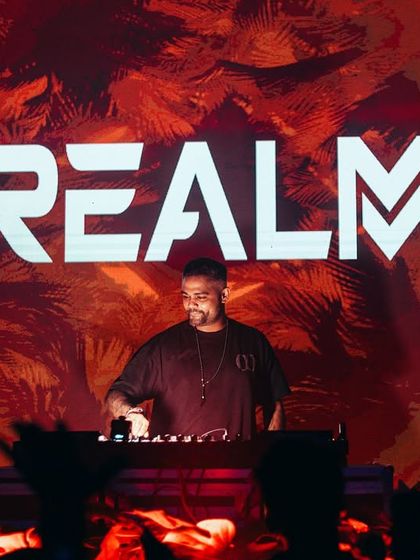
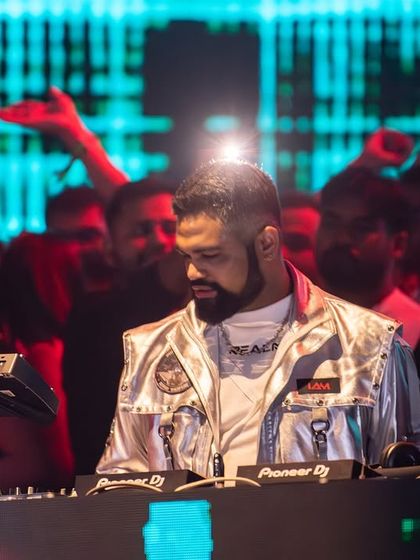
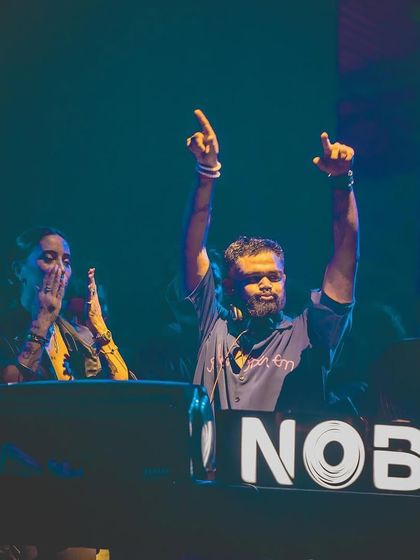
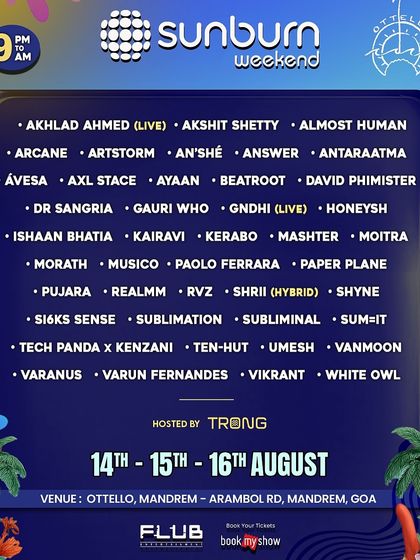
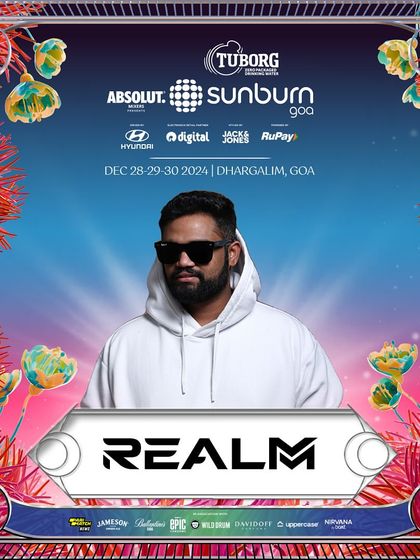
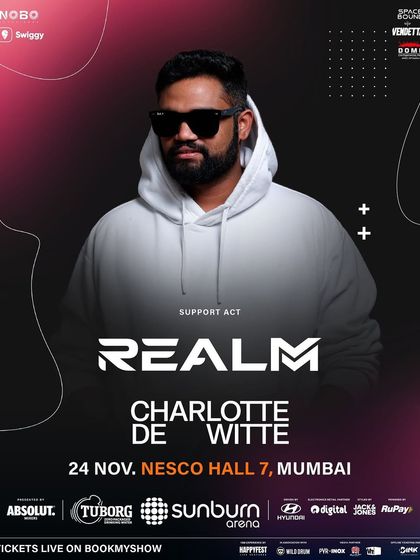
Festival Mainstage & Arena Gigs
From the main stage at Sunburn to massive arenas opening for legends like Charlotte de Witte and Stephan Bodzin, this is where I bring my biggest energy. These are the large-scale, festival-ready sets I live for.
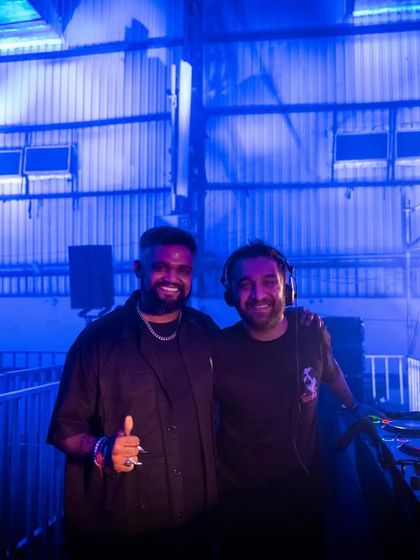

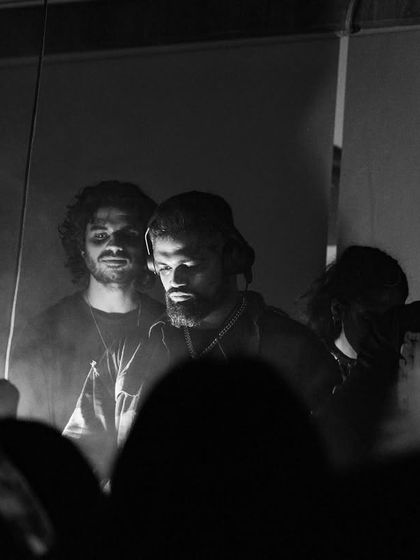
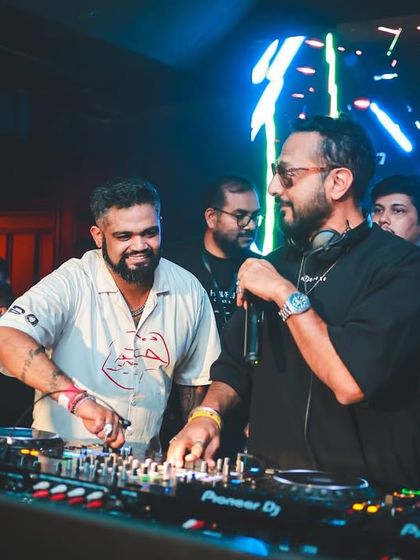
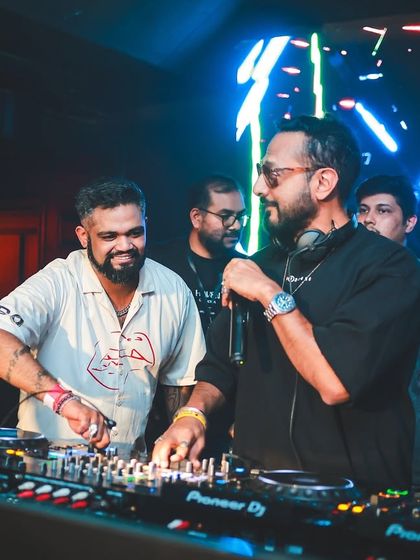
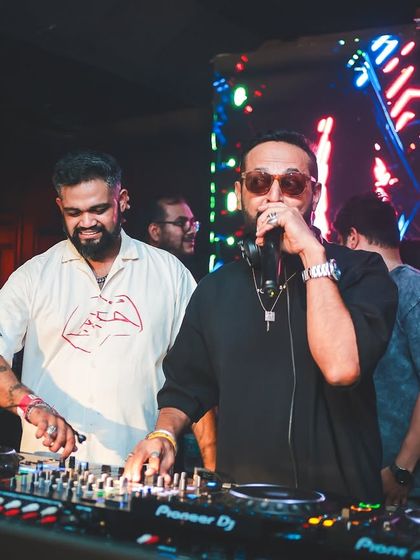
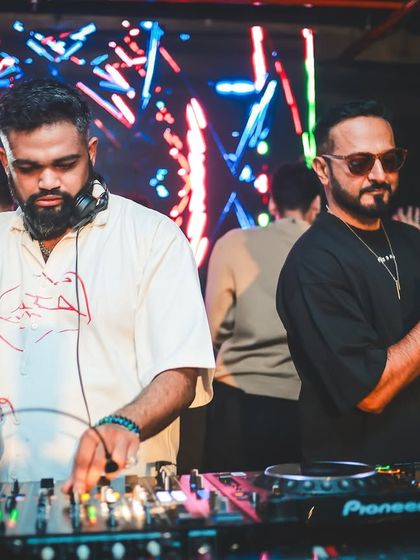
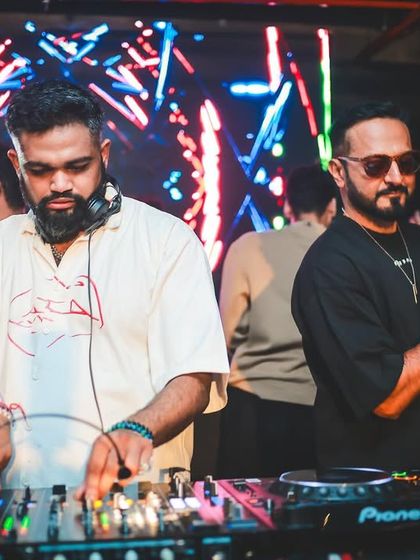
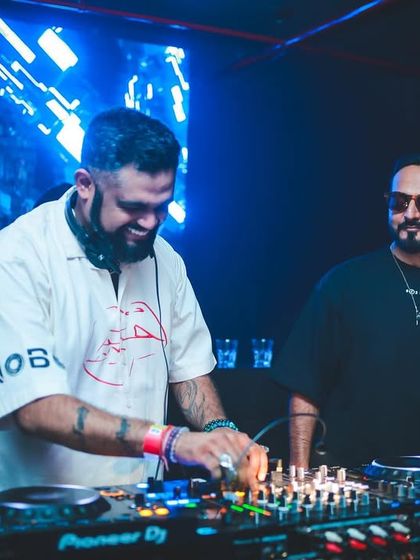
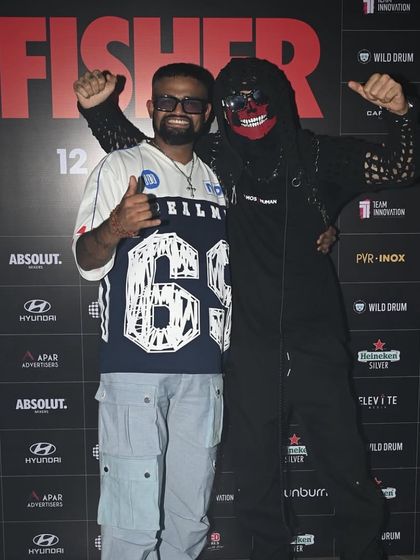
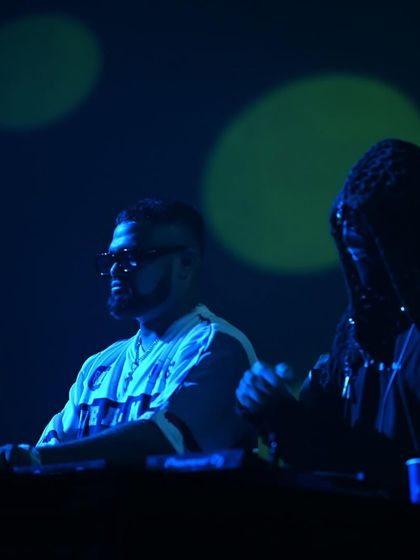
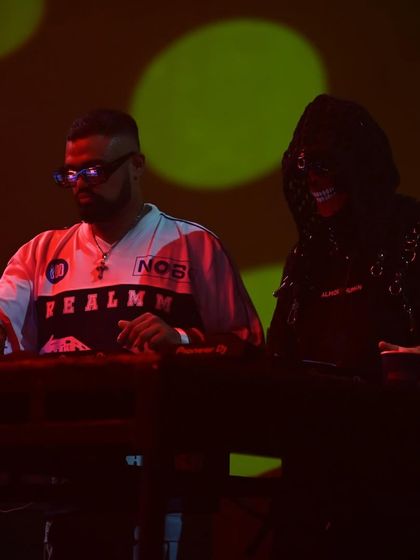
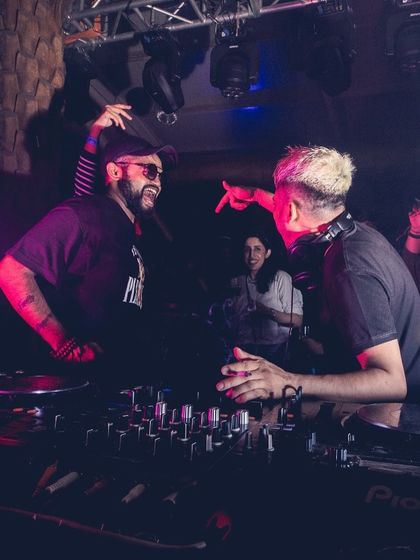
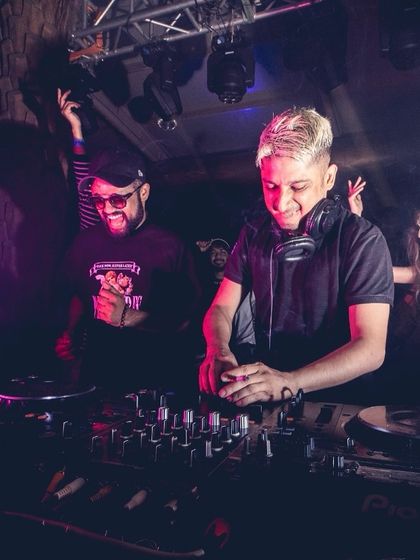
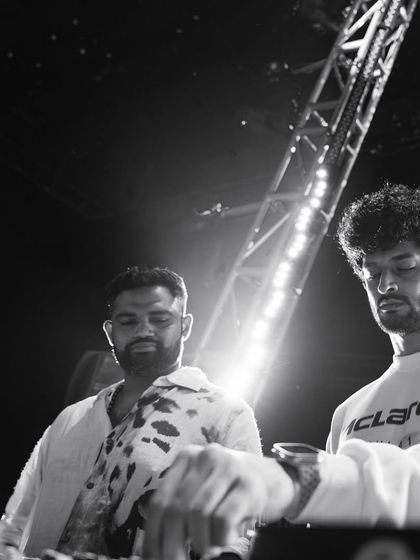
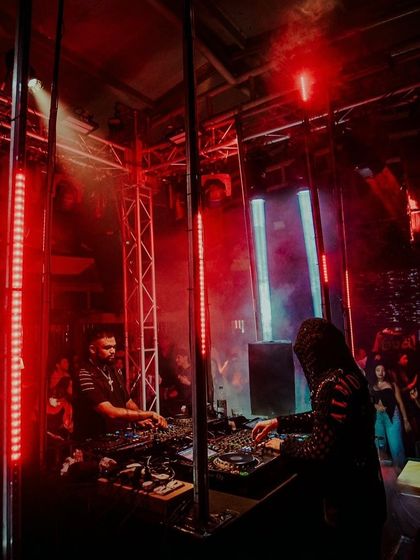
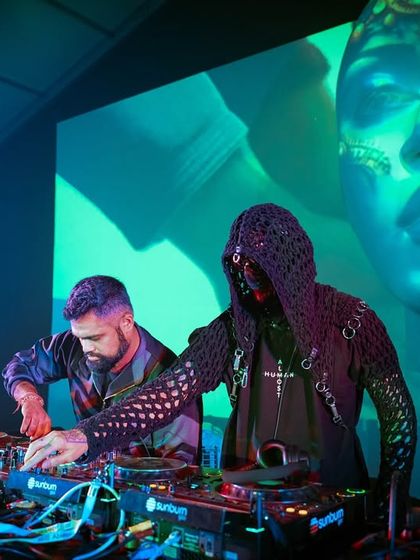
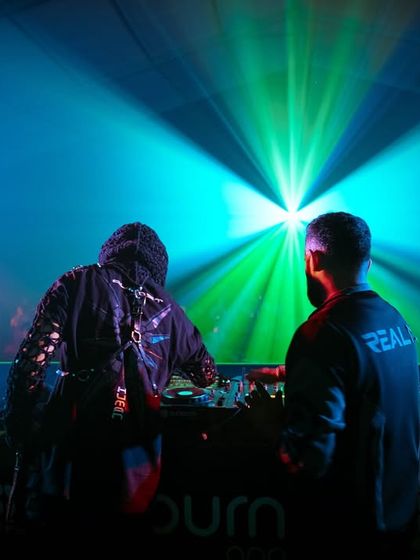
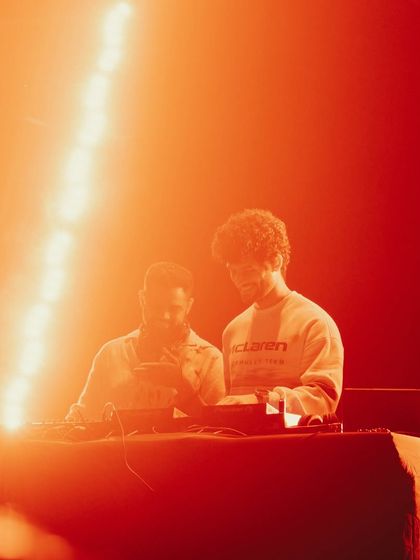
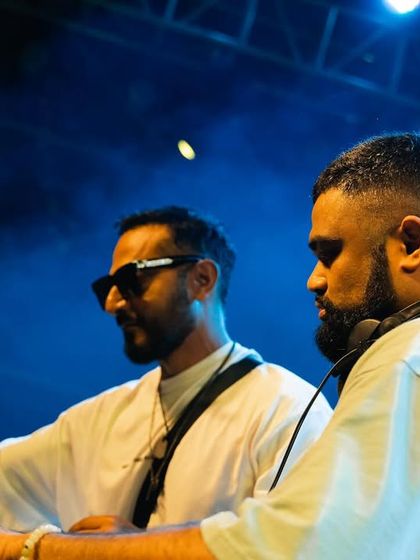
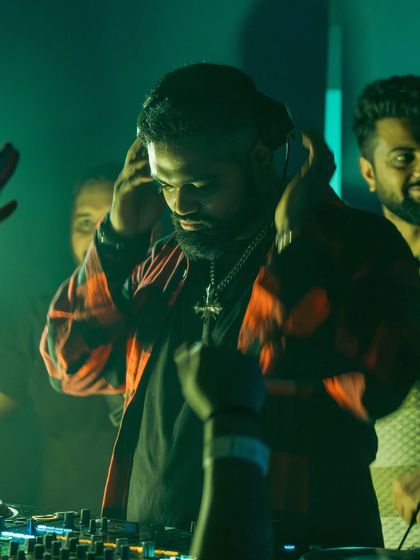
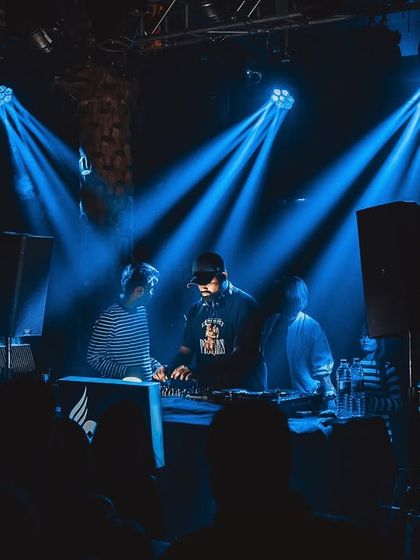
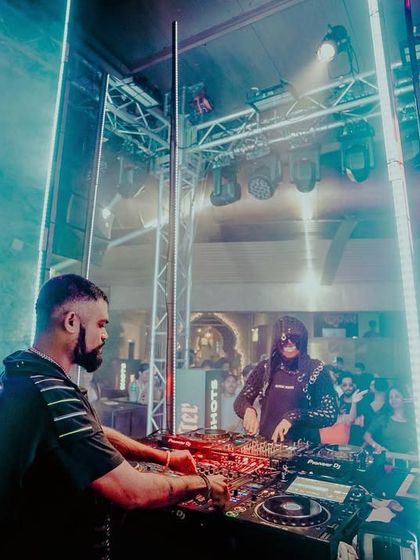
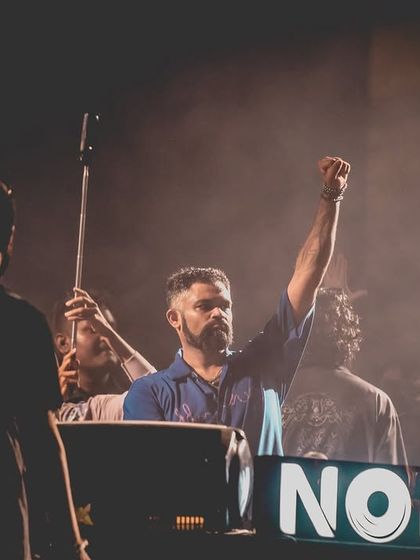
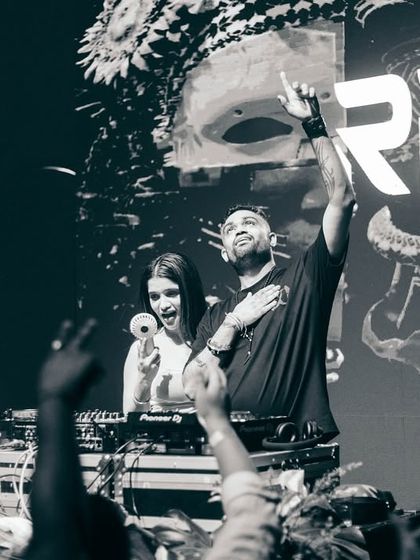
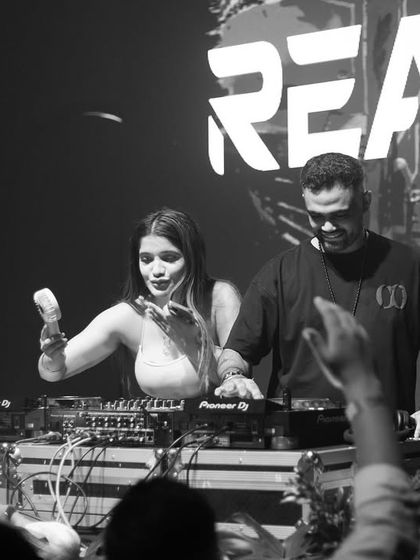
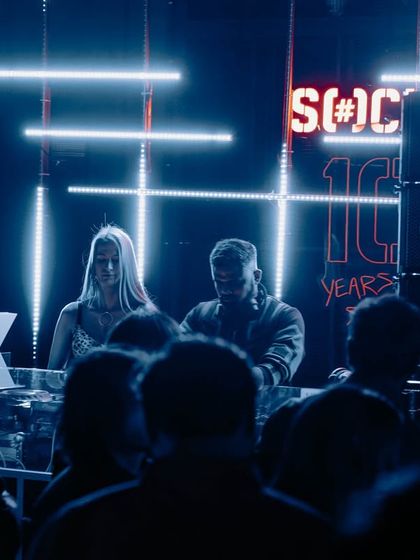
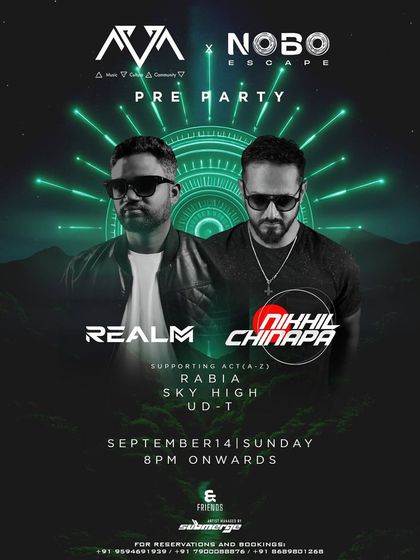
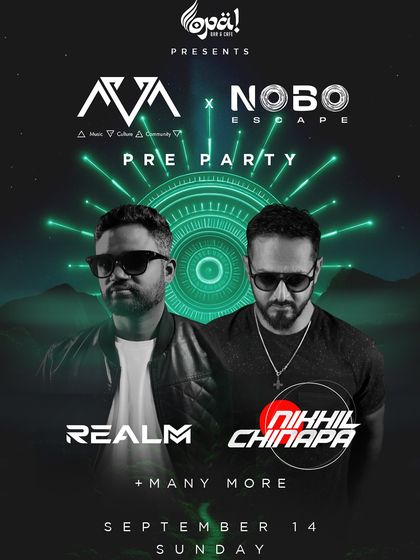
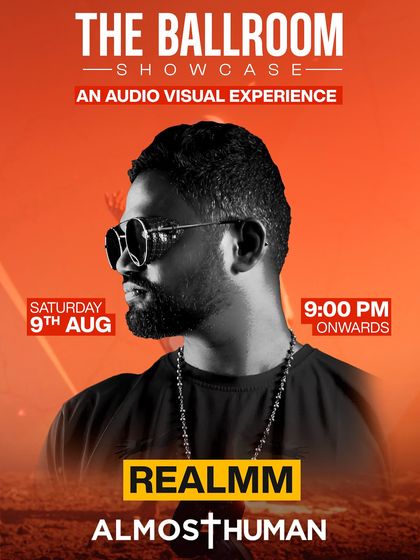
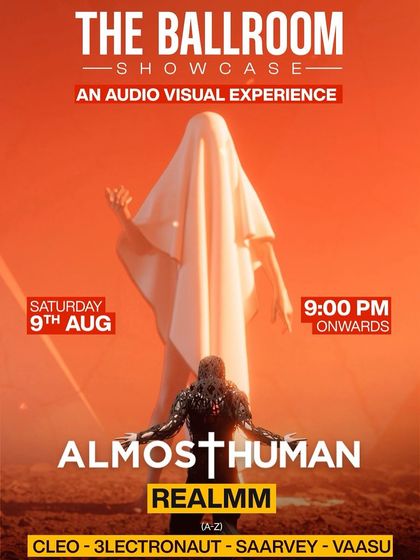
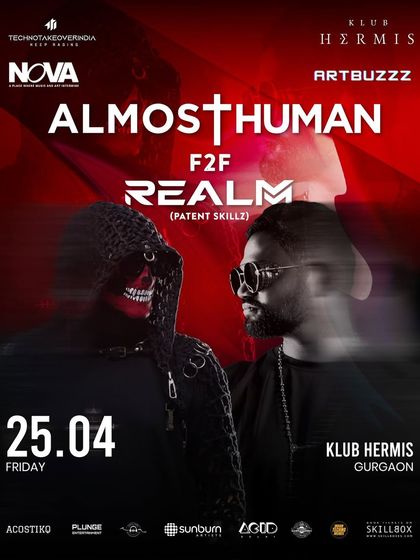
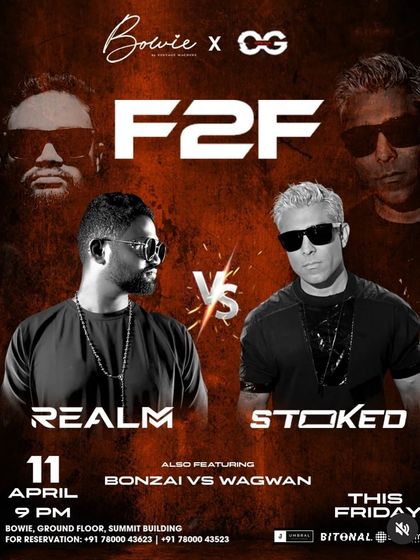
B2B & F2F: The Art of Collaboration
I thrive on the energy of playing alongside other artists, from legendary B2B sets with Nikhil Chinapa and Ankytrixx to the world's first melodic house F2F with Almost Human. These collaborations create a unique, unpredictable vibe every single time.

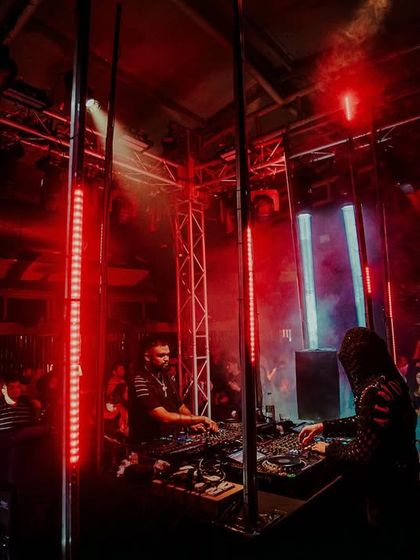
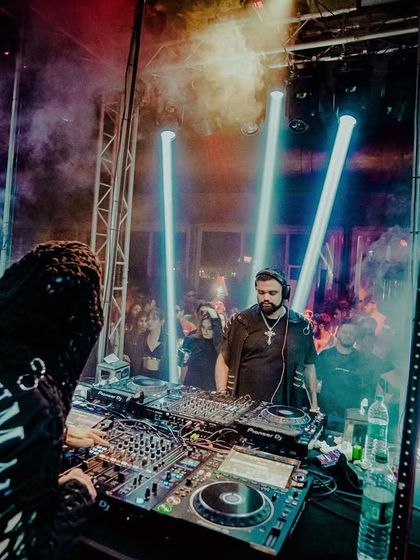


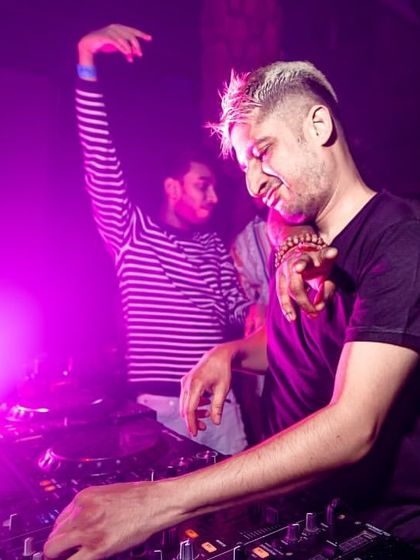
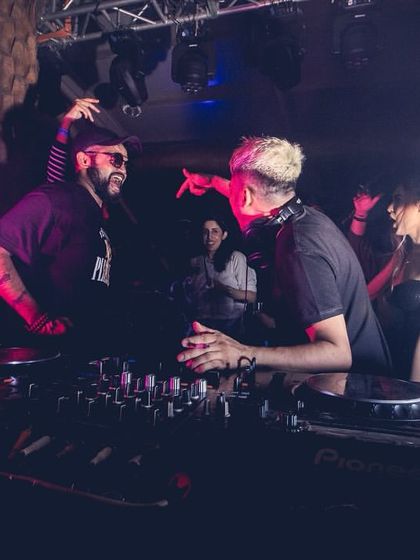
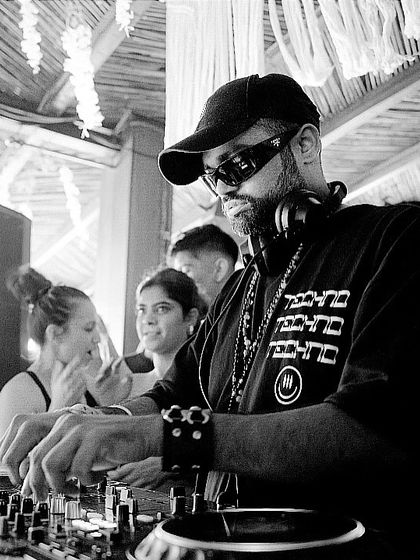


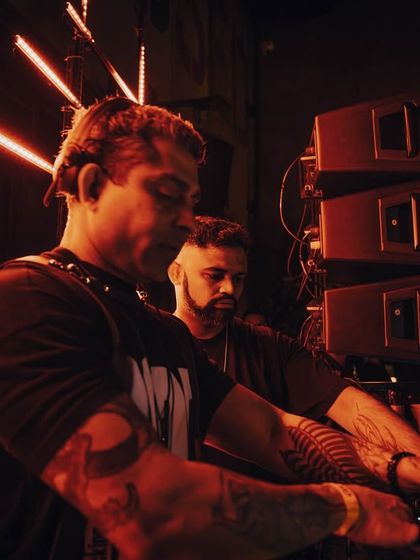
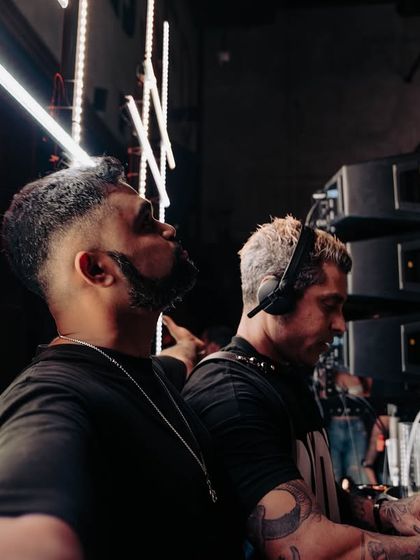
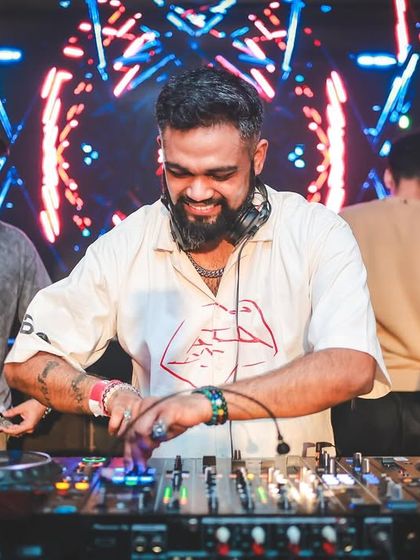
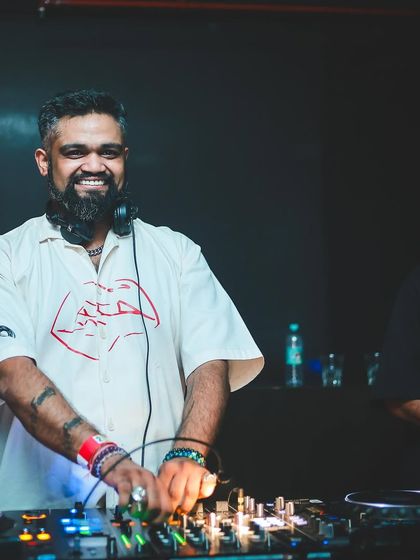
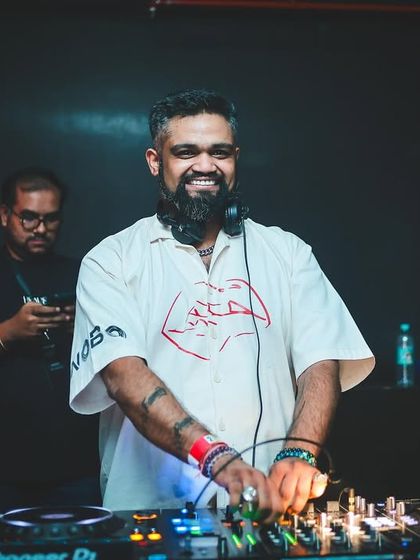
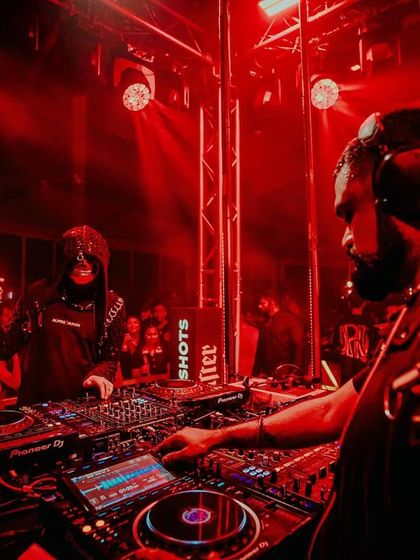
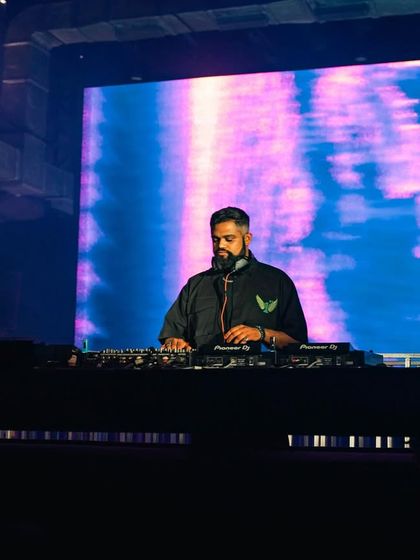
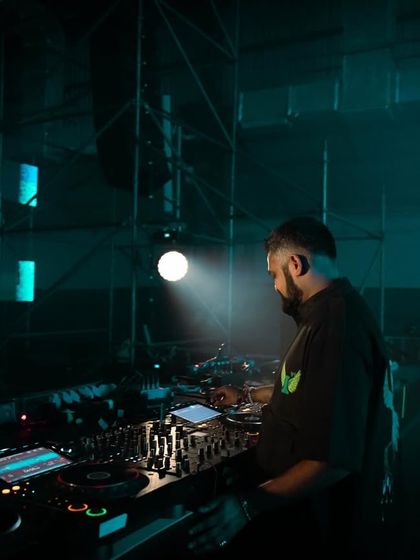
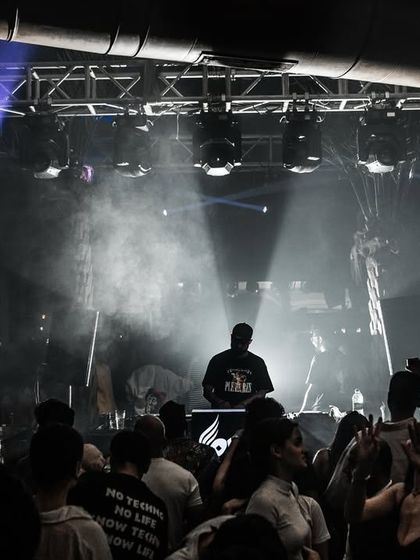
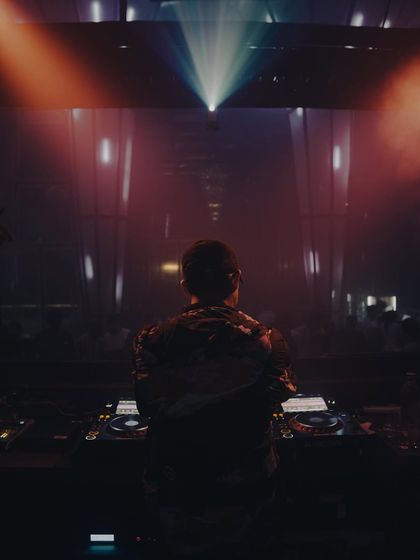
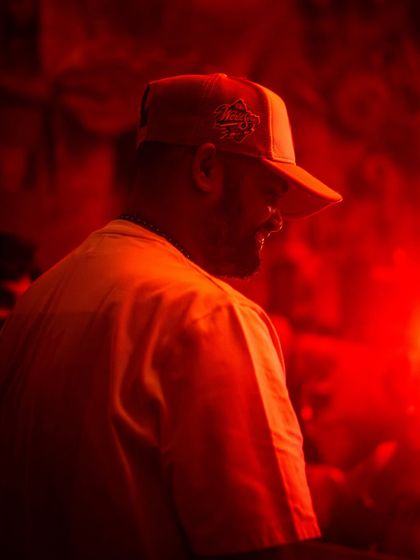
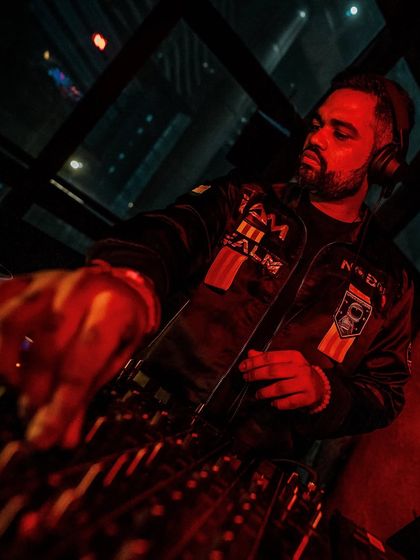
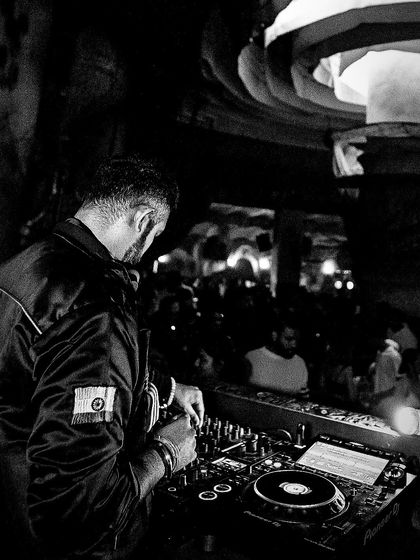
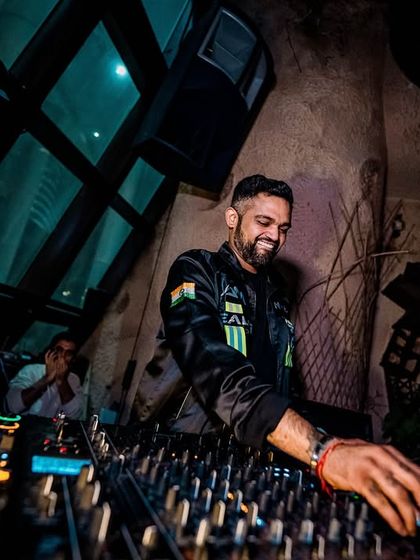
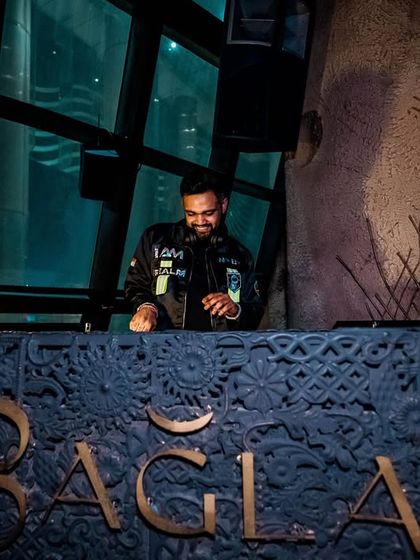
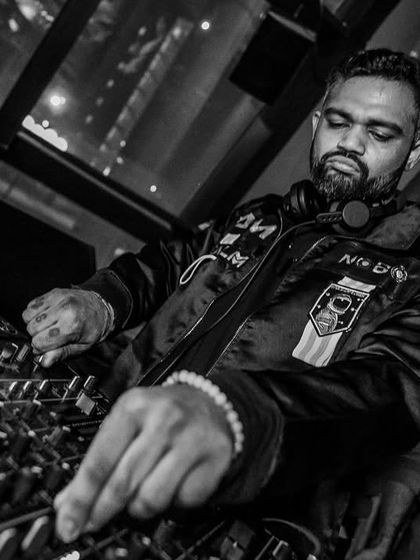
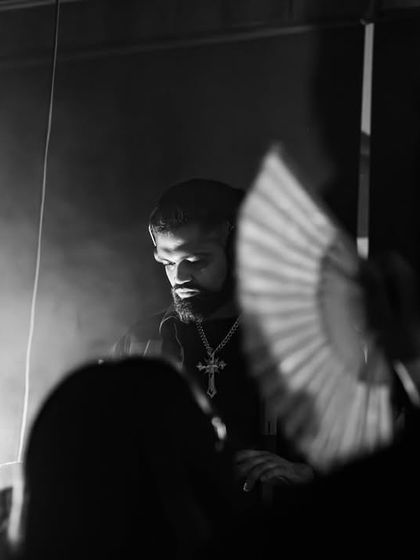
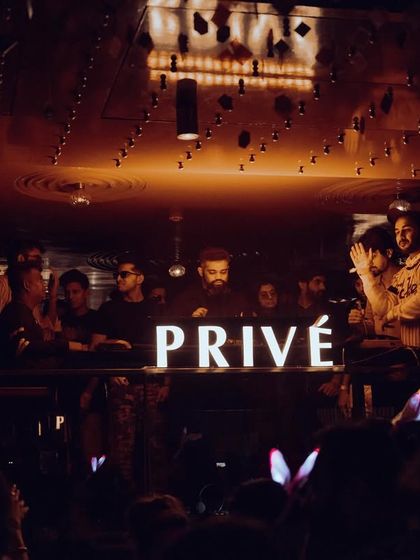
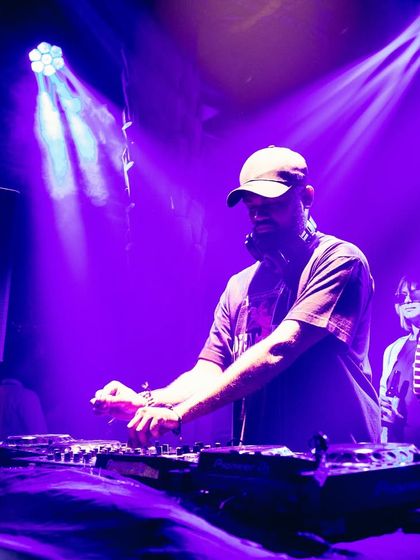
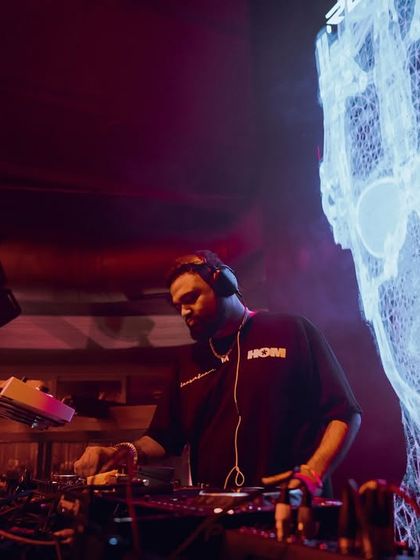
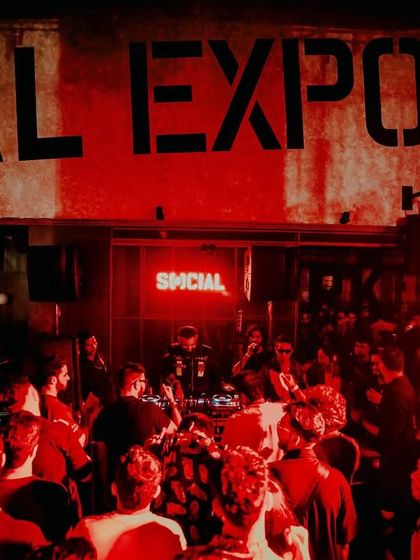
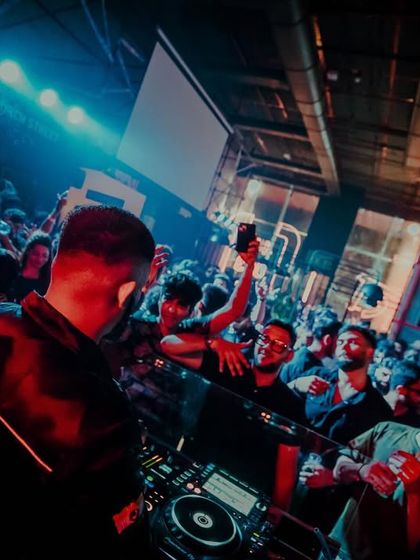
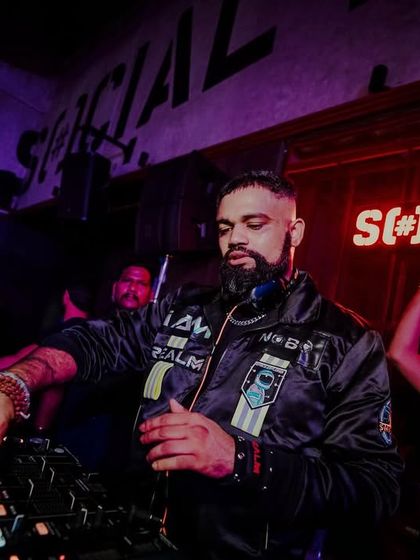
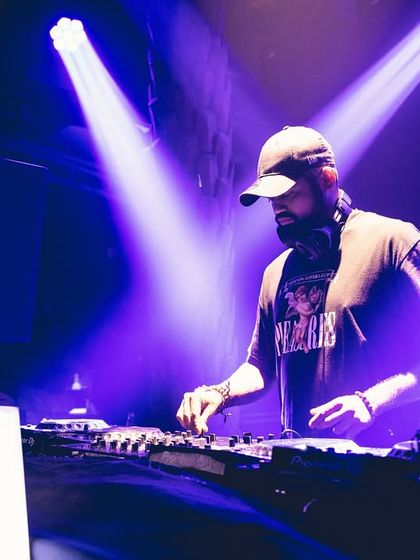
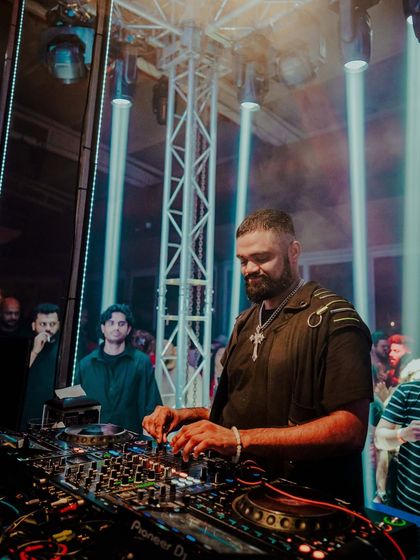
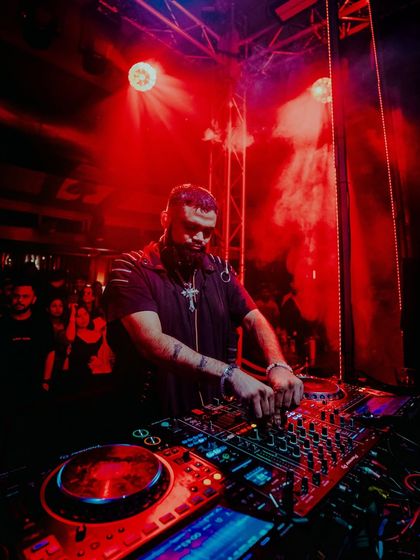
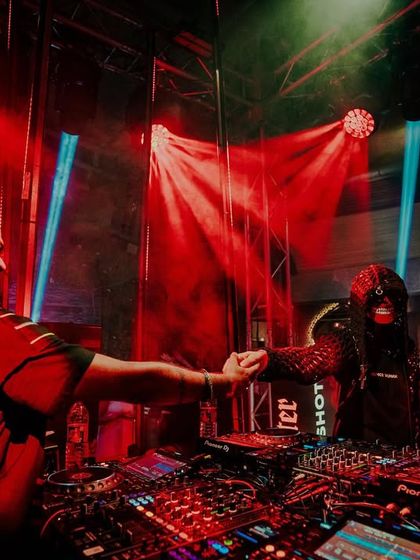
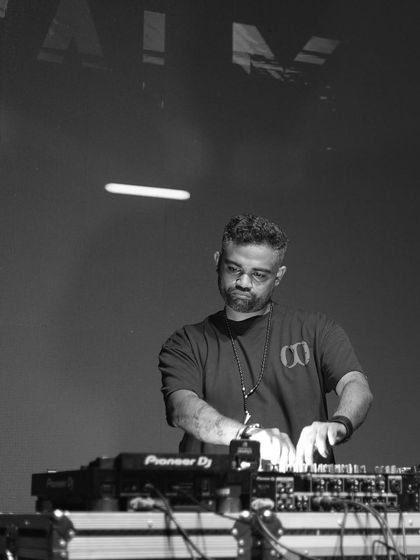
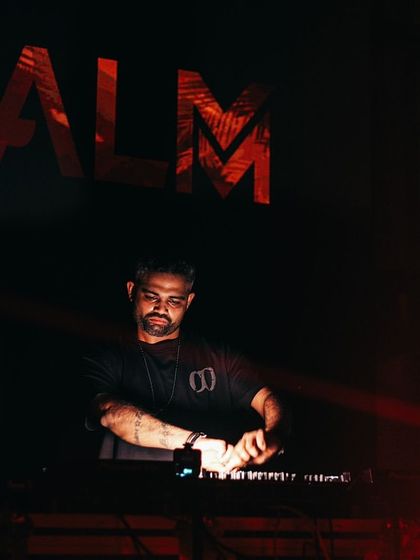
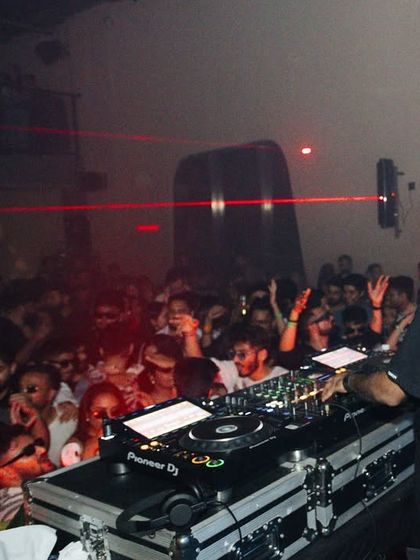
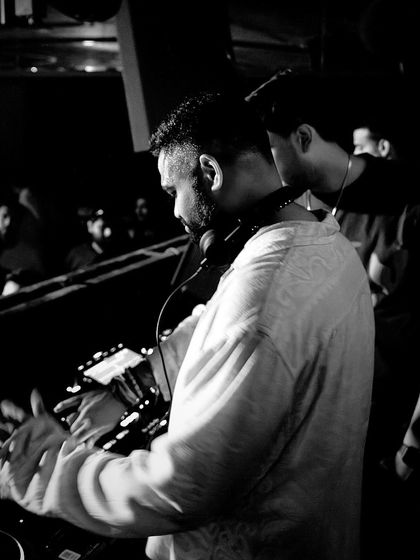
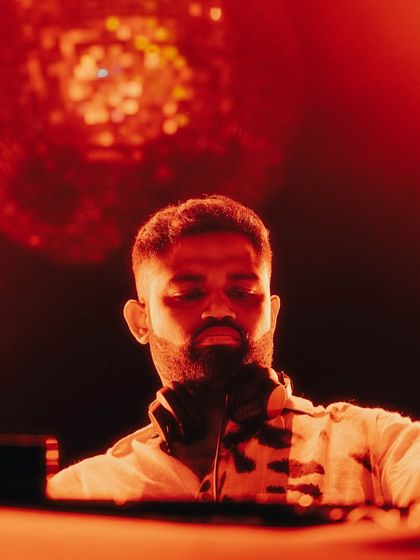
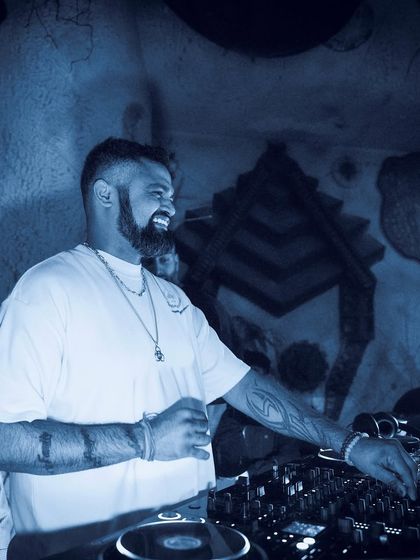
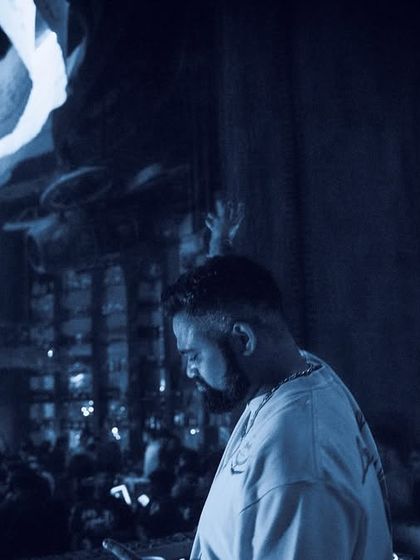
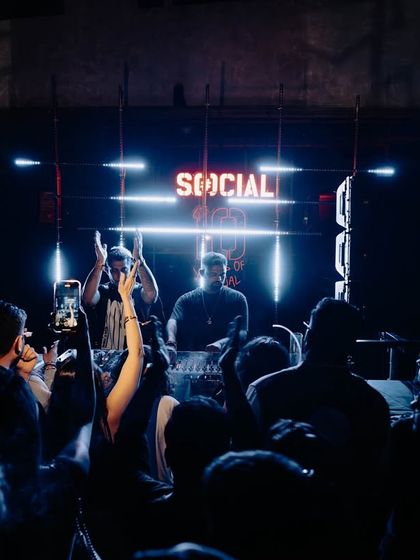
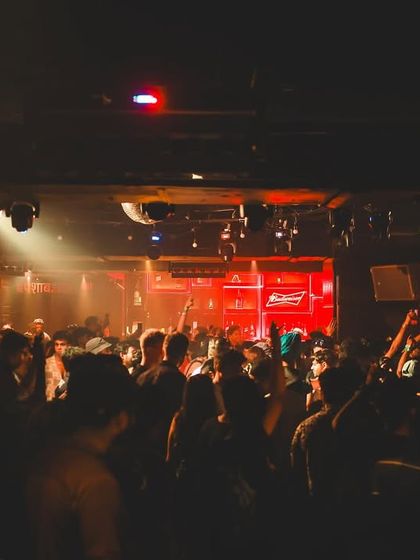
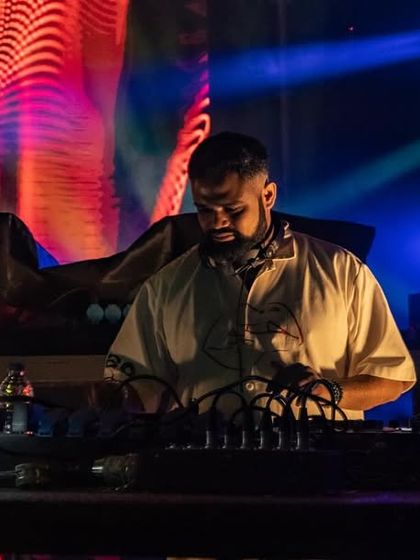
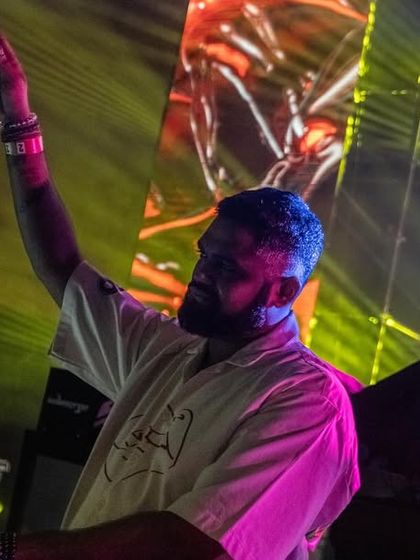
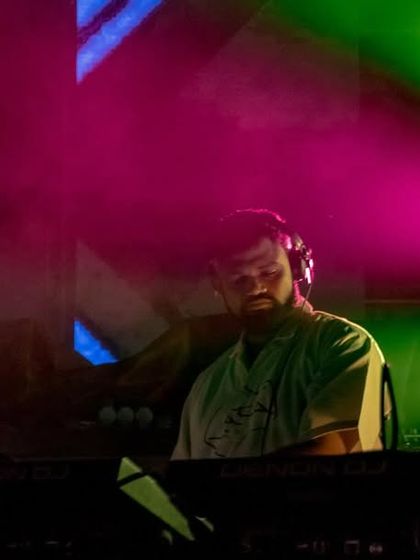
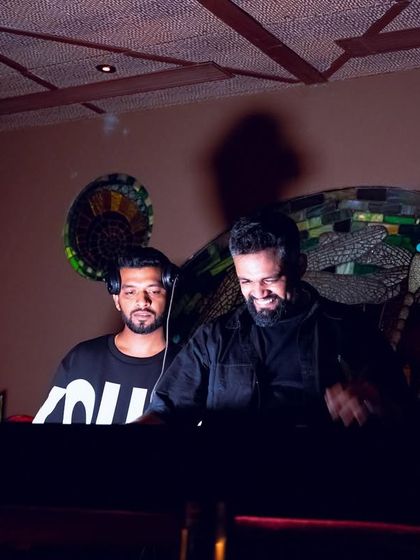
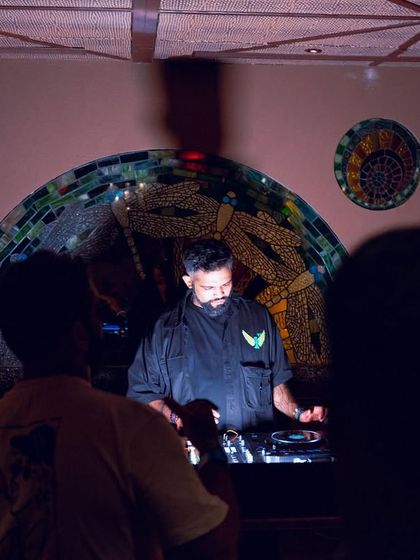
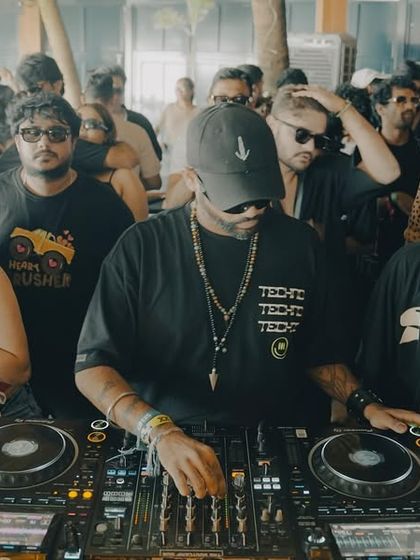
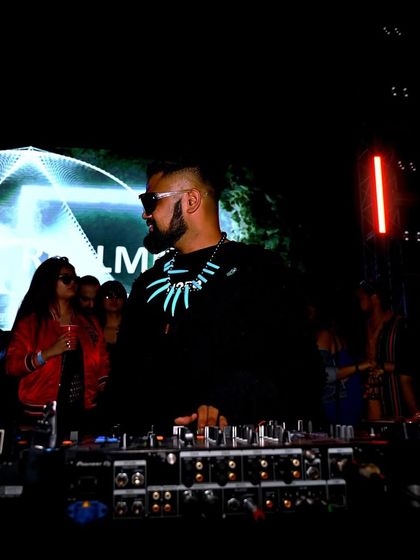
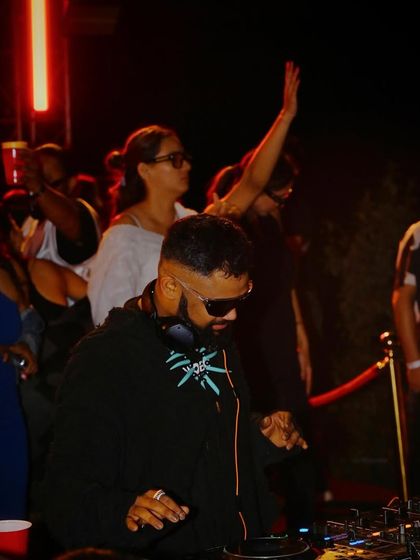
The Club Experience: Peak-Time Techno
This is the heart of the night, where I unleash heavy, driving techno in packed clubs across the country. Expect intense energy, immersive lighting, and a dance floor that never stops moving.


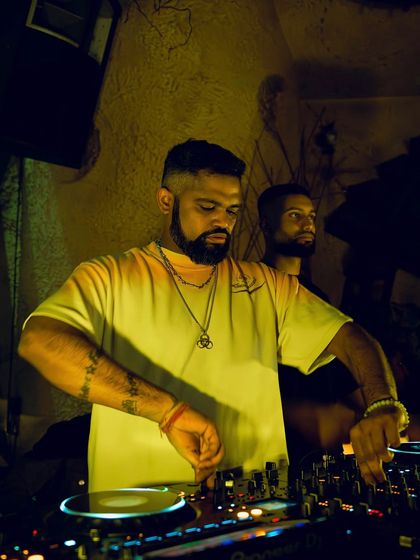


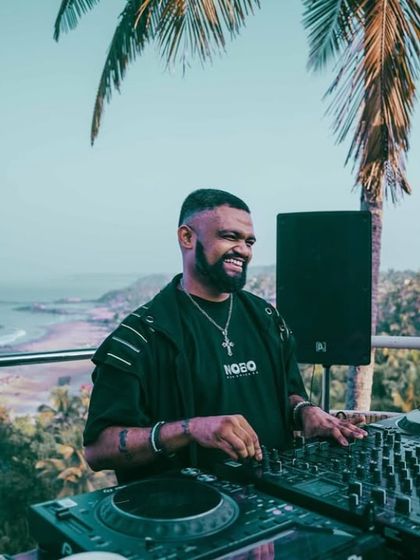
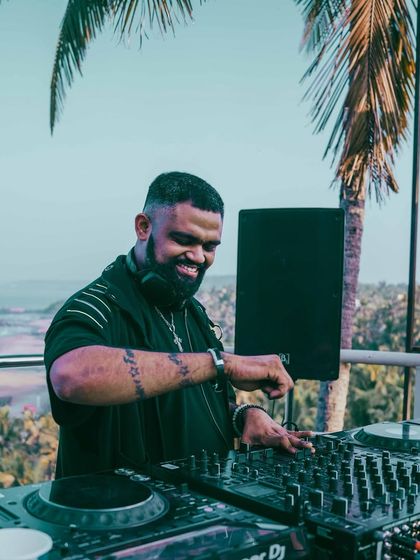
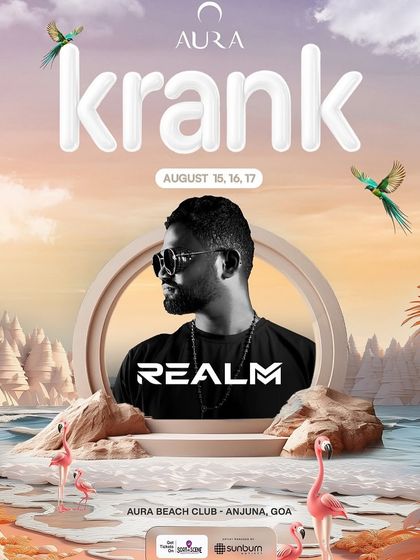
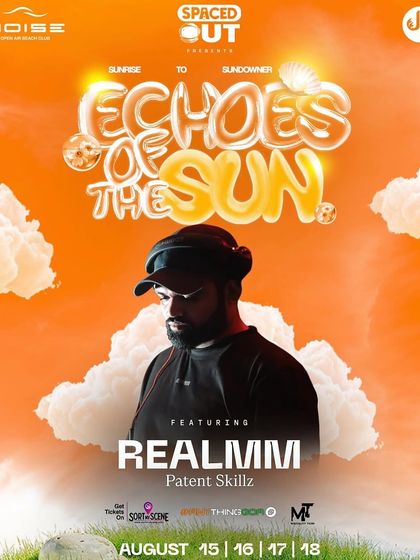
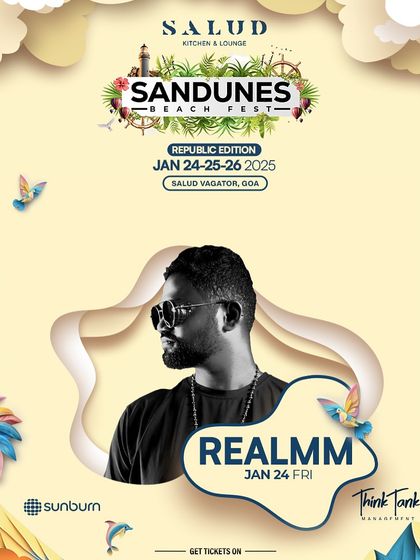
Sun, Sand & Sound: Afro & Melodic House Sets
Perfect for beach parties, sundowners, and sunrise sessions, these sets are all about groovy, soulful music. I blend afro and melodic house to create a vibe that fits the open sky and the ocean breeze.
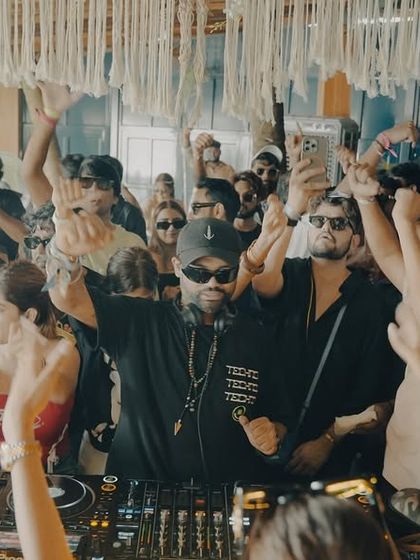

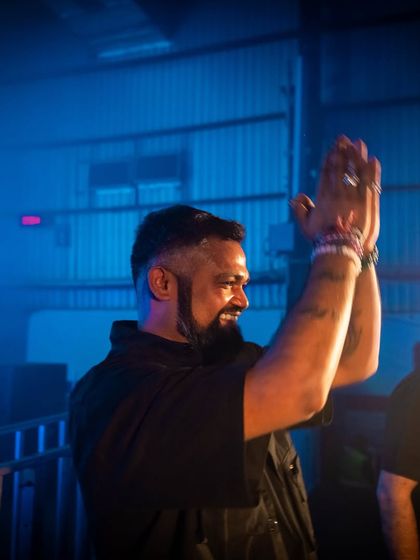
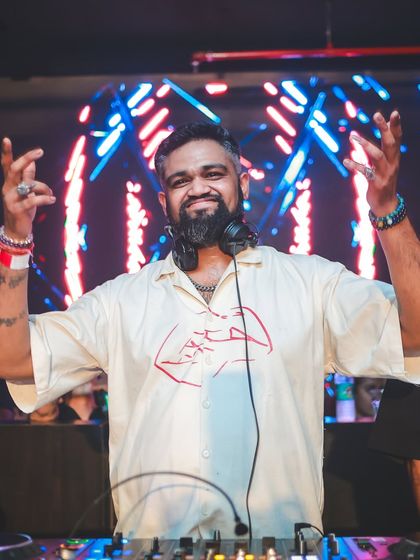
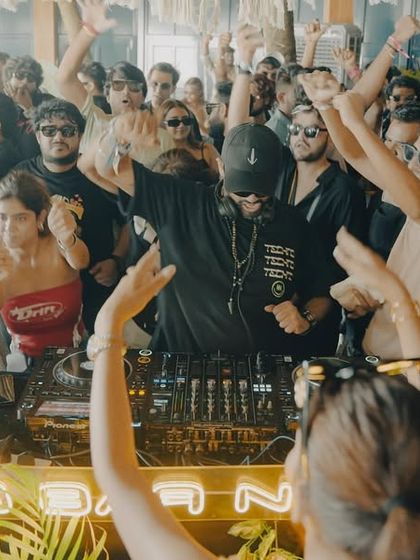
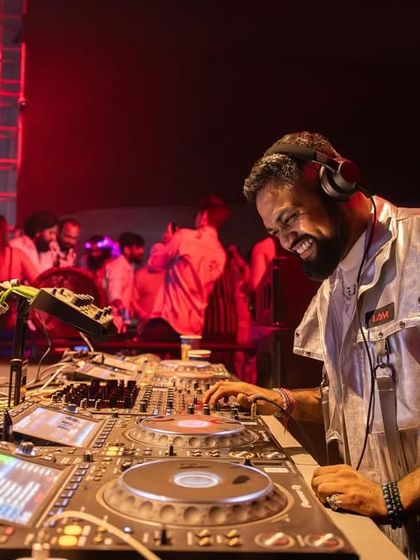
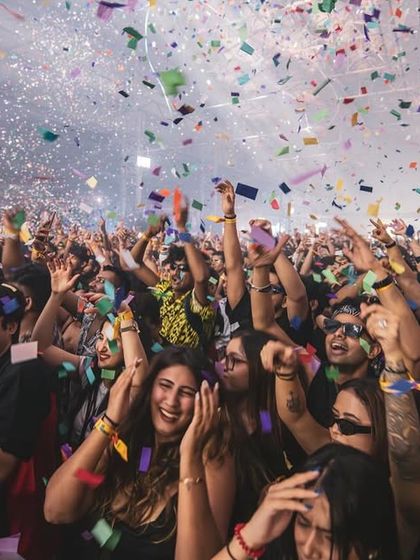
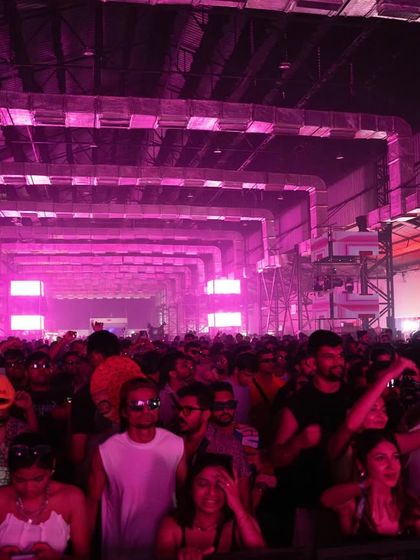
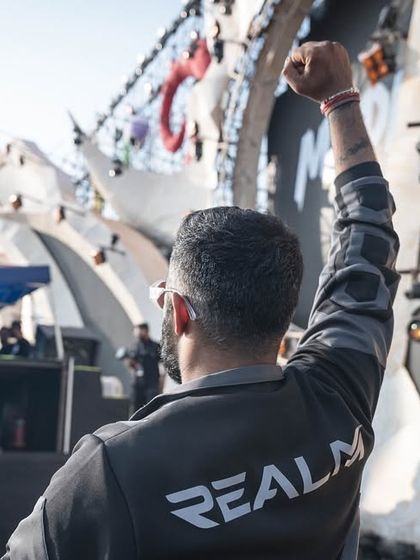
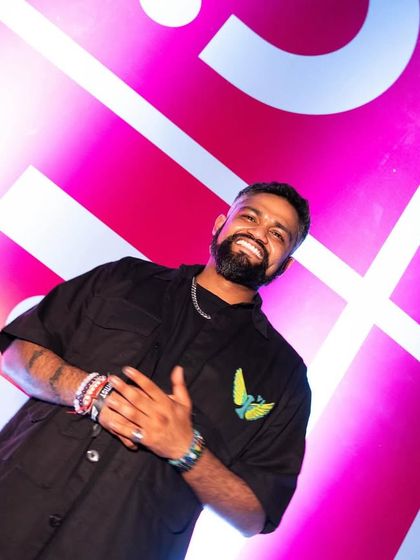
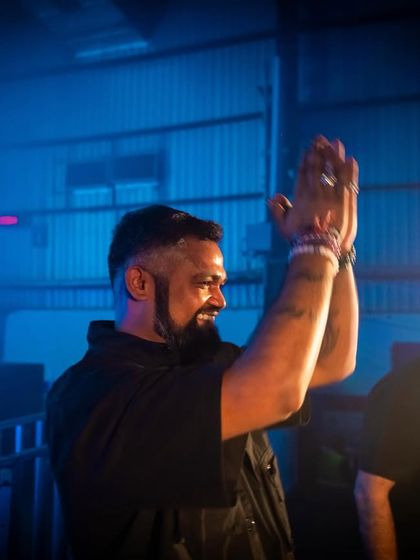
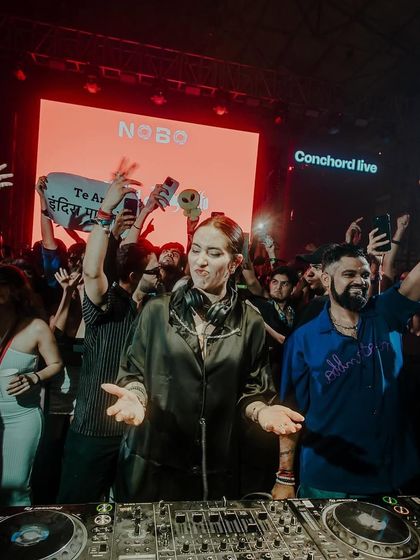
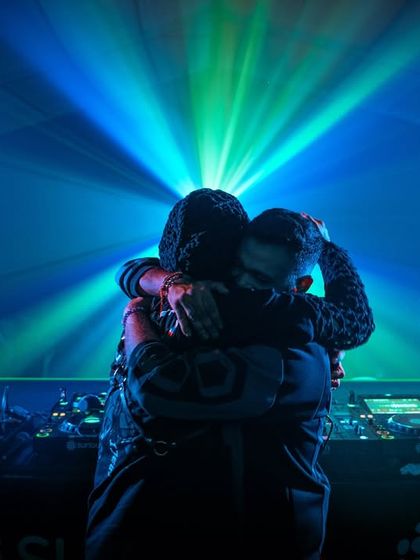
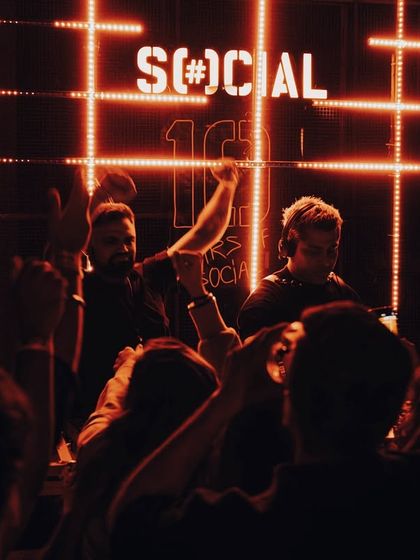
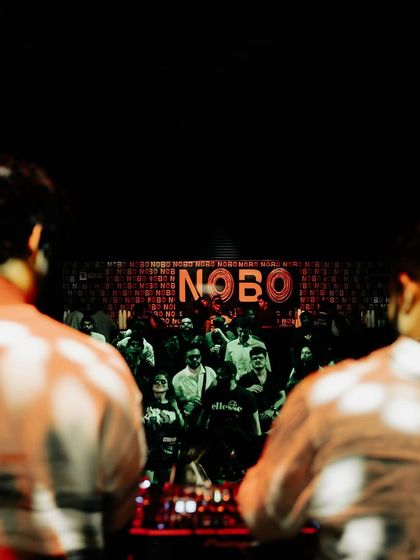
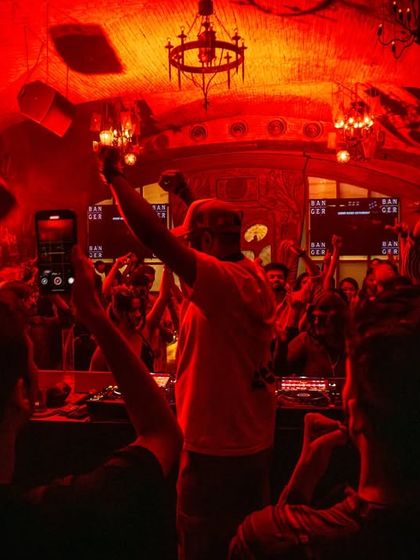
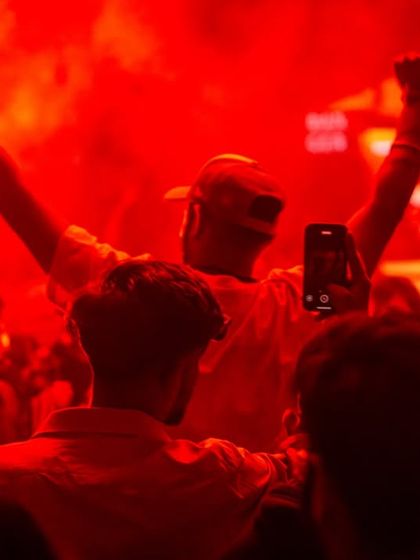
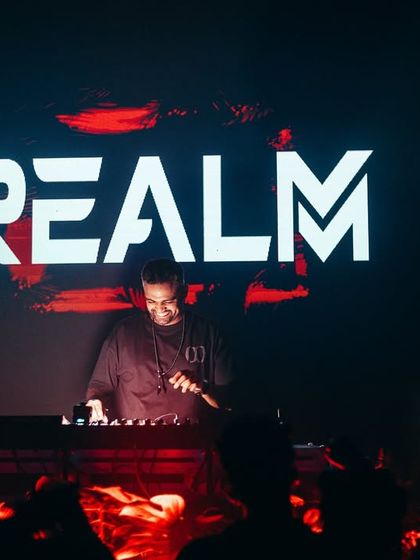
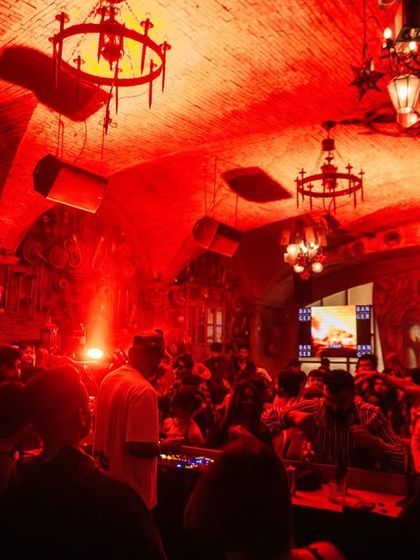
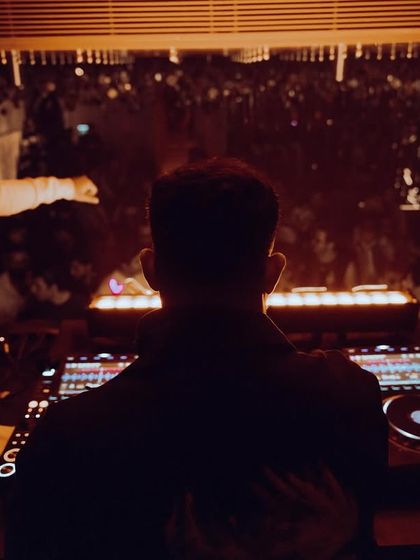
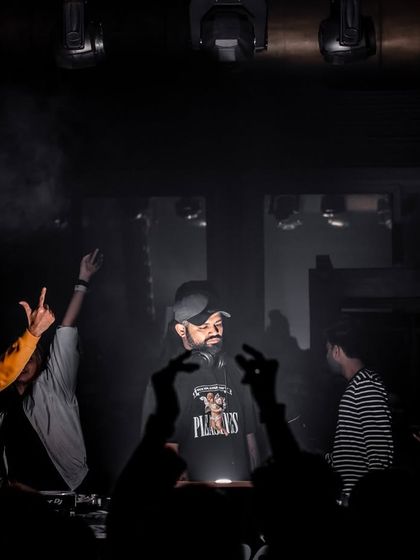
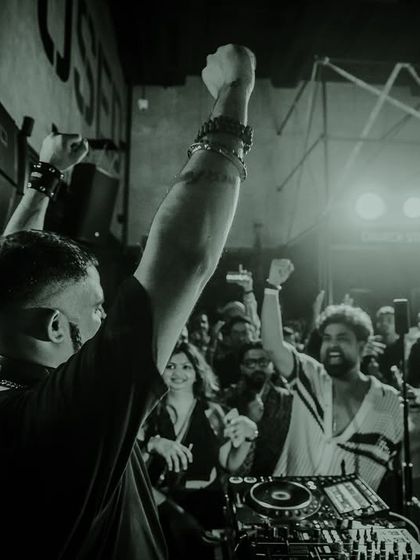
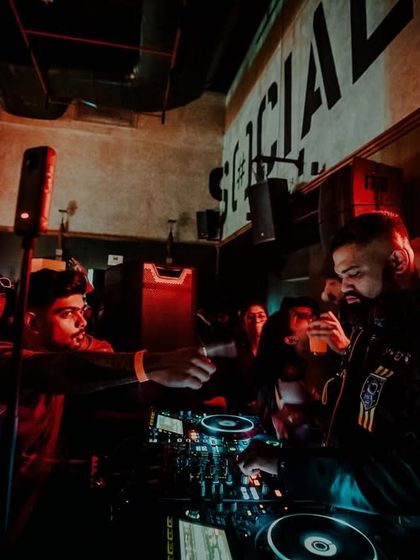
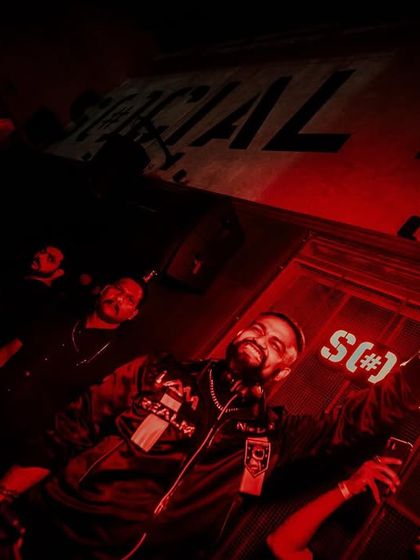
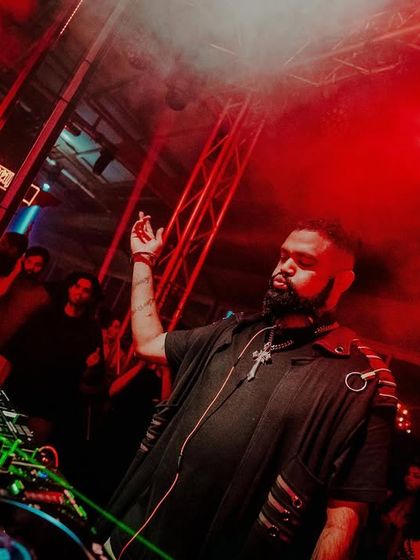
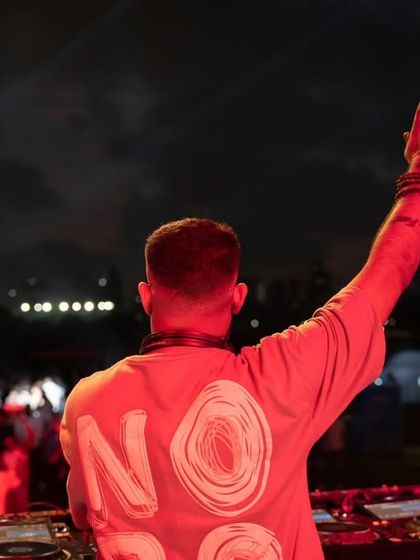
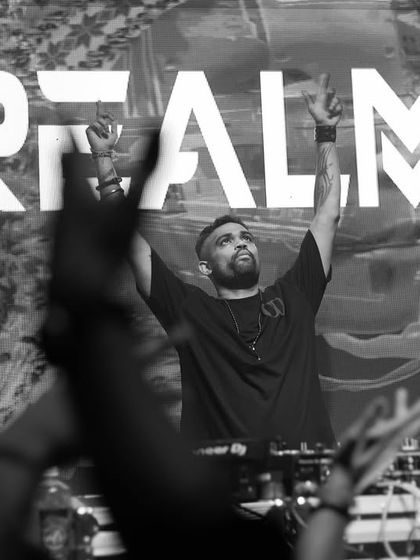
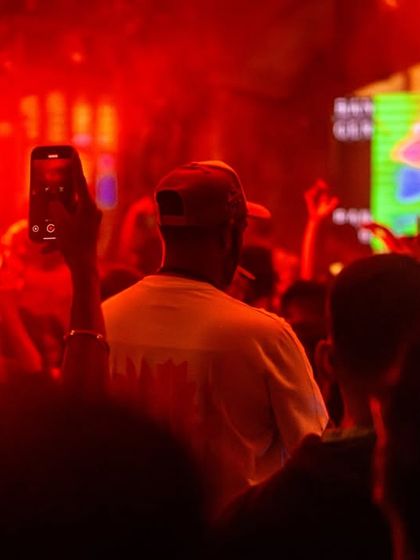
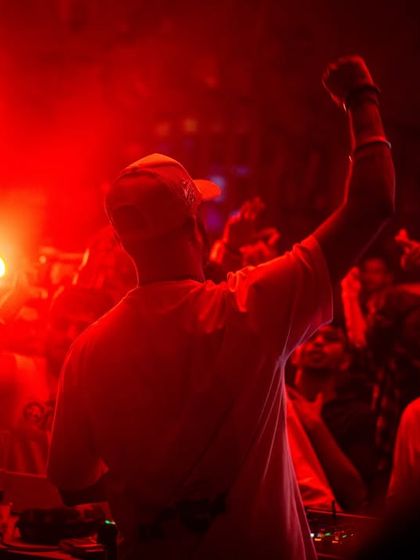
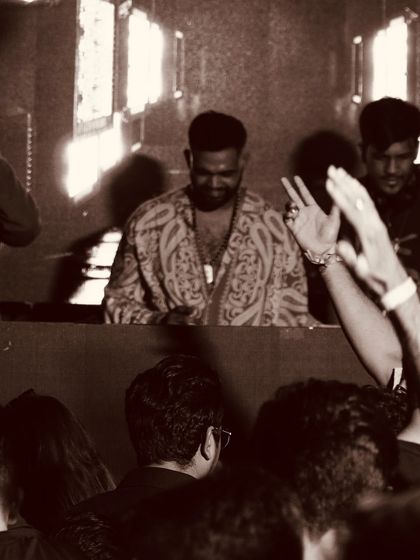
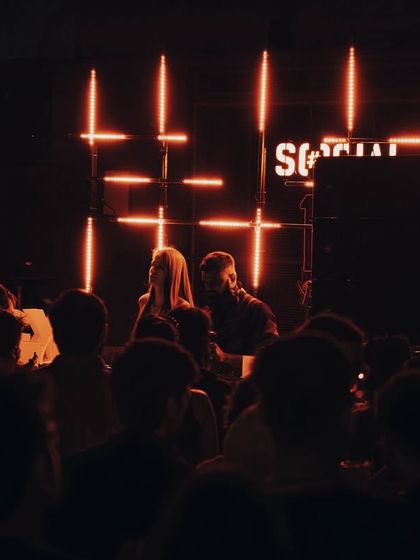
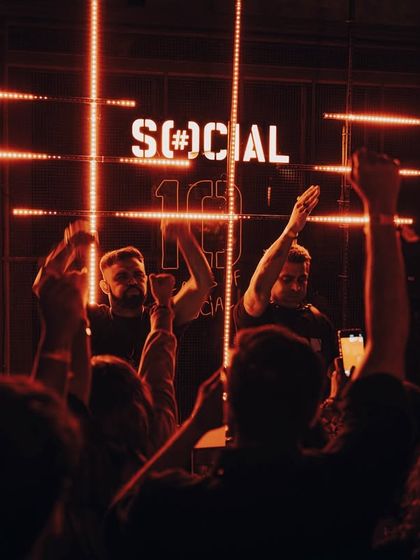
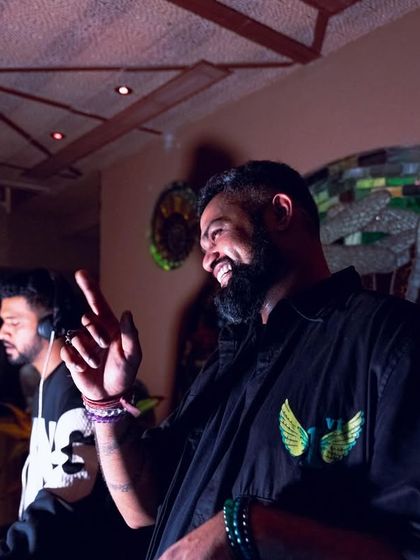
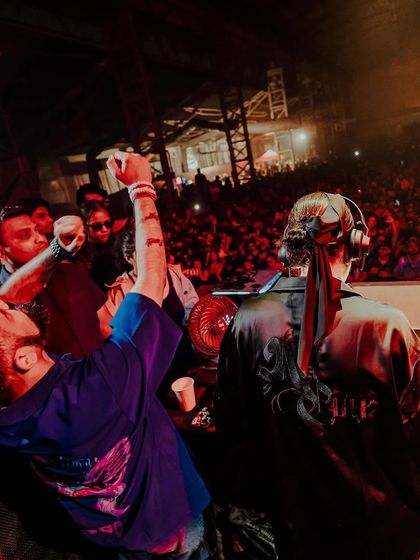
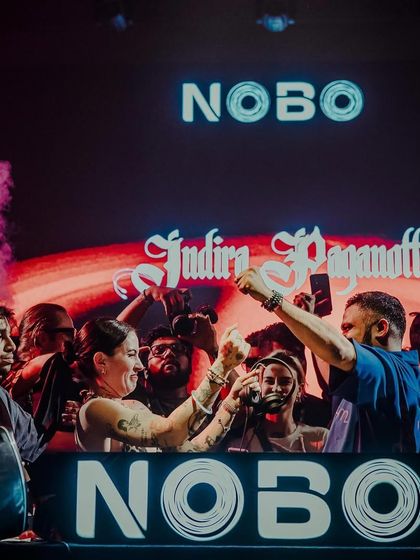
The Vibe: Crowd & Energy
For me, it's all about the connection with the crowd and the energy we create together. These moments capture the electric atmosphere and unforgettable memories from the dance floor.
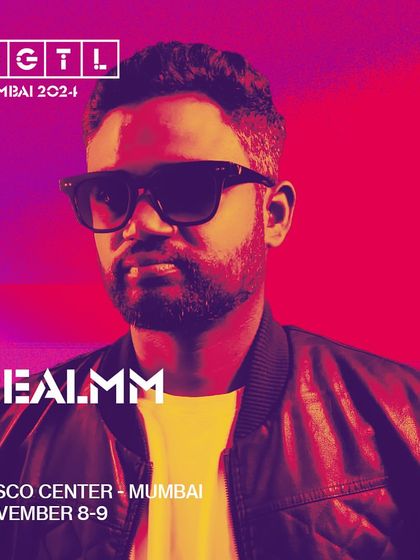
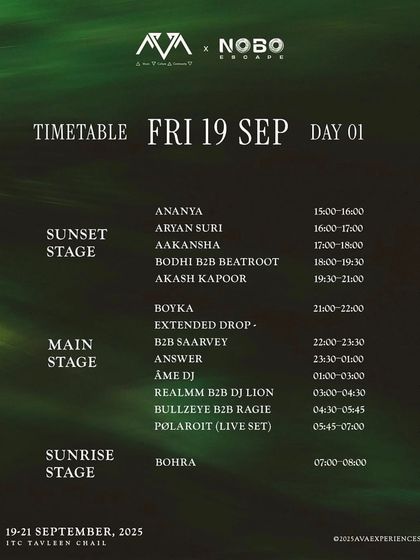
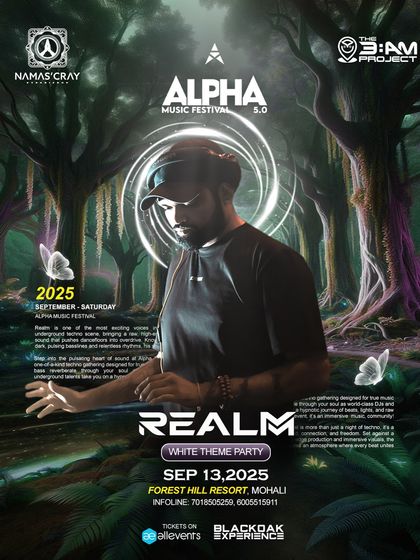
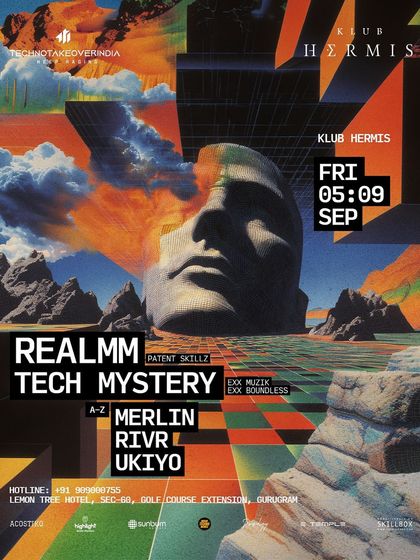
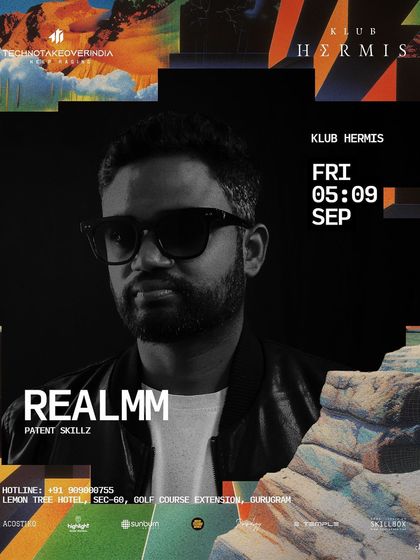
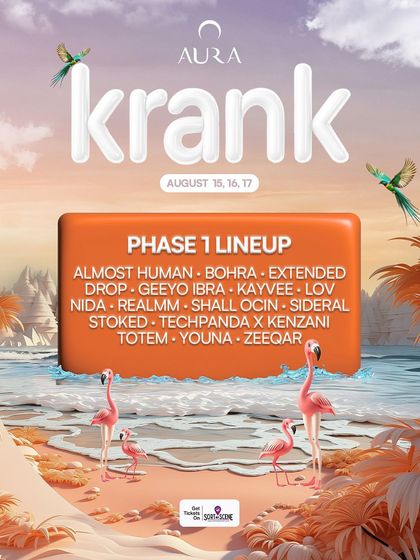
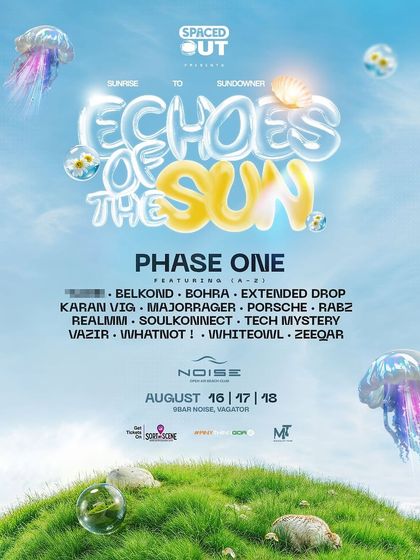
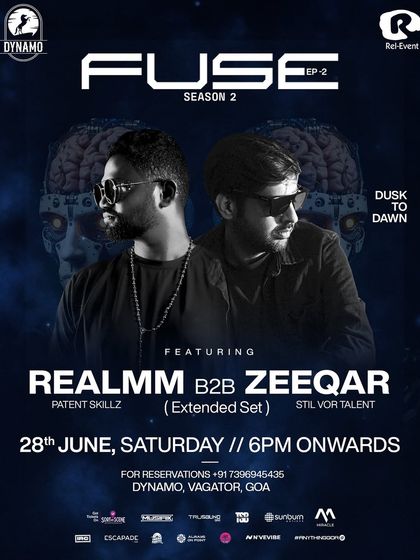
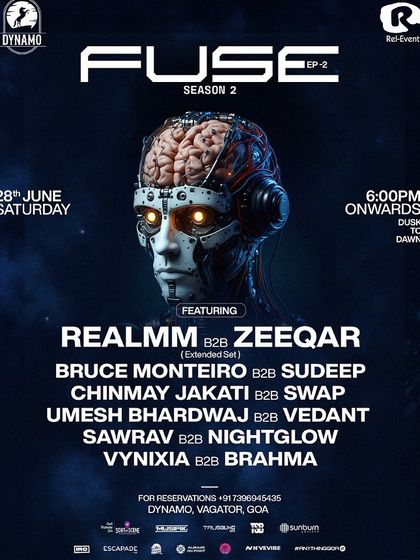
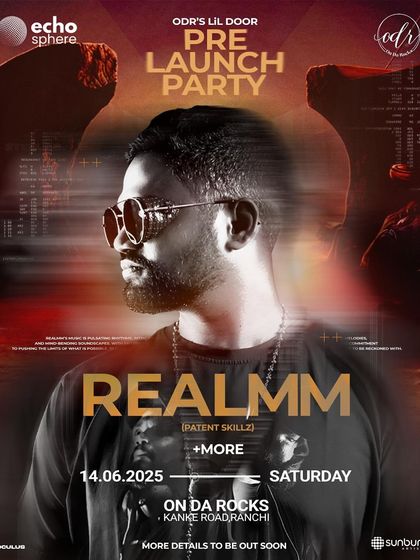
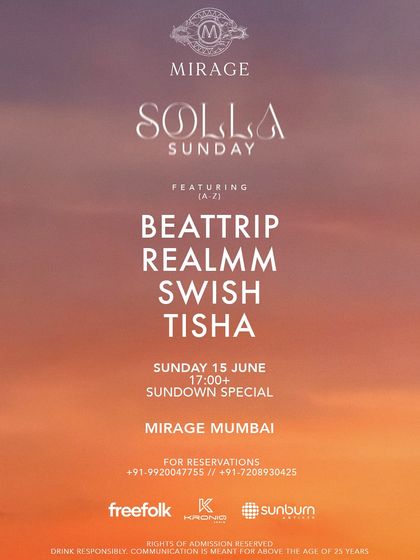
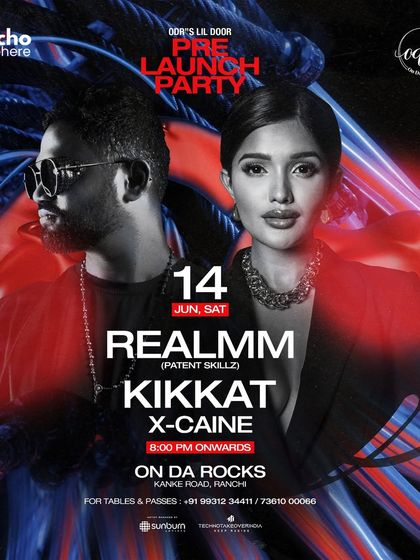
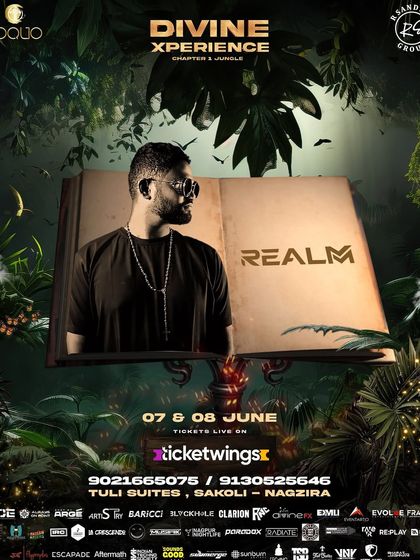
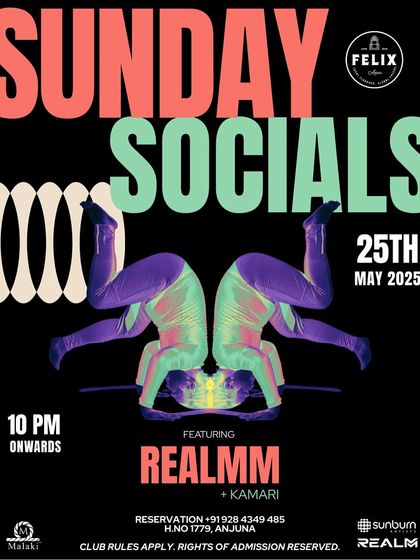
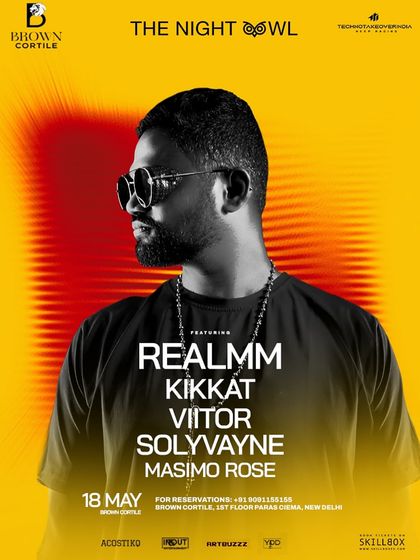
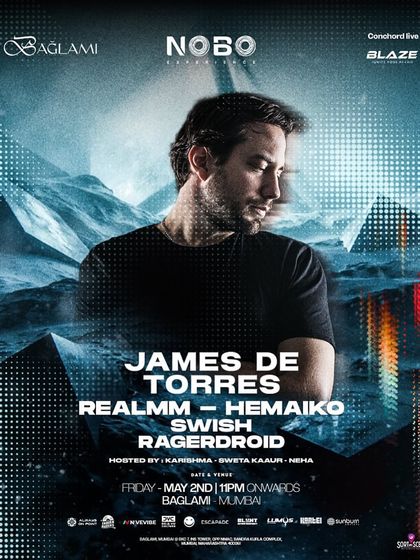
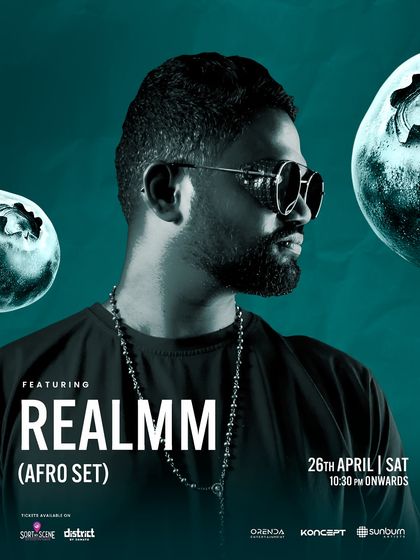
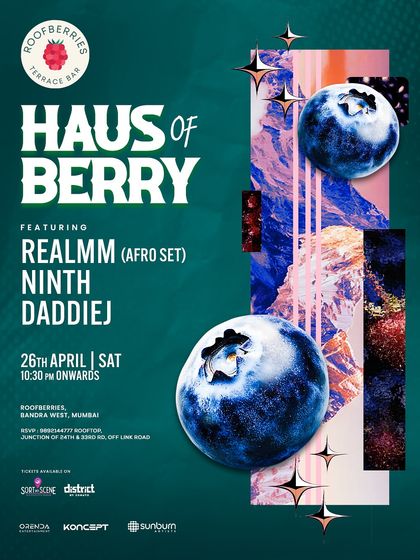
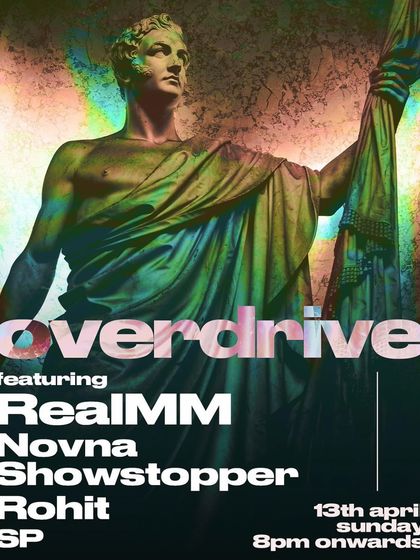
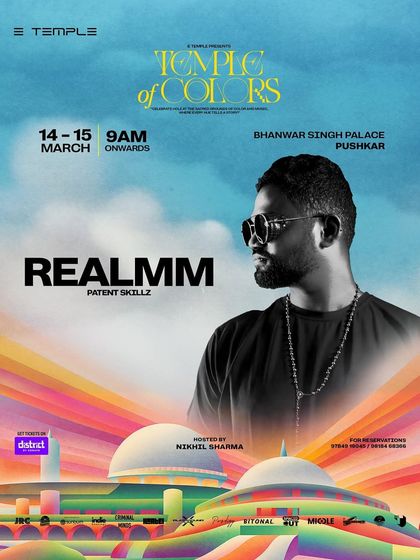
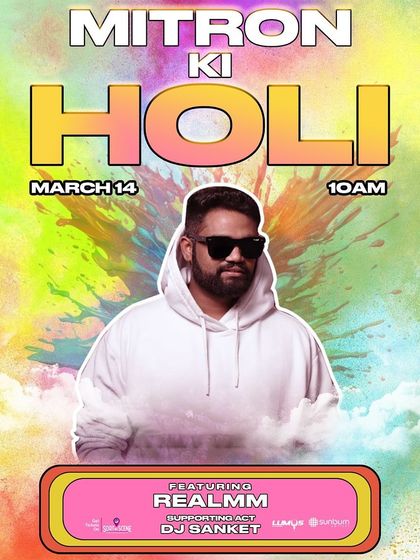
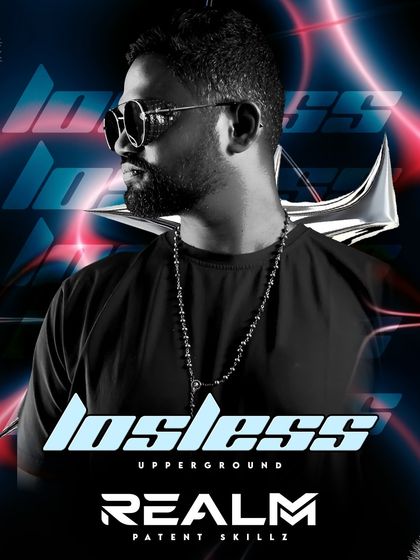
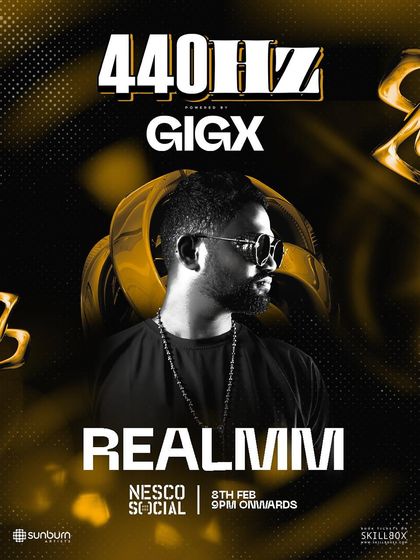
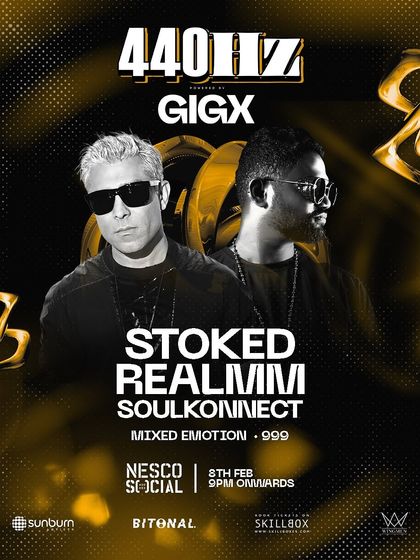
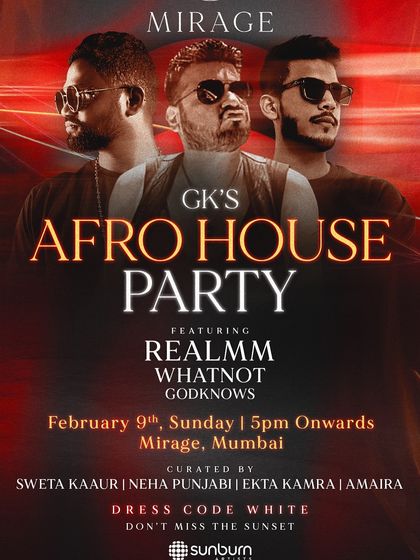
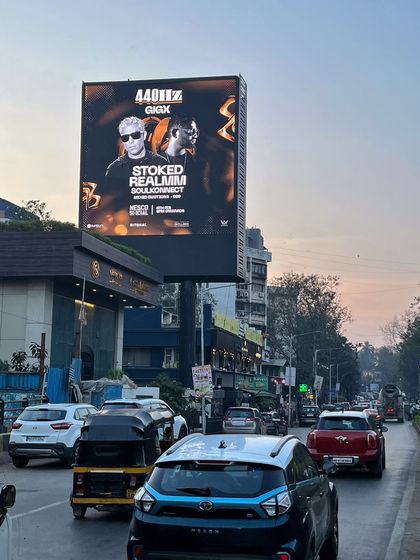
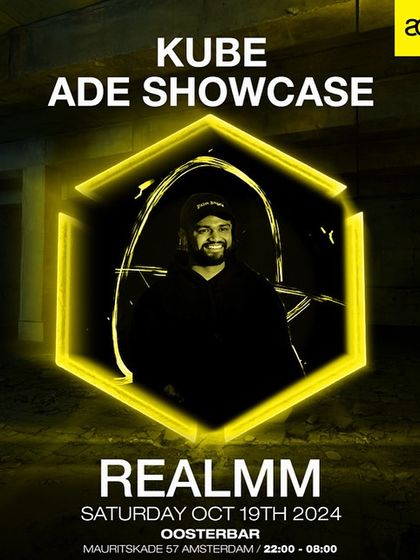
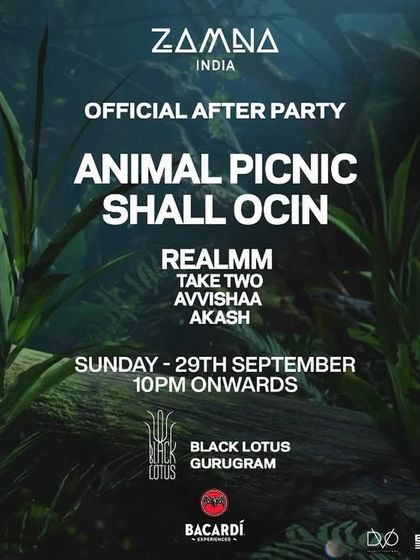
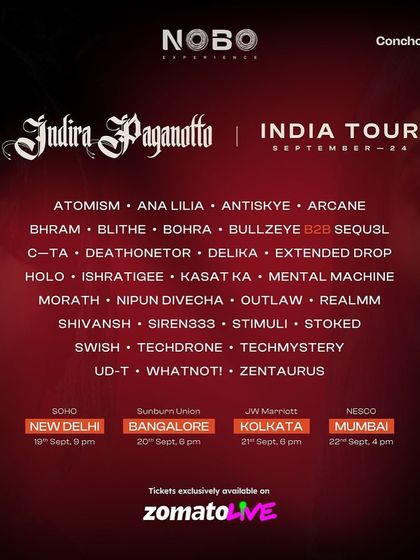
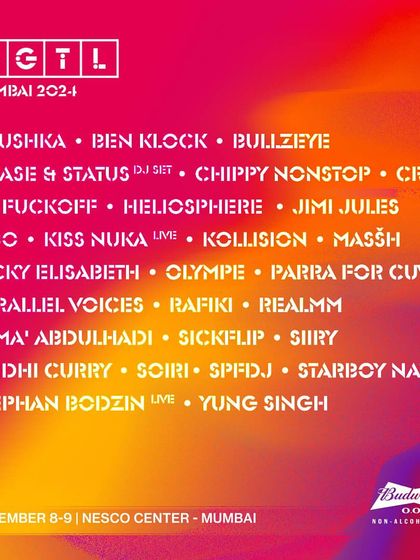
The Tour Trail: Gig Posters & Artwork
A visual journey through my recent tours and shows across India and beyond, from intimate club nights to major festival appearances. This is a snapshot of where the music has taken us.


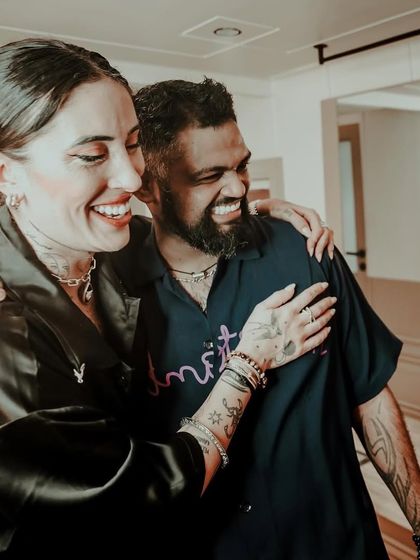
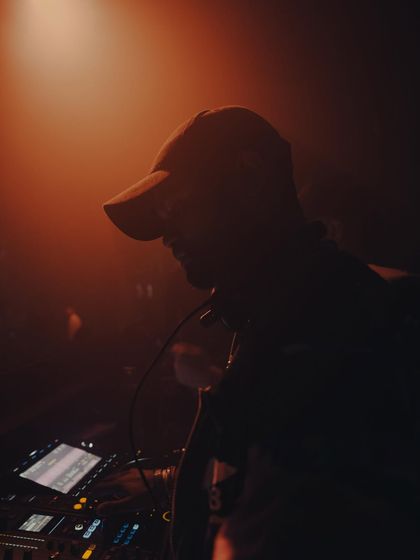
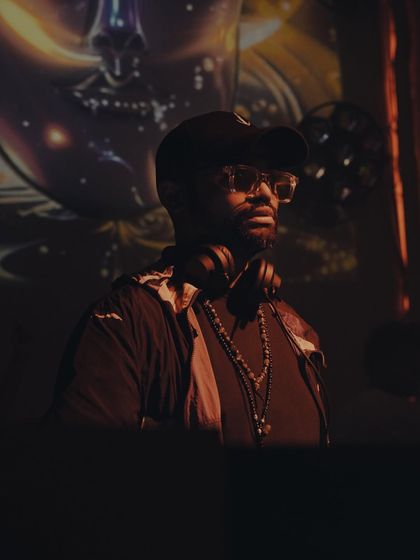
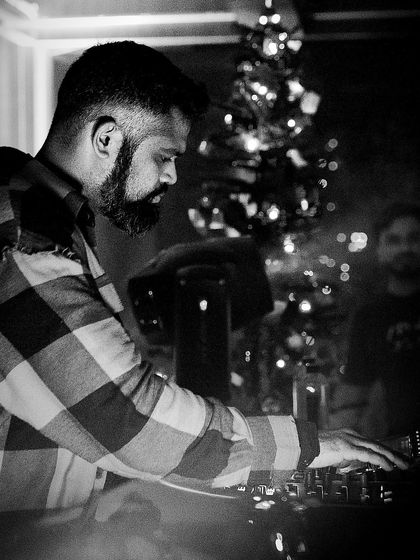
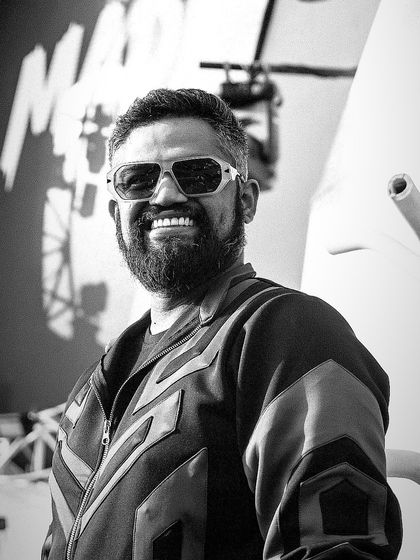
Additional Work
Here are a few more moments from my journey. Candid shots, behind-the-scenes glimpses, and more memories from the road.