Behind the Scenes of My Miniature Creations
Ever wonder how tiny brick walls and tiled roofs come to life? Here is a peek into the hours of patience and messy fun that go into my diorama studio.
Let's make some terracotta roof tiles! This is a satisfying part of the process, where I roll out clay and cut each tiny tile by hand before painting them.
Here's another look at making terracotta bricks for a miniature roof. It's a time-consuming process, but the final textured result is always worth the effort.
Behind the scenes of creating a textured brick wall. I use a special tool to carve the brick pattern into the clay, giving it a realistic and rustic feel.
Now, let's assemble the roof using the tiles I made earlier. Seeing the miniature house come together, piece by piece, is one of the most rewarding parts of my work.
A sped-up look at the painting and assembly process for my miniature diorama keyholders. You can see multiple projects in progress, each with its own unique color scheme.
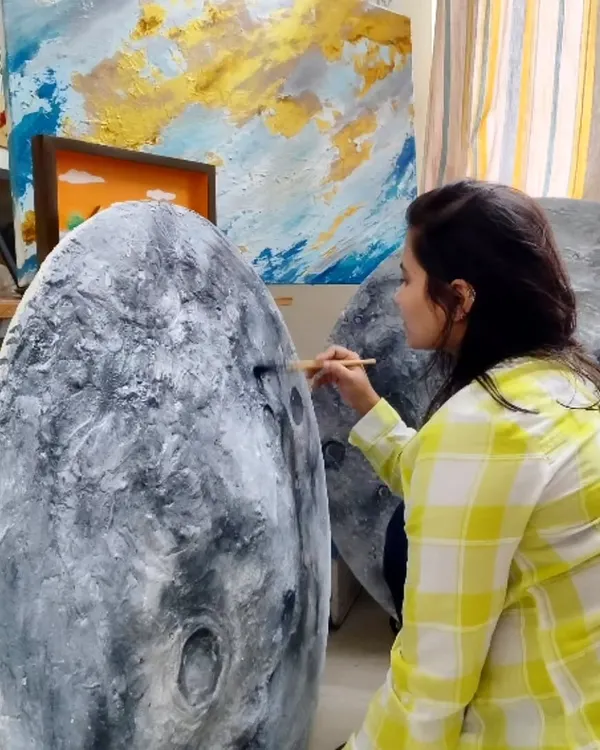
Can you guess what we are making? My daughter and I are working on some tiny miniature glasses. It's always fun to have a little helper in the studio.
Sometimes I run out of materials, like the letter 'A' for a project. So, I made my own! Here’s how I hand-cut wooden alphabets to finish a personalized order.
About The Making of Miniatures
You might see the final, glossy miniature keyholder, but the real story is in the clay. For every single roof tile, I hand-roll and cut each piece, then carve the brick textures one by one. It isn't fast, and my table is almost always covered in clay dust and paint, but that is the only way to get those tiny, realistic details that make your house nameplate feel like a real home.
When I say everything is handmade, I mean every single element. I do not use mass-produced moulds because I want every brick and tile to have its own character.
The Process
It starts with a wooden base, but the 'house' itself is built layer by layer. I use air-dry clay to sculpt the brickwork, letting it set before I hand-paint it. The roof tiles are individually cut, curved, and placed, which is where the process gets really time-consuming.
I often have my daughter working alongside me, which is why you might see tiny glasses or small accessories in the mix. This is a slow, steady process—typically taking 20 to 30 days—because the drying and varnishing stages cannot be rushed if you want the piece to last.
Why Hand-Sculpted Matters
Whether you are ordering a miniature diorama keyholder or a custom nameplate for your apartment foyer in Bengaluru, you are getting a piece that was physically made by my hands, not by a machine. This is why no two pieces are identical. If you see a specific texture on a wall or a certain plant in a pot in my gallery, know that it was sculpted, painted, and sealed specifically for that order.
This approach allows me to customize things that factories cannot. Want the brickwork to match the colour of your actual house? Or need the figurines to look like your specific family members? That level of detail only happens because I am carving it from scratch.
Similar work from other experts
Browse through Curated picks from other experts on mytribe
Hand-Sculpted Clay Art: The Story Behind Every Miniature
Behind the scenes of my handcrafted home decor
Handcrafted Miniatures and Custom Art Collections
Behind the Scenes of My Handmade Scrapbook Process
Behind the Scenes of My Crochet Work
 12
12Behind The Scenes: Our Art Studio Process
Looking for something specific?
Browse my other handmade collections to find the perfect piece for your home.
More from Hand-Painted Home Decor & Personalized Gifts by Neetikriti
More services by Neetikriti